Introduction:
Control-M gives us many ways to get info about jobs , for example by checking their definition , or checking their execution log or the Alert viewer,checking their execution their scheduling and so on.
There is also ways to monitor other Control-M components such as resources,database update,communication between Control-M components..
Everything depends of what you need but you will probably find your information by using tools given by Control-M
Today we will see how to get the creator of a workload policy and also creation date
What is a Workload Policy?
Here is a definition from BMC site
“Workload Policies enable you to control, manage, and balance the workload on Control-M resources and hosts. A Workload Policy uses filters to group together jobs and applies rules to those jobs to limit their impact on the workload”
Typically I use a workload policy to hold specific jobs during a specific period , for example for maintenance matters.
You have many possibilities to use Control-M’s workload policy, which makes it a very powerful tool for your daily tasks.
Create a Workload Policy
As a reminder let’s see how to create update and delete your workload policies
You can also review some interesting topics regarding it by checking my colleague Marc Wagner’s blog and also my other blogs related to Workload Policy here.
Create a WP
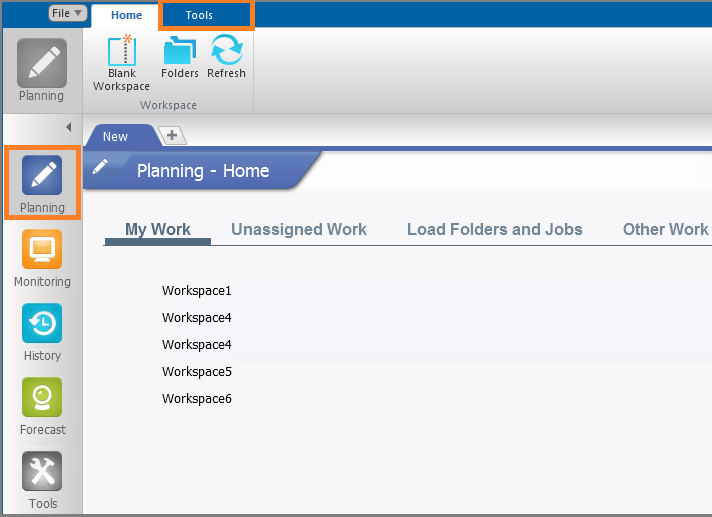
- Connect to Control-M and go to the planning part
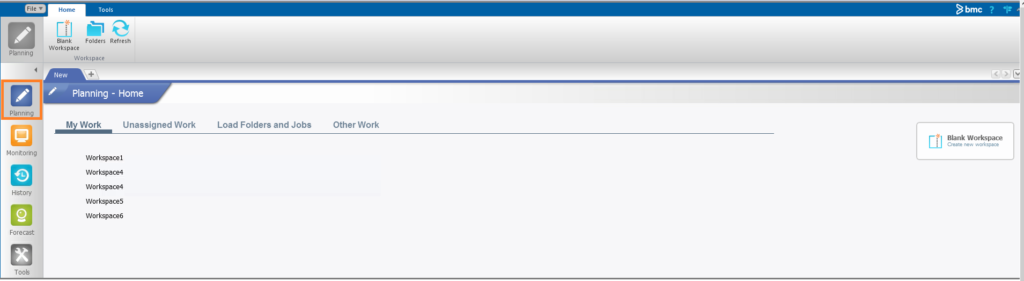
- Select the tool tab
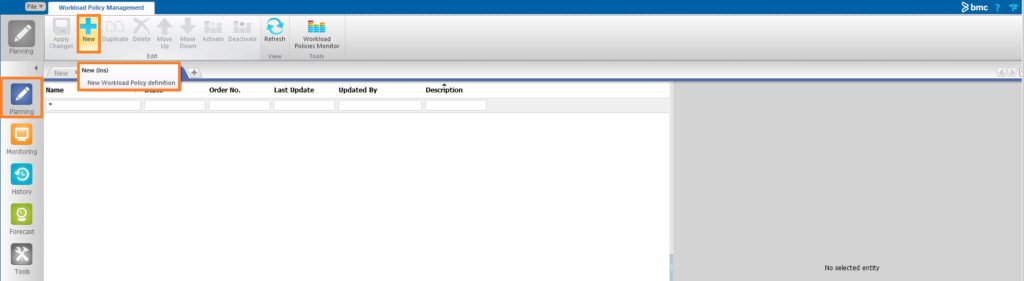
- Click on the “New” icon
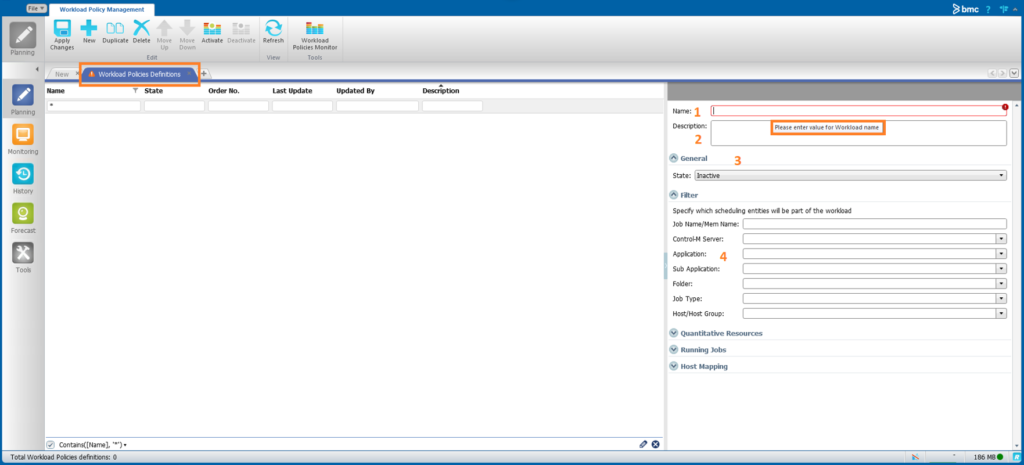
- Define your Workload policy
- Fill the fields regarding what you need
- Enter the Workload policy name
- Select the Workload policy State ( do it at the end of the configuration )
What is possible to do with Workload policy
- Below the fields an description that you can use for your workload policy
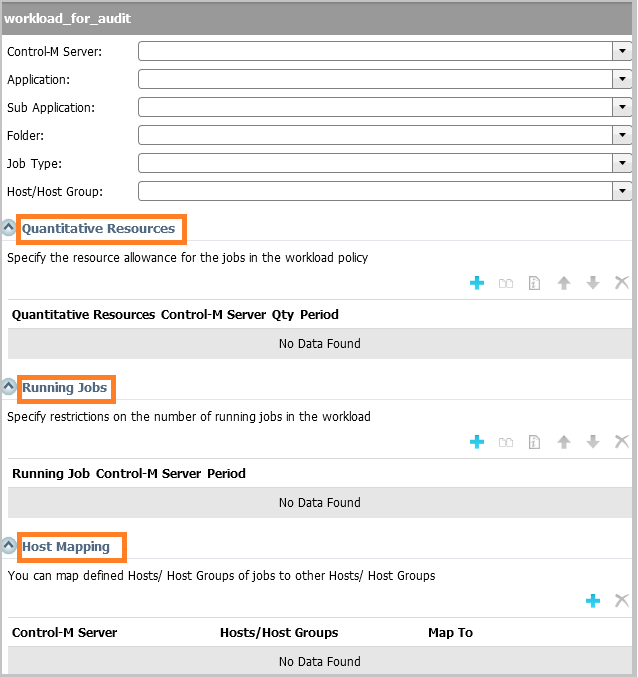
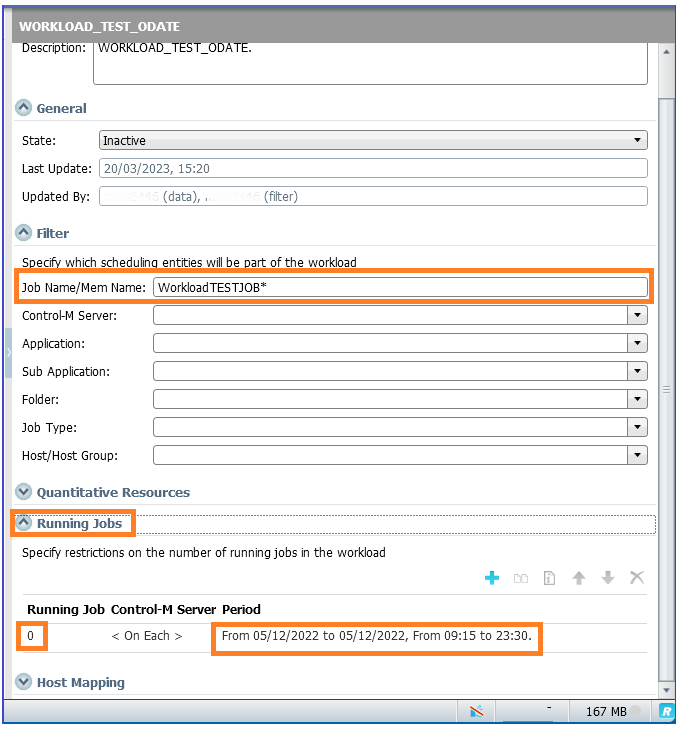
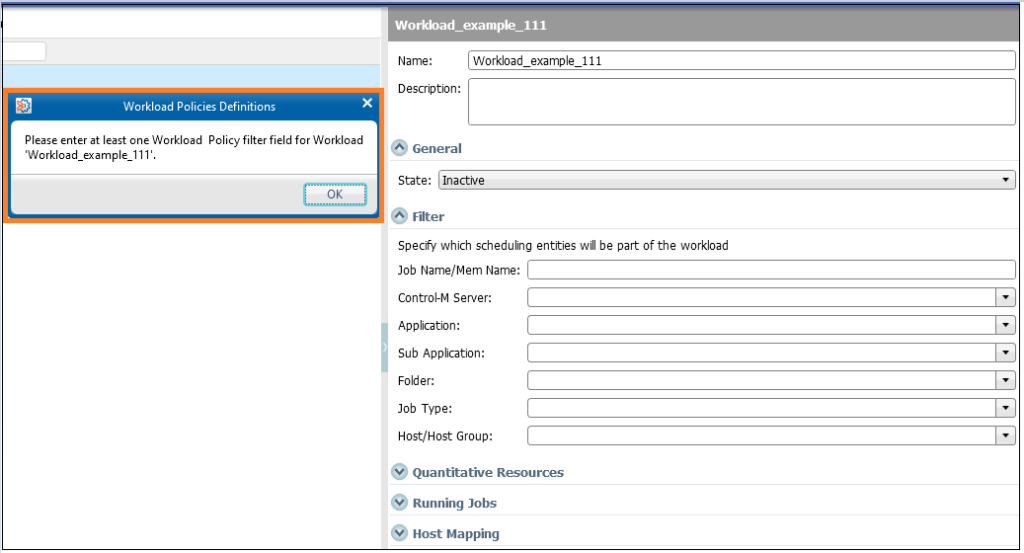
- Below an example of Workload policy
Here I have restricted job’s execution between a specific time window ( from 9h15 to 23h30 NO defined in the Job Name/Mem Name field will run )
As you can see you can play on many ways with Workload policies , maybe will go deeper during another Blog post 😉
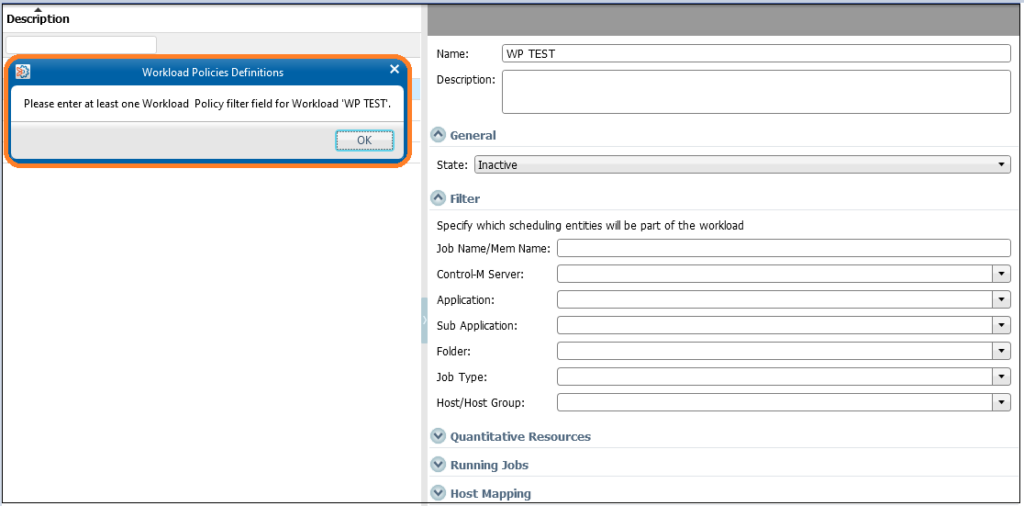
Regarding Workload policy Validation
- Note that you have to enter at least one field in the filters to be able to save your configuration
- You will also be careful about the spaces and blank characters
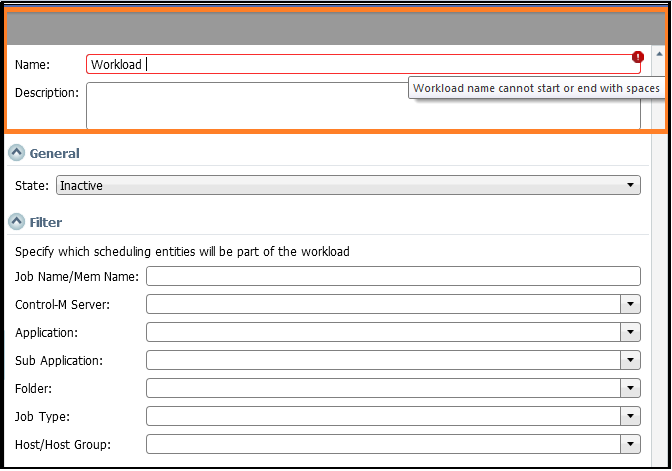
- Maximum length limitation
You can’t exceed 20 characters when you define your Workload Policy name

- You must enter at least one policy filter to able to save
Delete a WP
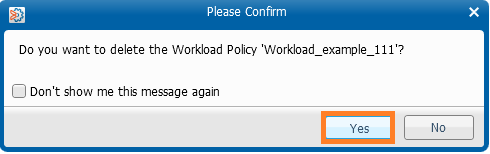
- Select the workload policy you want to delete and click on the cross icon in the top pane

- Validate deletion ( no need to click on the refresh icon )
What is BMC reports
Some info from the excellent BMC Site:
The Control-M Reports tool enables you to create and generate ad hoc reports using data collected from your environment, as described in Creating a Report Template. Control-M provides default categories that include report templates that you can use to view specific information and generate reports, as described in Generating a Report.
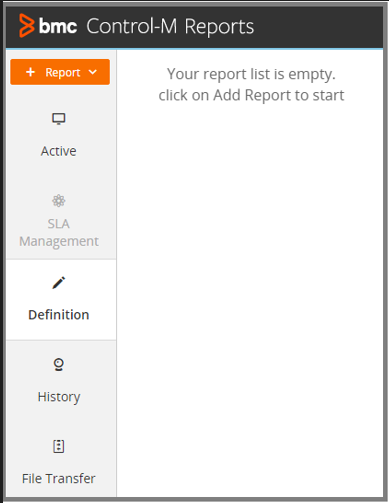
You can use the report templates in the following categories:
- Active: Collects data regarding active jobs or other Control-M data from the active environment, such as alerts or audits.
- SLA Management: Collects data for execution status, service name and status, slack time, and total number of SLA Management jobs.
- Definition: Collects definition-related information from the Planning domain regarding jobs, folders, and events.
- History: Job execution-related reports.
- File Transfer: Collects data about file transfers inside your organization.
I will probably make other topics on BMC Reports as it is a powerful tool combined with the audit option to get a lot of info on each Control-M components and also to generate many types of Reports.
For our case it will only be used to show who is the workload policy creator.
Use BMC report
Enable audit
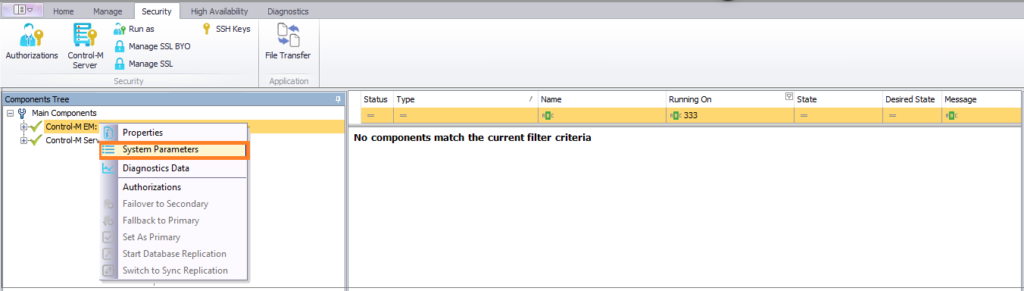
First of all we have to enable audit in the Control-M Configuration Manager ( tick the boxes one for enabling annotations and one fore enabling audit )
- Select system parameters
- Select Audit and Annotation ( tick the 2 boxes if you want to get more element)
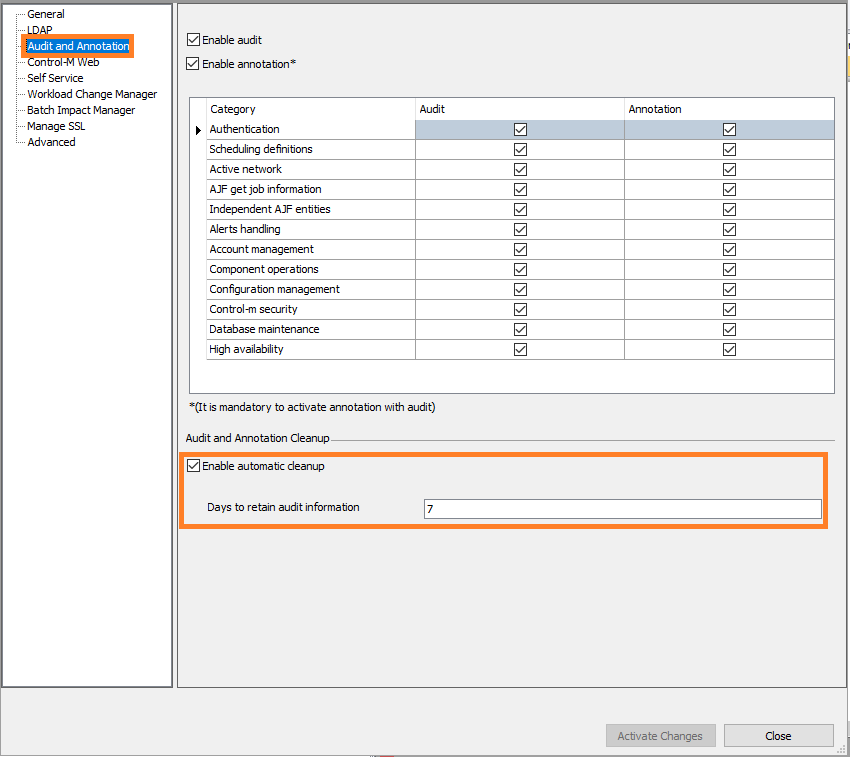
- Don’t forget to define the automatic cleanup for your Audit
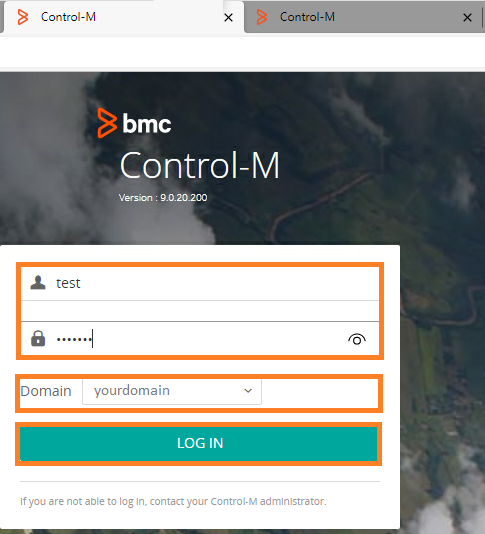
Connect to BMC Report
- Go to the BMC report URL related to your Control-M server

Note:
For testing Purpose we will use 2 users ( my user and a test user to create the Workload policy then I will check from my user or an admin user if I can catch the username who created this policy )
- Connect with the first user to the Control-M Report
Create your Report
- Once connected you can start to create a report
- Select the Active pane
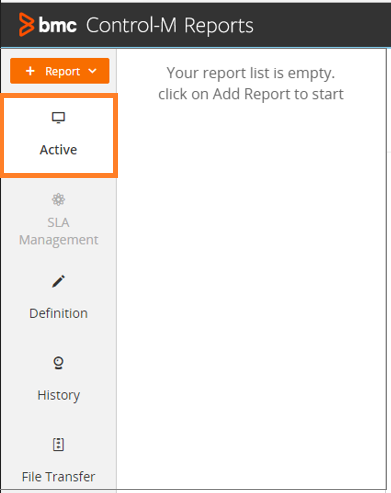
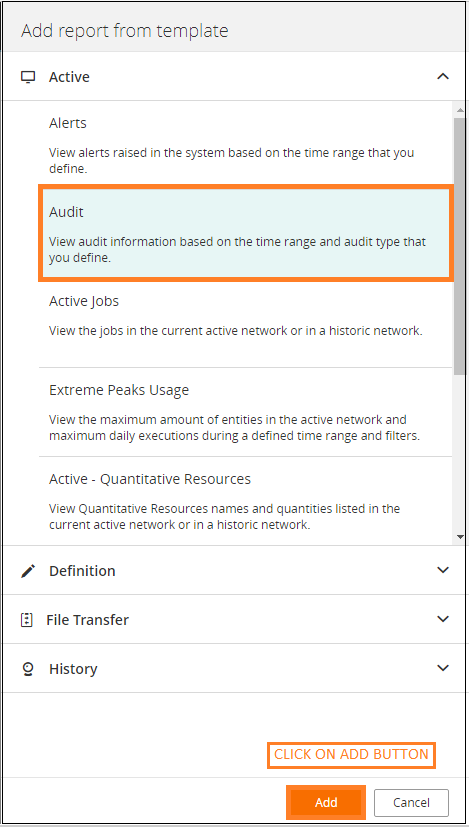
- Click on Add New Report then click on Add button

- Select Audit in the right pane
Create a Report to have WP information
For the demonstration purpose on how to use the reporting tool to get info on Workload policy creation, I created a Workload policy with a test user.
Then I will connect with my user (or an admin user) to see if Workload policy information are displaying
Create the Workload Policy with the first user
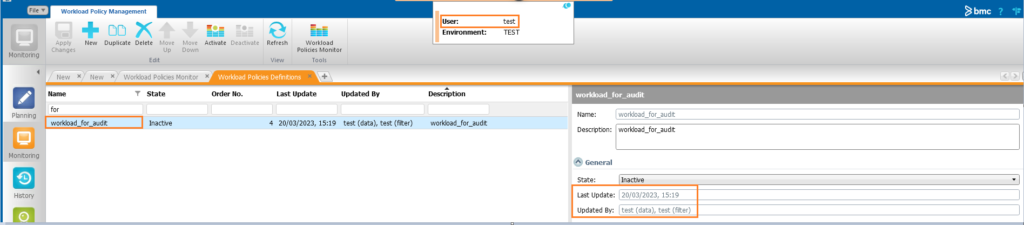
We can see:
- The creation date
- The last updated
- The user who made the update
We will note the details of the workload policy created named workload _for_audit
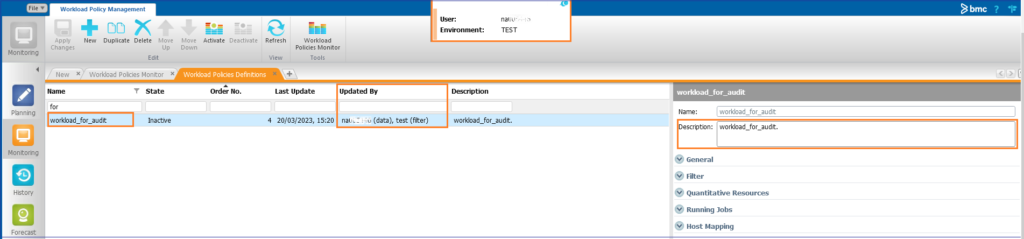
Update the Workload Policy with the second user
Now I will open a new Control-M Client Window with my user
I update the Workload policy description by adding a dot and save the parameters.
We can see that:
- User name is displayed in the “Updated By” column
- The last Update with date and time
Create the report to display info on Workload Policy creation ( and update )
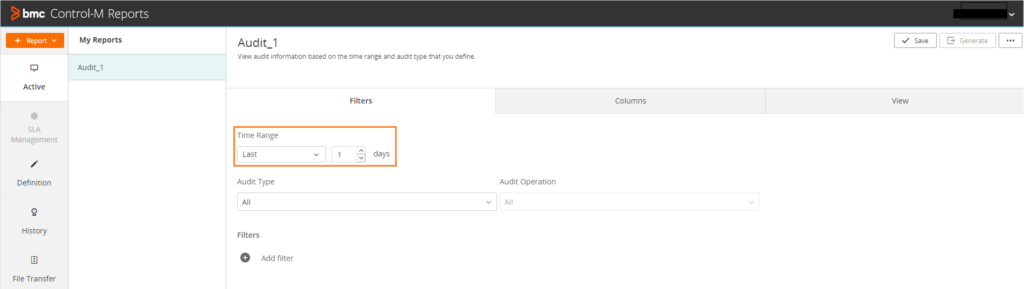
- Define the time range to have info regarding last days
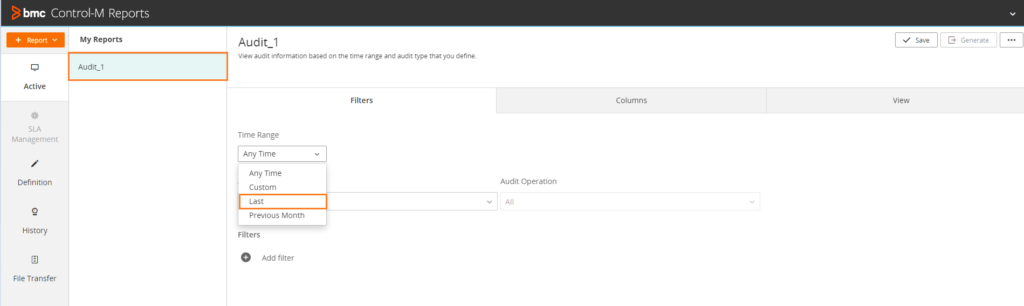
- Select for example last 1 or 2 days ( I have created a WP few minutes before with the Test username so we should be able to find it )
- Select Active Network
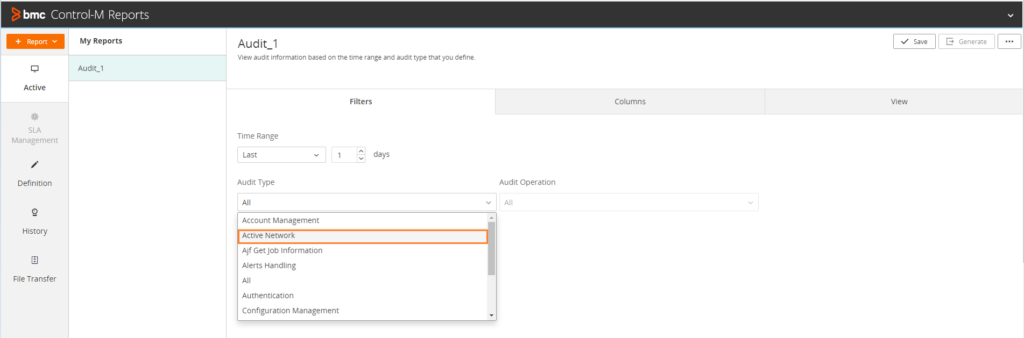
- Choose the audit operation related to Workload policy creation
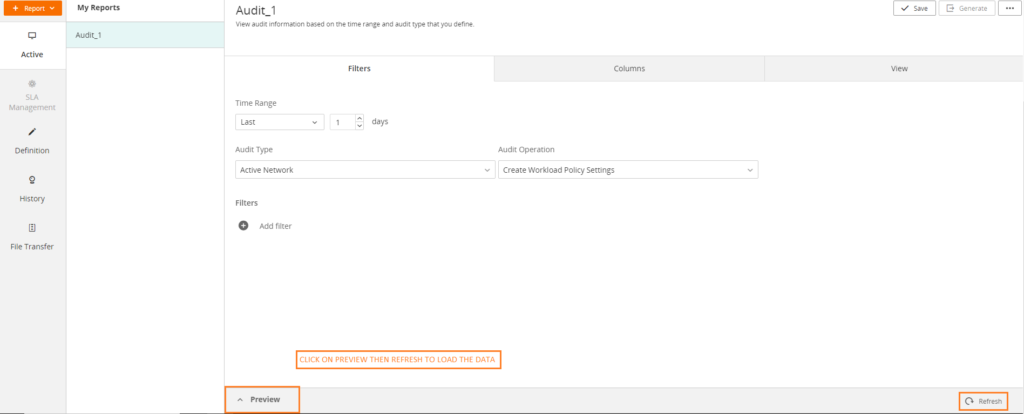
- Click on Preview and Refresh to display users who created the Workload Policy
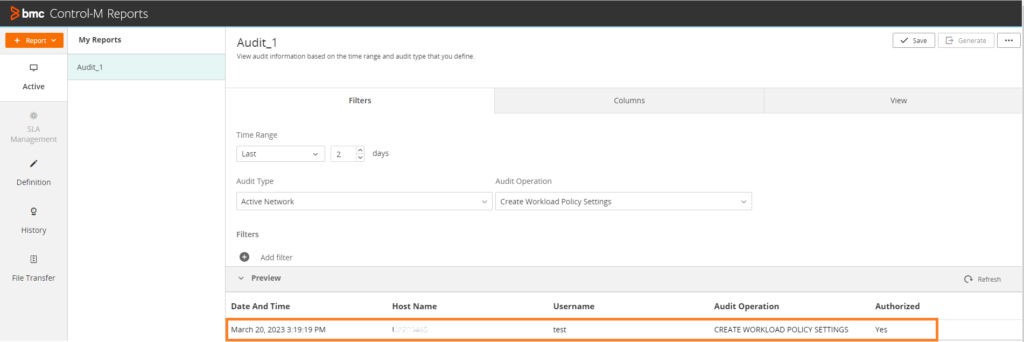
That’s it !You can now see the Workload Policy creator and the creation date 🙂
- For our specific case , we can select All in the audit operation drop-down menu to also display the Workload Policy updates
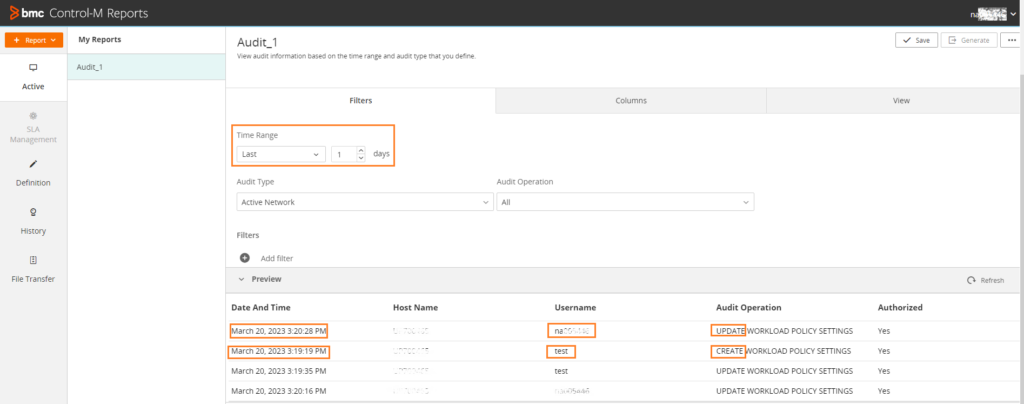
Now we see that I made some changes with my user na******* ( check the username date and audit operation to have all the info.)
Note:
You also have the host name, which is even better
What else?
You can also directly generate a report and send it later or re-use it for your audit operations.
You can also share your reports with other users ( also the reports templates 🙂 )
We will probably see that in a new blog!
You have so much components you can monitor with this tool, it’s absolutely great !
Conclusion
You now have the keys to investigate deeper on Control-M and have a good way to monitor action done on your infrastructure 🙂
Control-M offers many possibilities to sort what you need, here we found who is the Workload Policy Creator but you can have loads of options.
You can for example find who forced/ordered a job or who deleted a folder, we will see that maybe next time.
For me moment I invite you to check my other blogs and also take a look at dbi bloggers to share with us some knowledge and also some tips and tricks on you favorite tools !
![Thumbnail [90x90]](https://www.dbi-services.com/blog/wp-content/uploads/2022/09/DDI_web-min-scaled.jpg)