Introduction
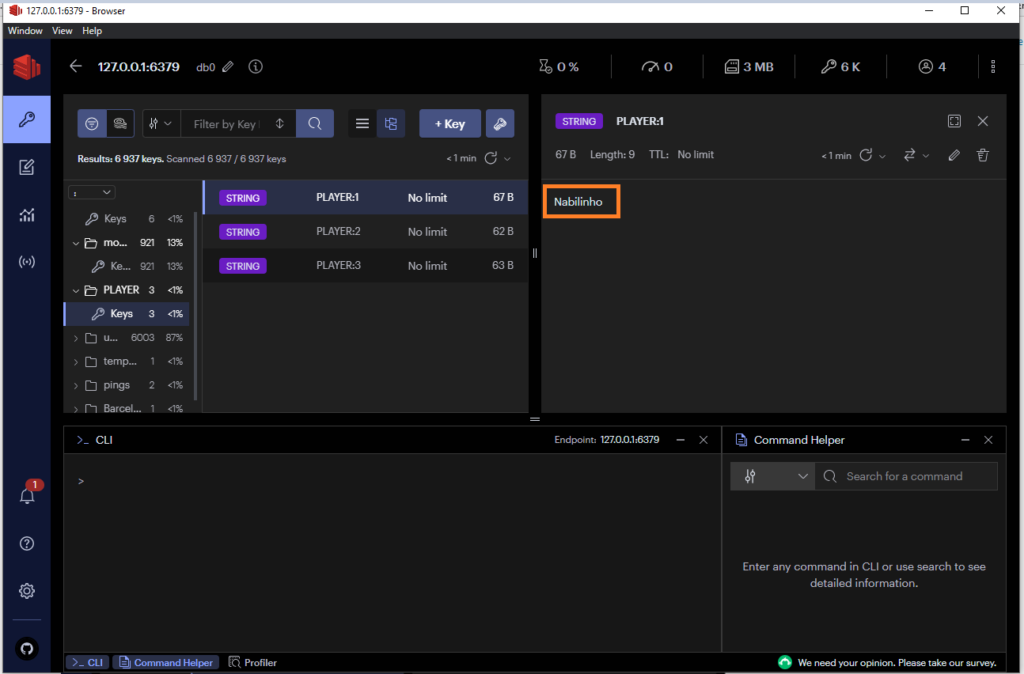
During a previous post, we saw how to browse in your Redis data using it’s official tool Redis insight 🙂
As per a customer request we want to centralize all data types and tool in one tool.
How to proceed?For this topic we will use a database manager named DBeaver
Unfortunately this tool is not supporting Redis, unless we make some tuning.
That’s what we will see below!
What’s DBeaver
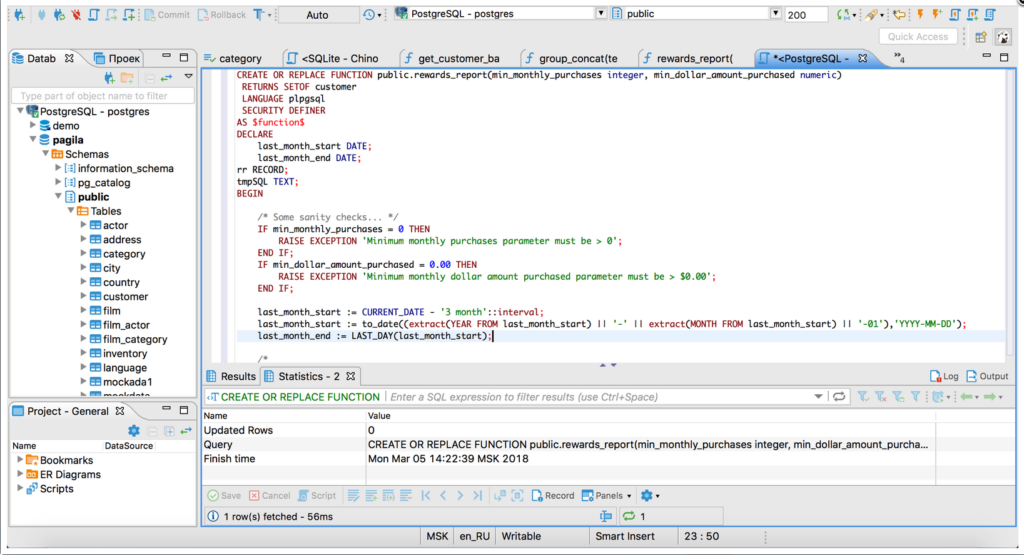
It’s a Free multi-platform database tool for developers, database administrators, analysts and all people who need to work with databases. Supports all popular databases: MySQL, PostgreSQL, SQLite, Oracle, DB2, SQL Server, Sybase, MS Access, Teradata, Firebird, Apache Hive, Phoenix, Presto, etc.
it’s similar also to PGadmin I used for this Control-M Blog
- Example of display from Dbeaver site:
Use a JDBC file for Redis
As said before we can’t access directly the Redis data unless we use a JDBC file.
You can develop it if you have the skills for 🙂 or you can download and use one JDBC compiled file.
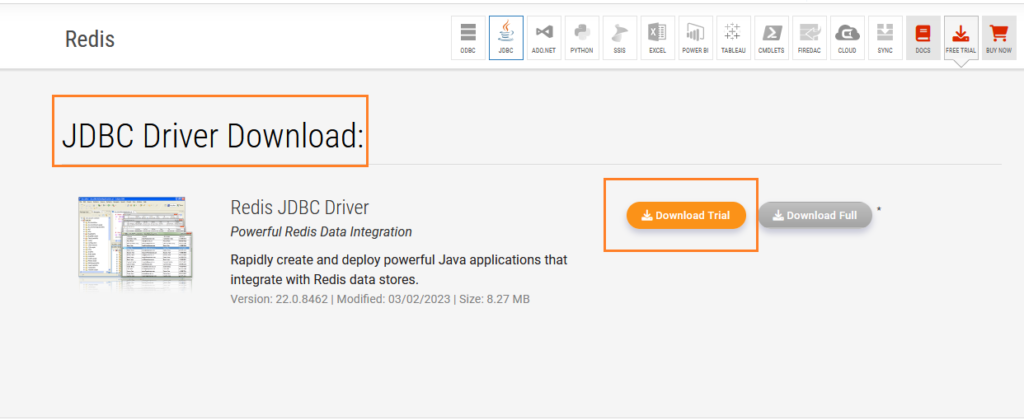
For a test purpose and to show you how to use this JDBC with DBeaver I have downloaded the trial version from a site named cdata
Download the Redis JDBC file
- Download the JDBC here , of course you can find Redis JDBC file else where if you are sure of the source ( next time I will make a post with another source and present it with another DB manager )
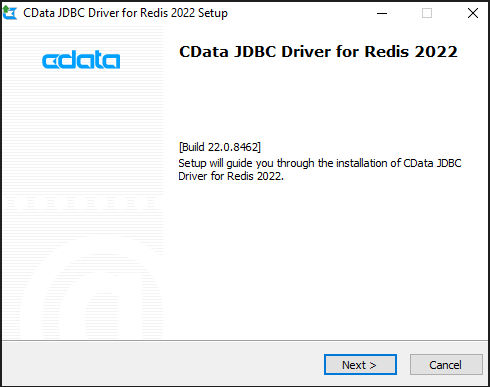
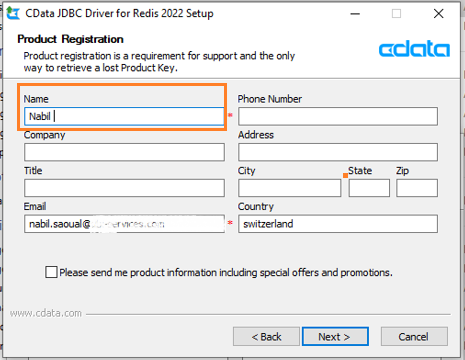
- Start the installer
- Select trial or definitive version
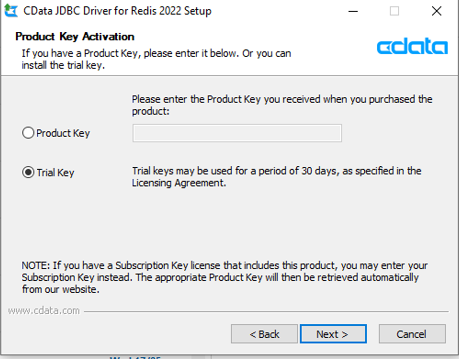
- As it is a trial I have received a temporary key I have to input my mail address
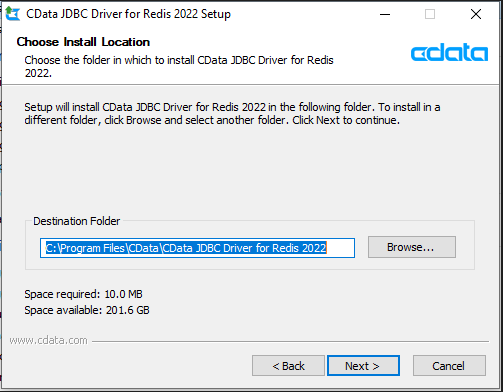
- Choose your installation Path
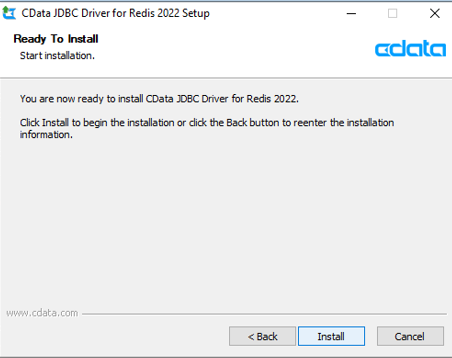
- Click on install
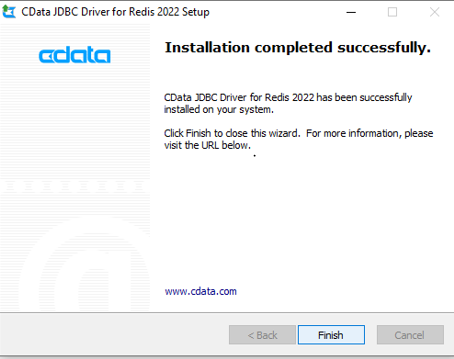
- That’s it, now it is finished
Load the Redis JDBC file in DBeaver
- Select the database type
- Select driver manager

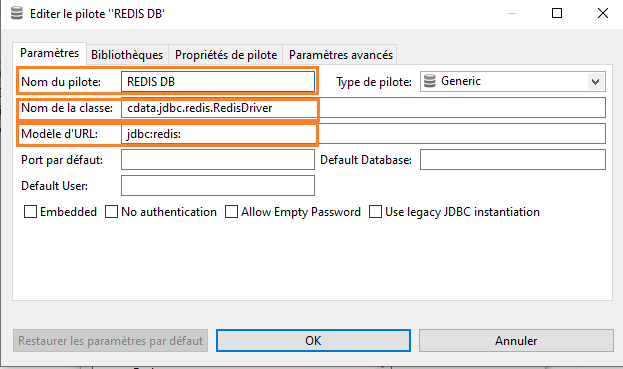
- Add name to your driverfor example Redis DB
- Add the class name : cdata.jdbc.redis.RedisDriver
- Add the url jdbc:redis
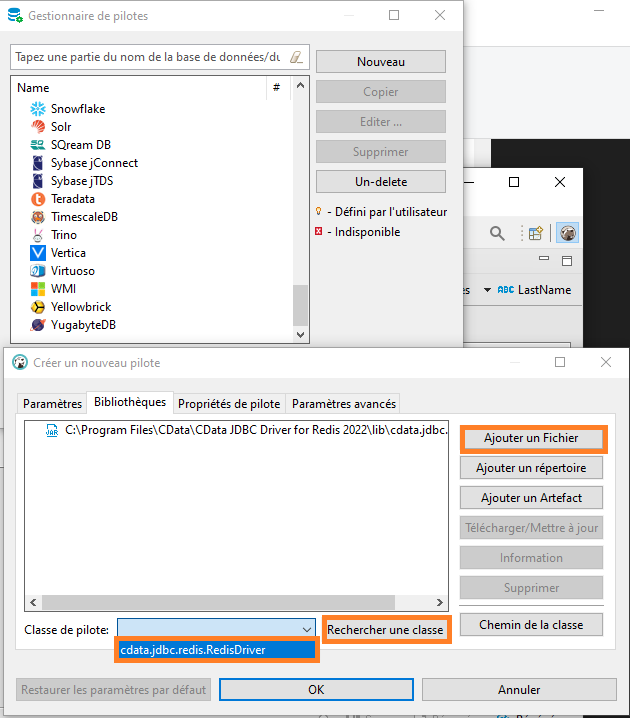
- Select the JAR file in the installation path
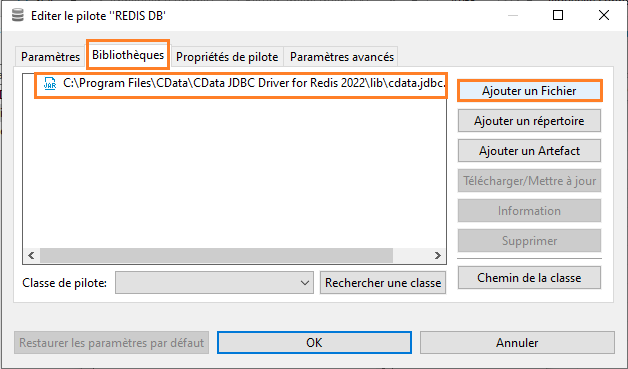
- Add the jar file

- Click on the “find class” button
Connect to your Redis database
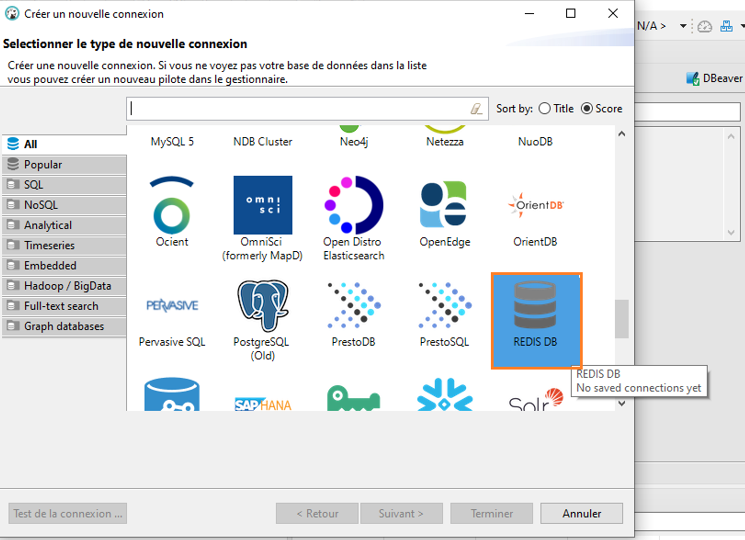
- Select new connection
- Choose the REDIS DB driver you created before
- In the REDIS DB connection parameters add the desired option ( URL , IP, Password )
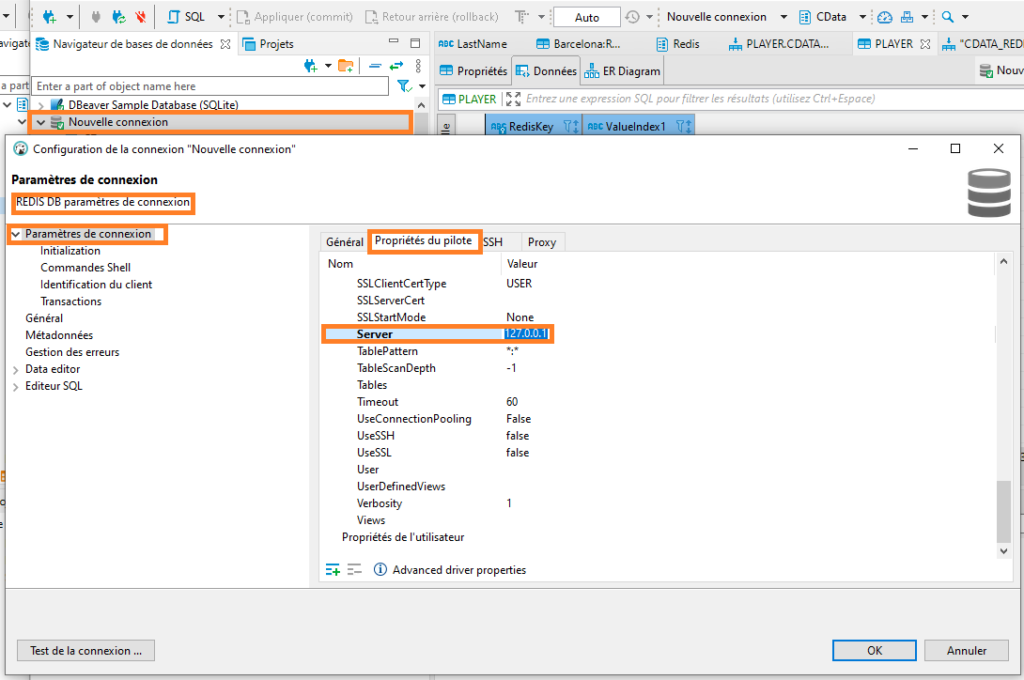
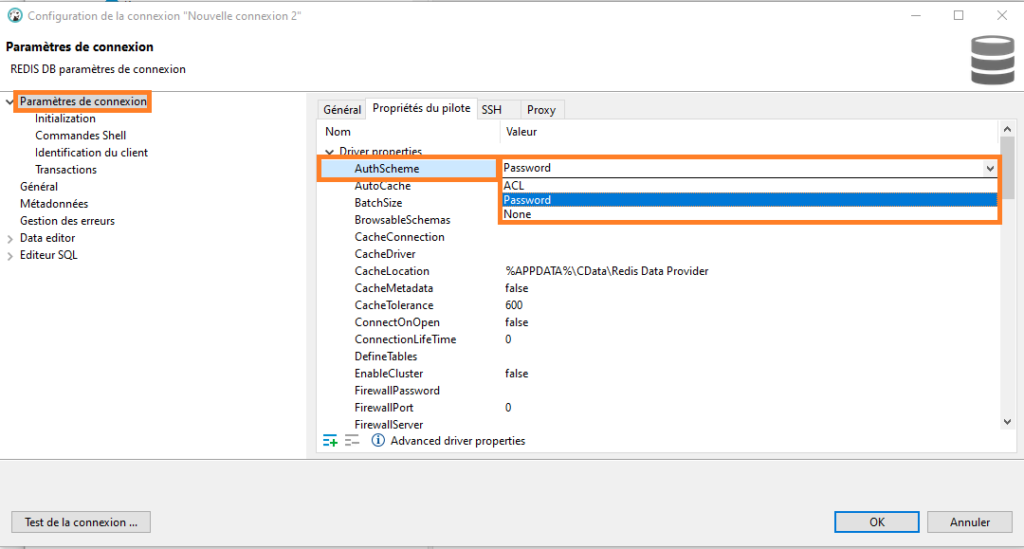
- You can choose your authentication method by updating the field AuthScheme
- Test the connection
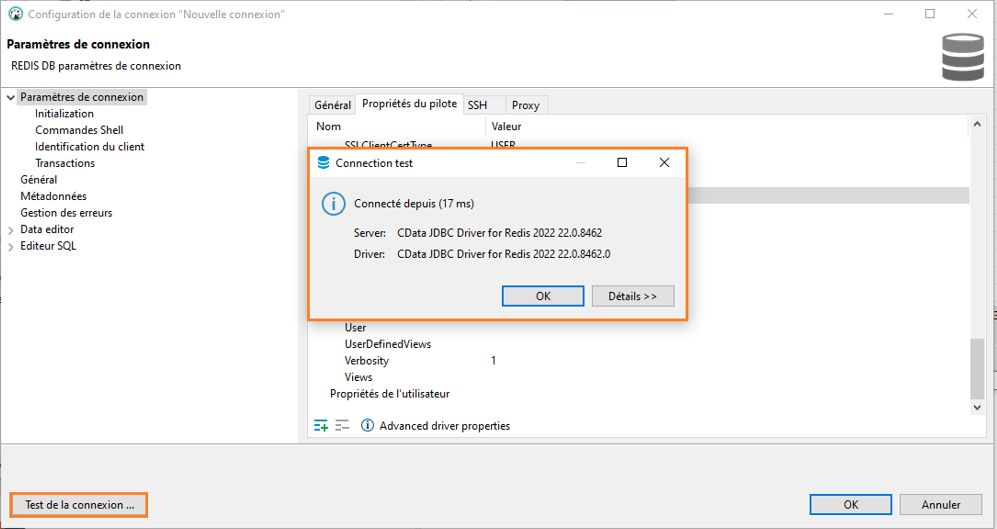
- All is fine now.We can check if the DB is available

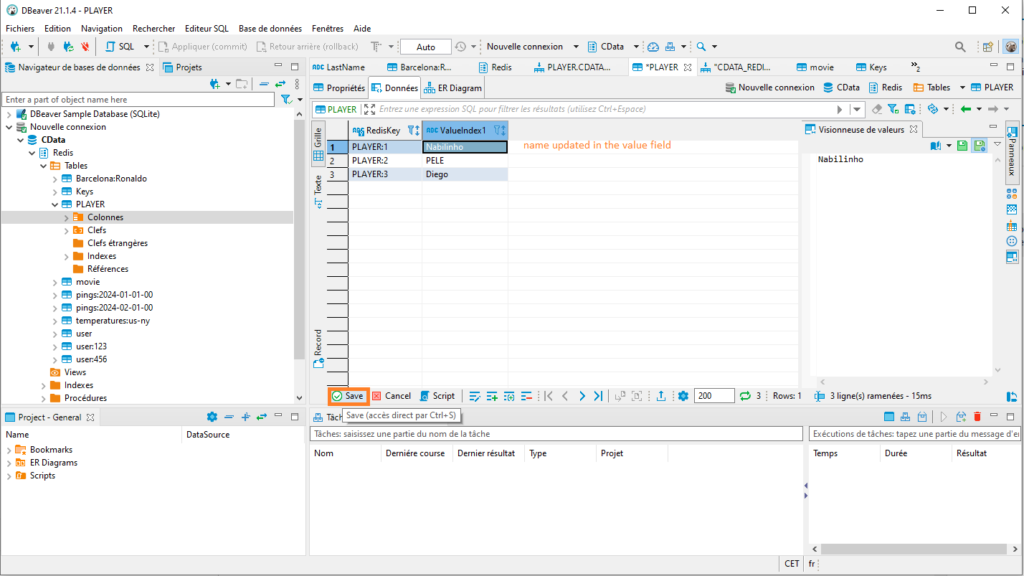
- We will check if we can update the player name from the KEY named PLAYER:1.
DON’T FORGET TO SAVE to take in account your value update
- Wait few sec for the refresh
- As expected my Redis DB data are displaying and are updated with my new nickname
Everything looks OK, you can now work on Redis with this DB centralization tool 🙂
( Bear in mind that JDBC file in this example is a trial , you can choose to use the definitive version or to find another JDBC file , it is only informative, by the way a big thank you to cdata for having developed this feature it is a great job and working as a charm !)
Conclusion
Here it is 🙂 Now we know how to use Redis with DBeaver.
I will probably get new JDBC file to show you how to use it with another tool as said previously ,like that you will know how to manage your Redis data in another way.
Don’t hesitate to take a look on my other blogs and also on dbi bloggers site to share and discover new tips and tricks 🙂