Introduction
Hi Team
As you know Redis is an open source, in-memory data store used by millions of developers as a database, cache, streaming engine, and message broker.
Such a pretty cool tool , so what could be better than being able to install it on your Windows machine?:) ( I know ,I know : having it on a Linux machine 😀 )
But let’s focus on the Redis installation on your Windows10
There are many methods we can use to achieve that ,so in this blog we will check the first I used and next time we will check the part 2.
Also after our installation we will link it to our RedisInsight software and see how to add some elements inside
Note:
Redis is not officially supported on Windows
Prerequisite
I work on a Windows 10 machine the best is to have the latest release and updates but I think it can work with older version.
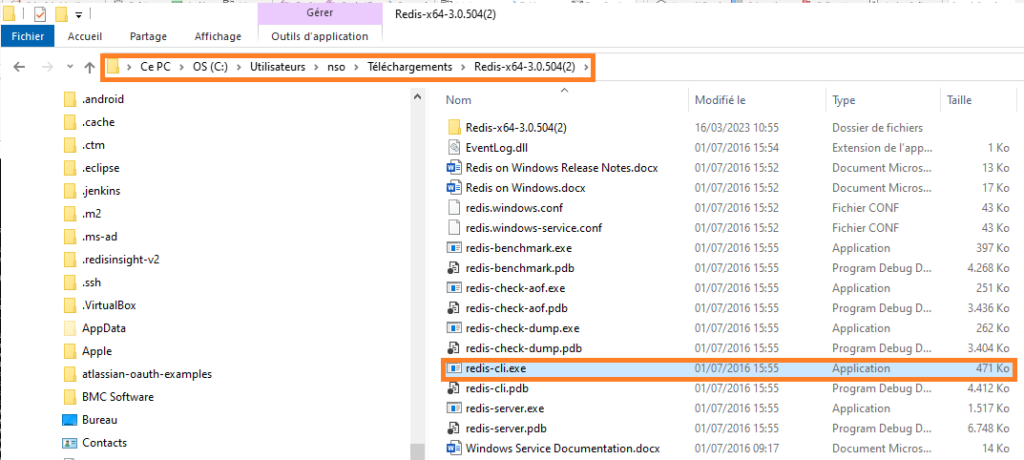
Download the binaries
- Go to the below url and download the Redis version you want ( better to have the latest )
https://github.com/microsoftarchive/redis/releases?page=1
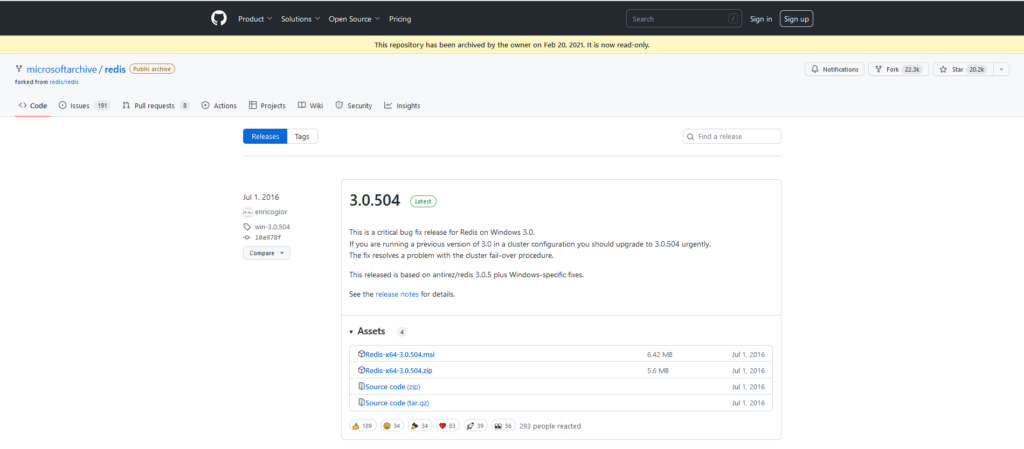
- Download the zip file
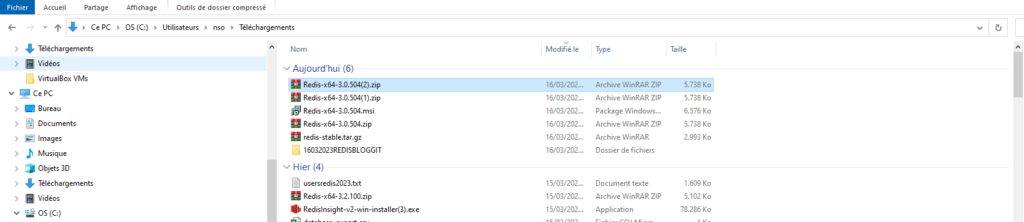
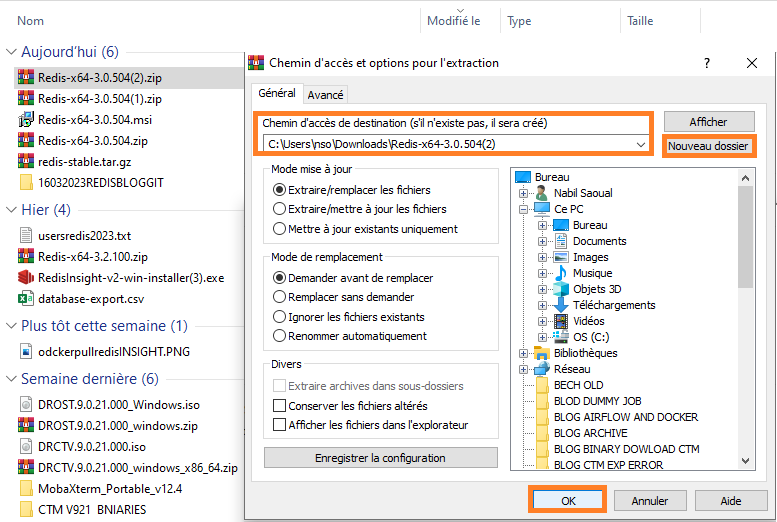
- Extract it in a folder
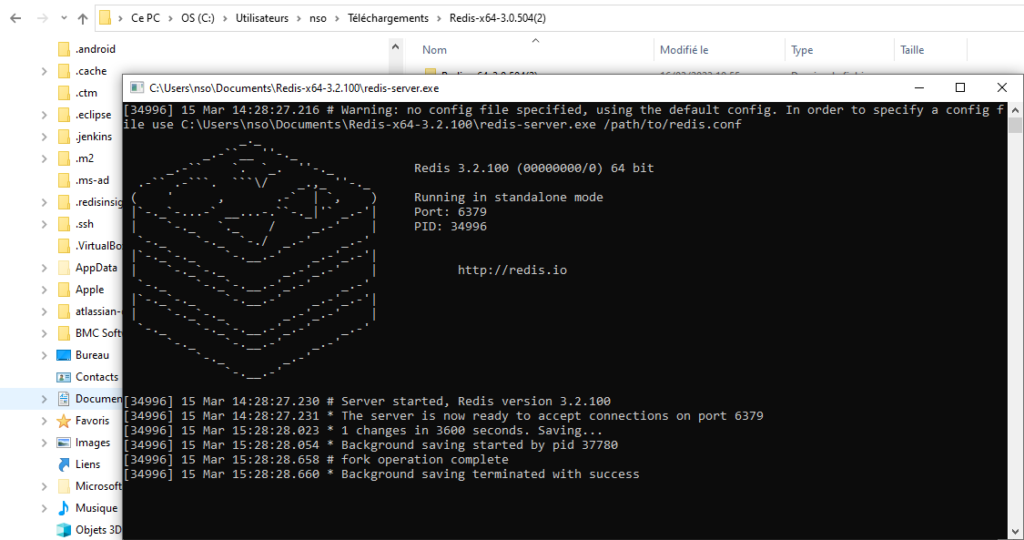
Start your Redis server
- Launch the redis-server.exe file
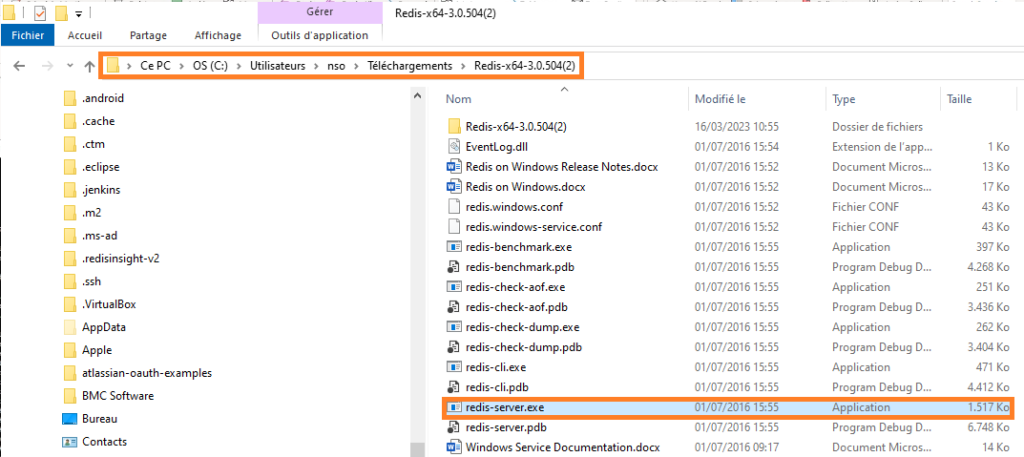
A cmd windows will display showing all Redis detail
- Your Redis server is now up!
Run commands on Redis
- Launch redis-cli.exe file
- A cmd windows will display allowing you to run your commands

- Create your first key
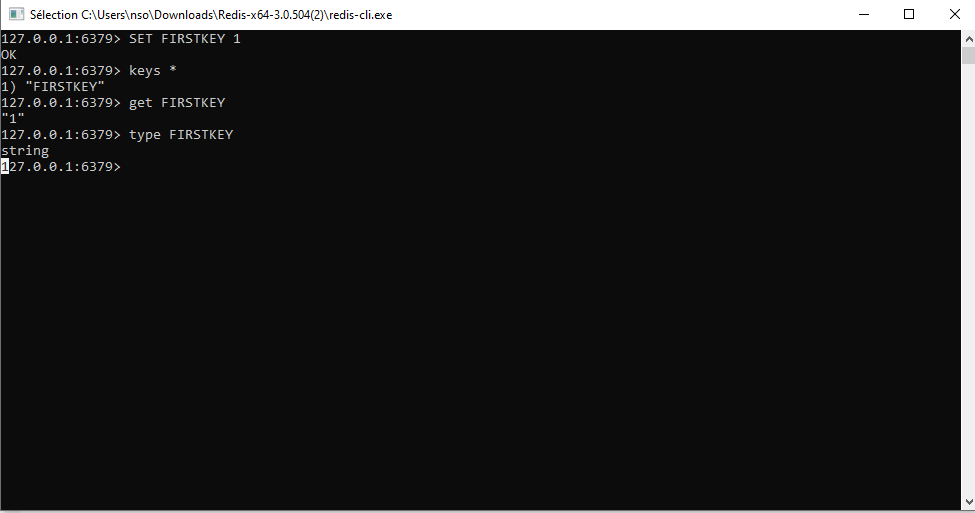
- Use the command to create a KEY,then give it a value ( 1 for example )
SET FIRSTKEY 1
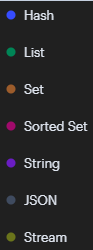
- As you know Redis as many types of KEYS
- To know the type of the key use this command
TYPE FIRSTKEY
- And finally to list the keys created you can use this command
KEYS *
Note that command are note case sensitive
Also bare in mind that KEYS * is not best practice as it is scanning all the database so can impact your Redis performance if a lot of keys are scanned
- Using SCAN command is safer
SCAN 10

- Note from Redis site:
Warning: Consider KEYS as a command that should only be used in production environments with extreme care. It may ruin performance when it is executed against large databases. This command is intended for debugging and special operations, such as changing your keyspace layout. Don’t use KEYS in your regular application code. If you’re looking for a way to find keys in a subset of your keyspace, consider using SCAN or sets.
Link your DB to Redisinsight
Now you have your Redis UP and running we will use RedisInsight to have a more comfortable usage
If you don’t remember how to use and install RedisInsight follow my previous blog
- Open RedisInsight and define your REDIS database
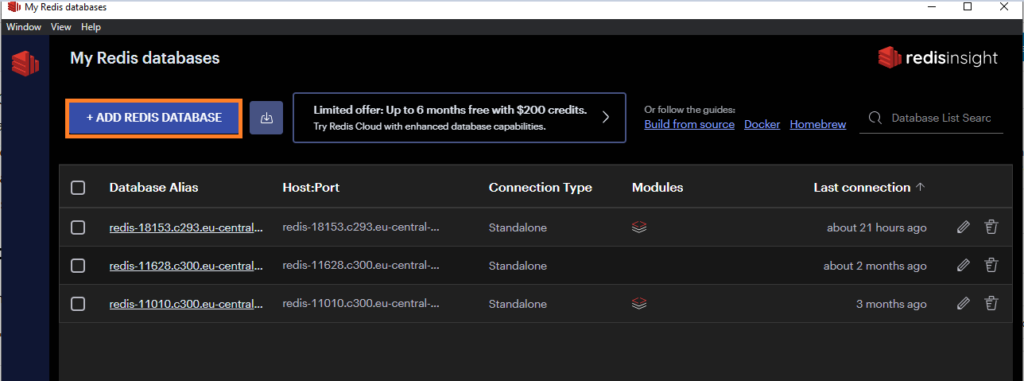
- Click on “Add redis database” button and fill the fields
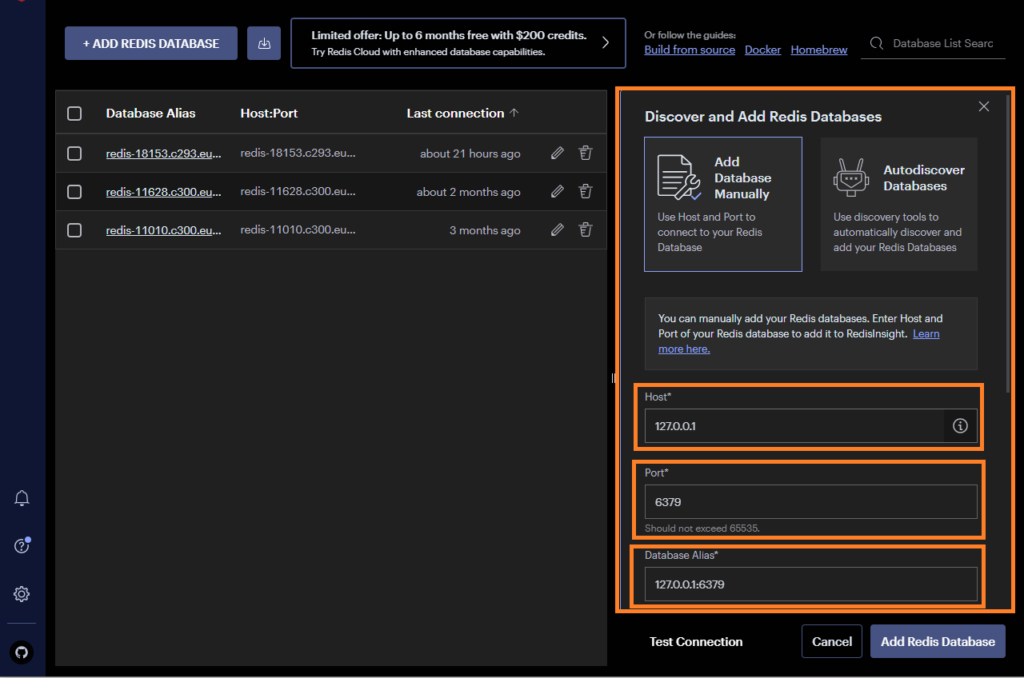
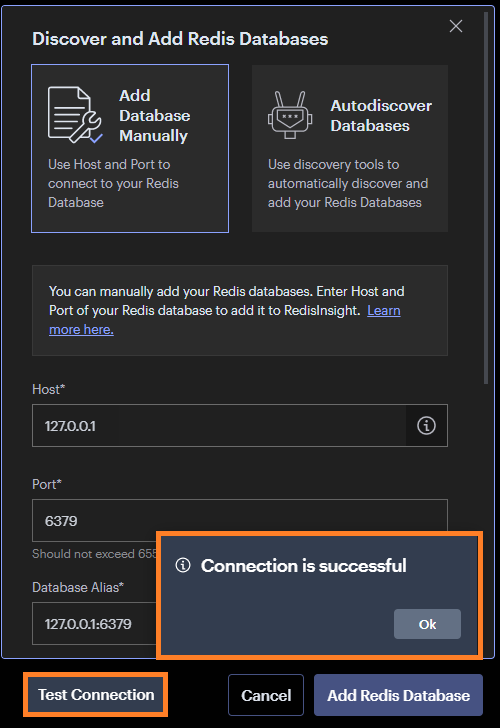
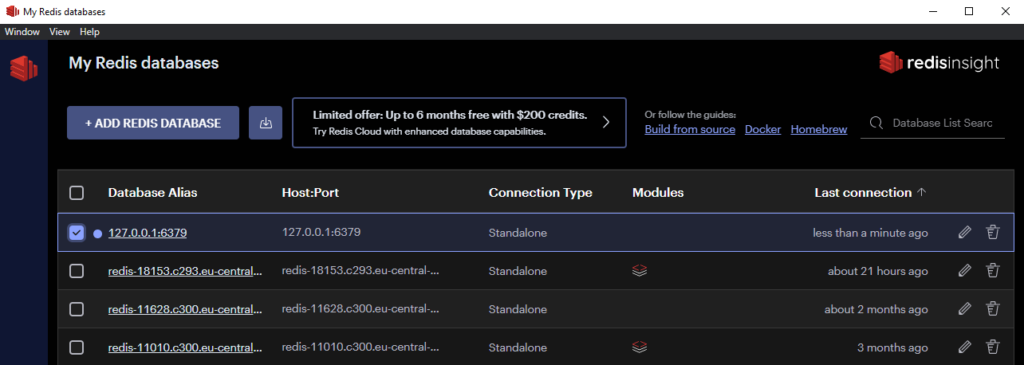
- Once your data input you can test your connection then click on Add Redis Database
- You can now open your fresh Redis database and check if our FIRSTKEY is here
- Use the RedisInsight interface to retrieve your created key

- You can also see that the KEY type is STRING as seen above,we can also create a SECONDKEY from another type using RedisInsight
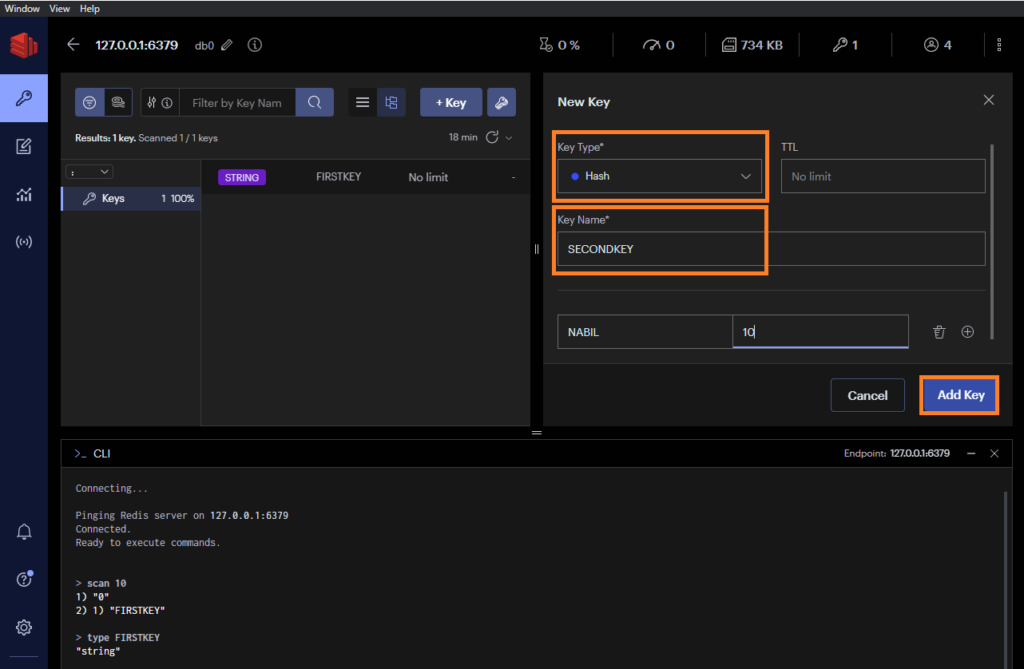
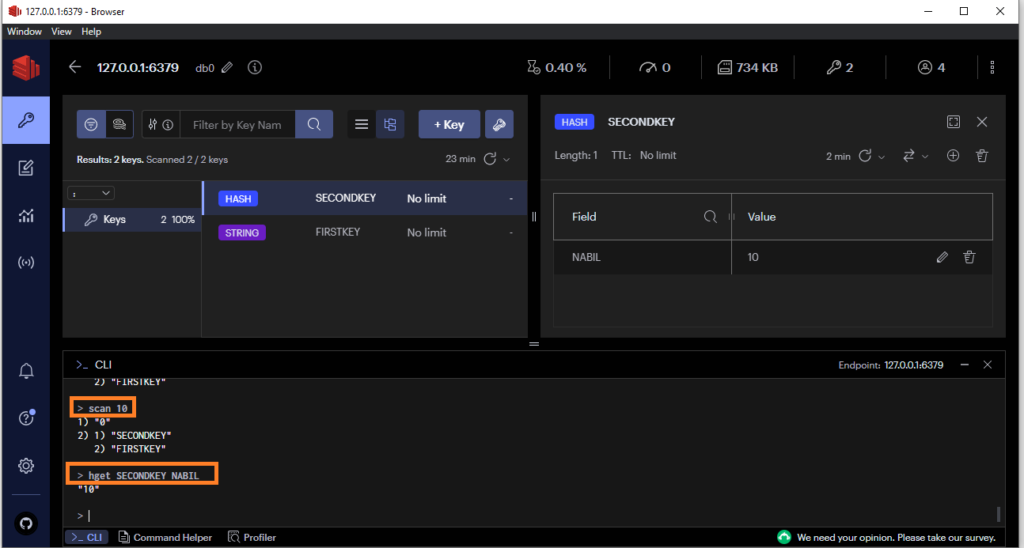
- We can now see if the new key is here
Check on Redis-cli
Let’s type the same command to see if all is fine using the redis-cli exe file
- Type the below command using Redis-cli
HGET SECONDKEY NABIL
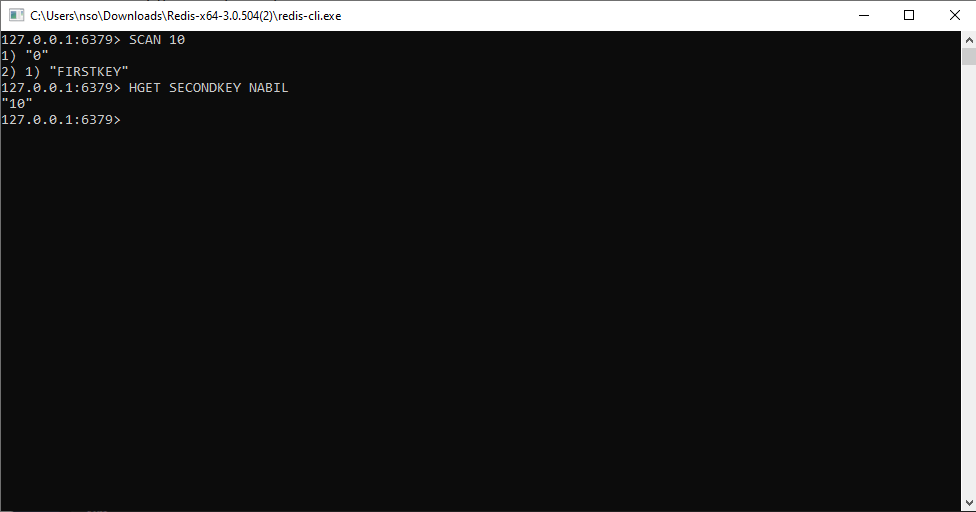
Result:
It is working!!!We can perform and retrieve our tasks in the redis-cli used with redis-cli exe file and also we can work way comfortably by using RedisInsight interface
Conclusion
You have now installed Redis on your Windows laptop and can start to create your own KEYS and discoverer all the power of Redis ! 🙂
Next time we will see how to install a Redis server using the Microsoft store to install Ubuntu ….or OpenSuse 🙂
![Thumbnail [90x90]](https://www.dbi-services.com/blog/wp-content/uploads/2025/05/JDE_Web-1-scaled.jpg)
samaneh
27.09.2023Does it support TimeSeries module?
Hi Samaneh
TimeSeries module is a component of Redis Stack, so you need to have Redis Stack installed to be able to use it, so I am afraid that it will not be supported for this Redis msi installation.
You can check here if you want to install Redis stack on Windows