Introduction:
Users are always searching to ease their life when using their favorite Nosql tool such as MongoDB.
Current methods are fine but what if you want to go further when developing on MongoDB?Is their any way to edit your files, update it use scripts and more?The answer is YES!
By using the MongoDB extension for VS code you will be able to work on your database with more flexibility and open the was to many development possibility.
Today it will be an overview and also how to install VS code extension and connect it to your existing MongoDB database.
Let see how it looks like!
What is VS studio?
Visual Studio Code is a lightweight but powerful source code editor which runs on your desktop and is available for Windows, macOS and Linux. It comes with built-in support for JavaScript, TypeScript and Node.js and has a rich ecosystem of extensions for other languages and runtimes (such as C++, C#, Java, Python, PHP, Go, .NET).
What is MongoDB for VS Studio extension?
MongoDB for VS Code allows you to work on MongoDB directly from your VS Code environment. MongoDB for VS Code is well adapted for MongoDB Atlas tool, but in our case we will use it with ourself-managed MongoDB instances.
What are the main features?
Here is a list of what MongoDB for VS Code can offer you (note that this is not exhaustive you have for example auto-completion, syntax highlighting feature and many other cool enhancement)
Browse into your MongoDB Data
- You can browse into your databases, collections, and read-only views
- You can list the documents in your collections
- You can Edit your documents and save changes to the database
- Get a quick overview of your schema and your indexes
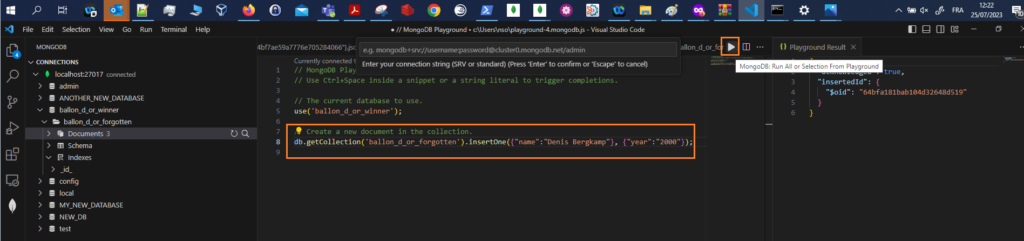
MongoDB Playgrounds
it’s a great feature which allows you to edit your files, test, automatize and execute CRUD operations and other MongoDB commands directly inside Visual studio Code.
- Prototype your queries, aggregations, and MongoDB commands with convenient syntax highlighting and intelligent autocomplete for MongoDB Shell API, BSON types, MongoDB Query API, system variables, and for database, collection, and field names.
- Run your playgrounds and see the results instantly. Click the play button in the tab bar to see the output.
- Edit documents returned by your playground.
- Save your playground together with your application code to always have a place where all your queries are documented and can be tested just with one click.
important:You must be connected to your database to take profit of this feature,otherwise you will not be able to use it.
Another post will be done to explore this feature as it is one of the most interesting 🙂
From Query API to your favorite language
You can select your queries and translate it to many languages such as :
- Python 3
- Ruby
- Java
- Node.js
- C#
It’s an amazing feature and it will for sure ease the life of many users :O
I will probably try this and give you a feedback as it is also a great feature to format your code!
Document Editor
Using the code editor you will edit and update your documents as in a classic editor file , then you just have to save it!
Use the MongoDB Shell
From the user interface you can call the Mongo shell to perform your queries
Terraform snippet for MongoDB Atlas
This feature is for Terraform users ( not my case for the moment but who knows..)
Download and install VS code
Before using the MongoDB VS Code extension, you need to have VS Code installed on your system.
- Connect to your MongoDB account ( if you don’t have I invite you to subscribe you will benefit of a free cluster and other features)
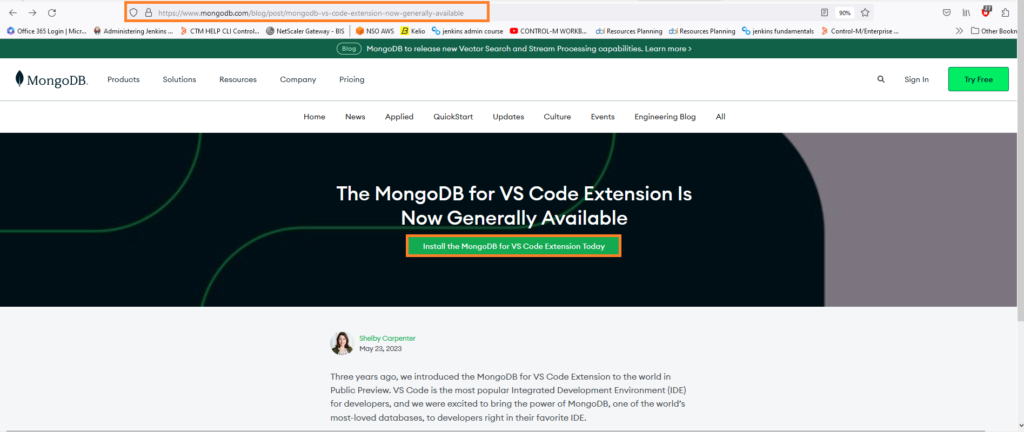
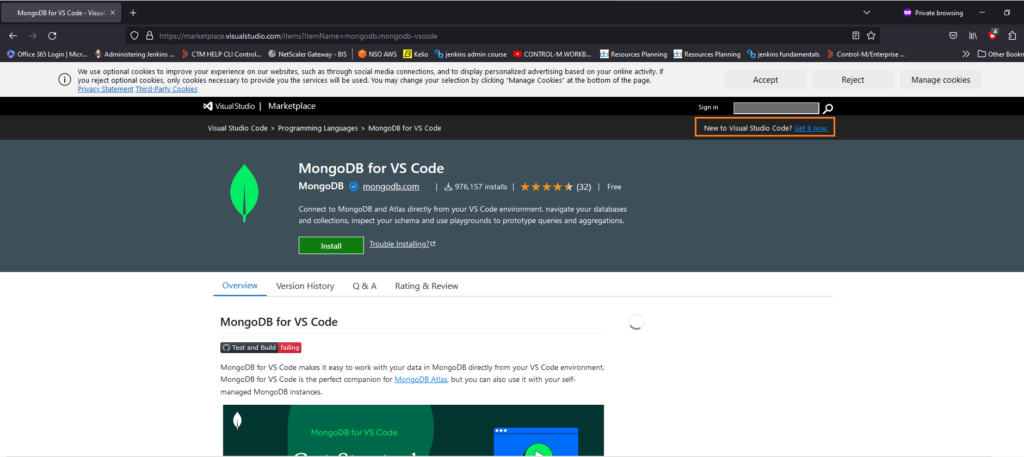
- Go the extension page and click on “Install MongoDB for VS Code extension“
- If you have VS Code installed, then the MongoDB for VS Code install will be done
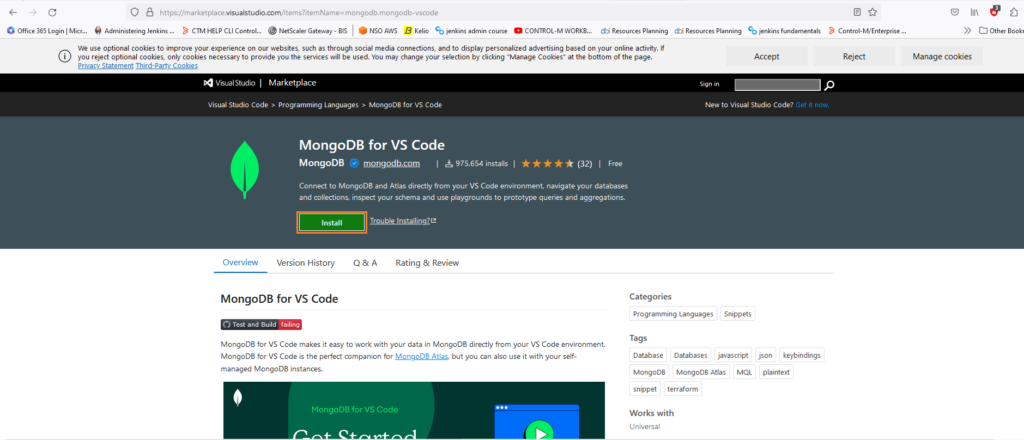
- If it is not the case you must install VS Code before
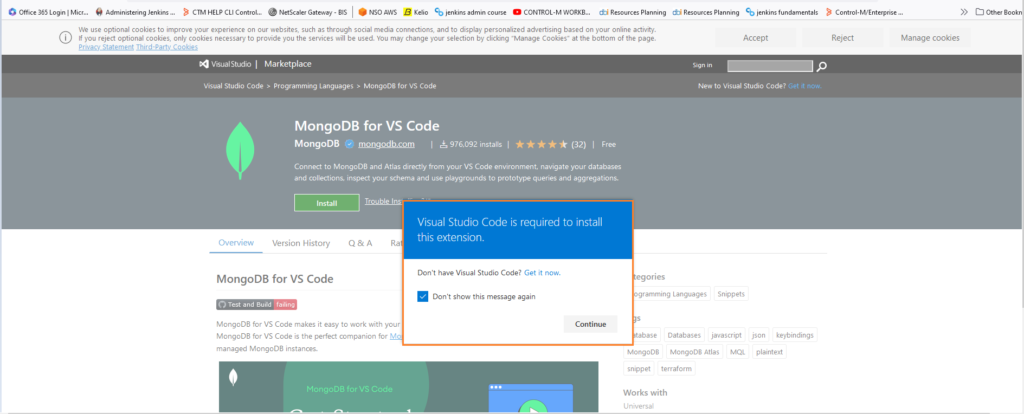
- Go on VS code download page by clicking on “get it now“
- The install starts
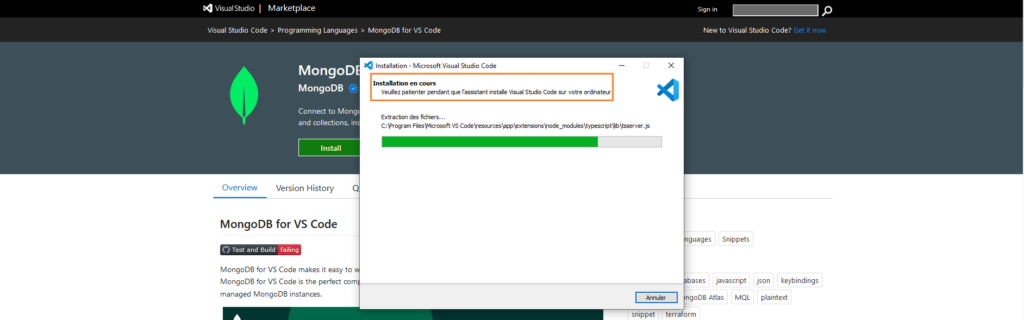
- Let the VS Code installation finish
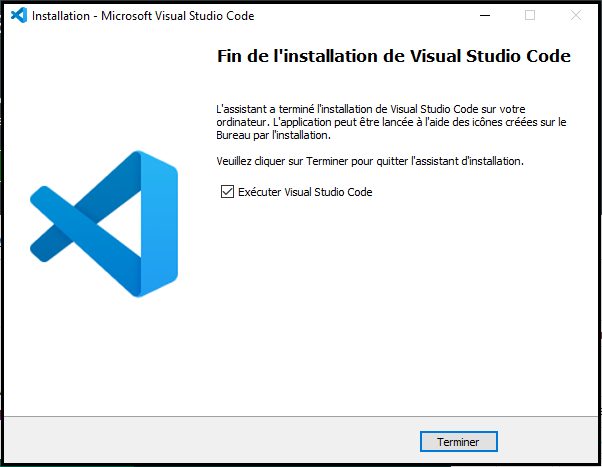
- Install the extension now

- If you use WSL you can also install the extension to be able to browse in your wsl folders.

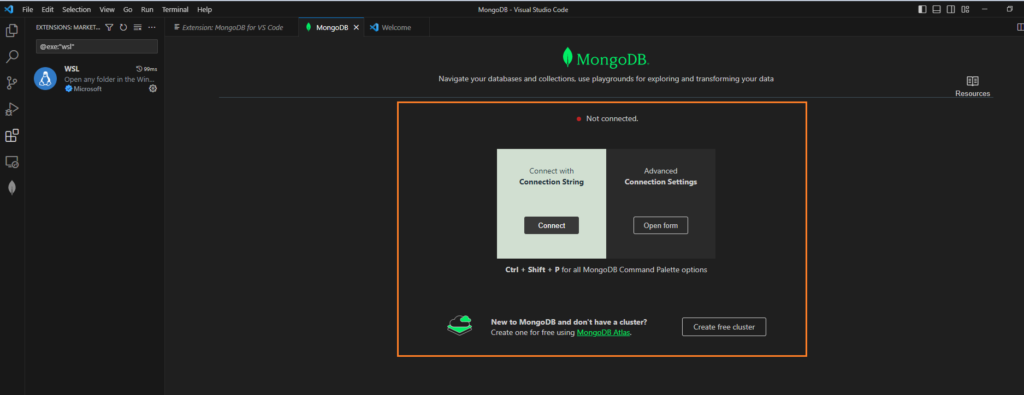
- You are now ready to connect to your database
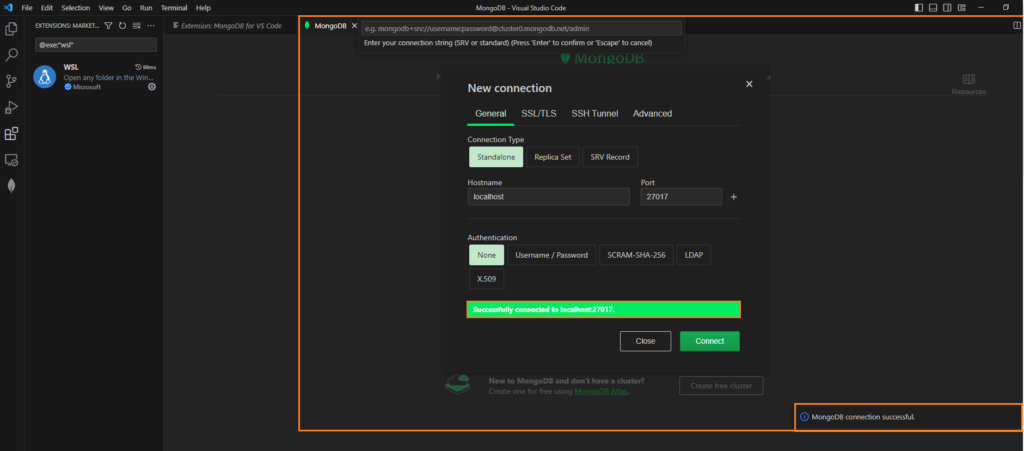
Connect to your MongoDB database
- Select “connect” and add your database info
- In this example, I will connect to my local DB on the default port
Browse into your data
- Your database must be started , you can check in parallel with your mongosh terminal

- Mongo is UP and running,it is time to open Mongosh
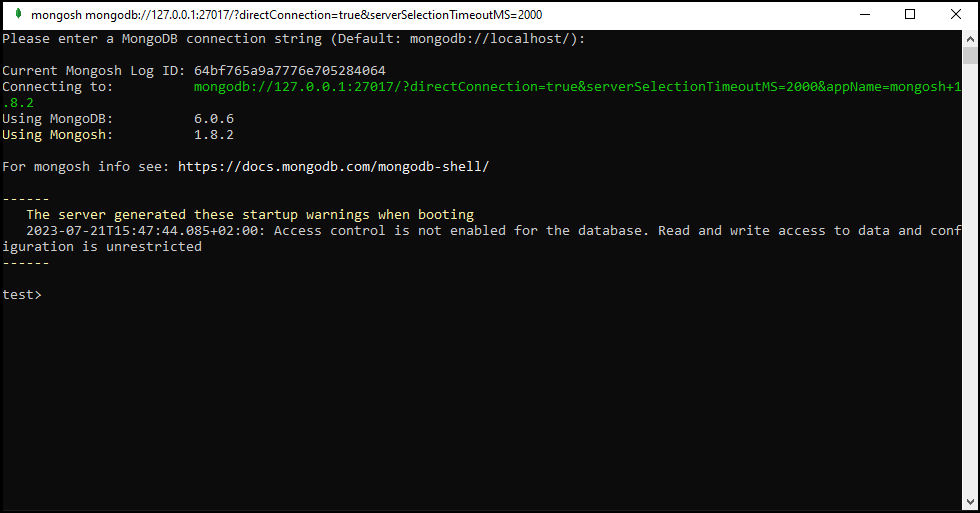
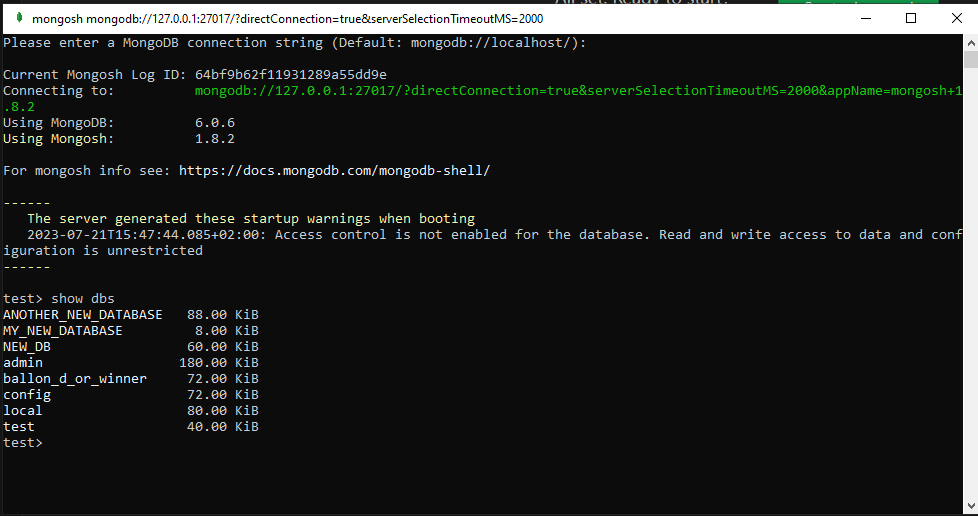
- Check your existing database
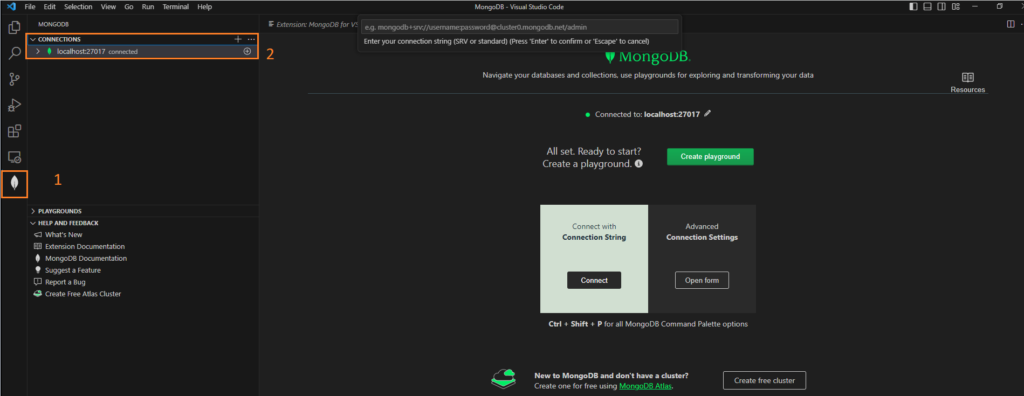
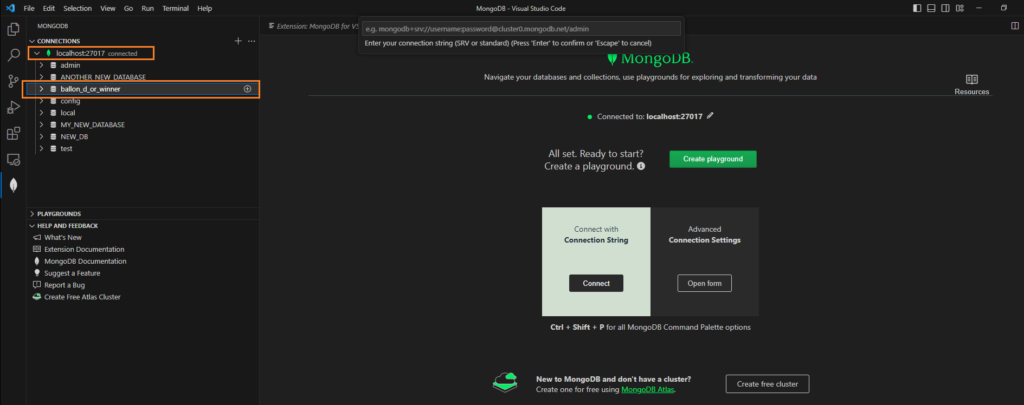
- Go on VS Code and browse into your data
Click on the Mongo Icon ( the leaf )
- You can now deploy the tree and see all components of your database
We can see the documents, schema, indexes collections and so on, it works! 🙂
- Open a document of the collection
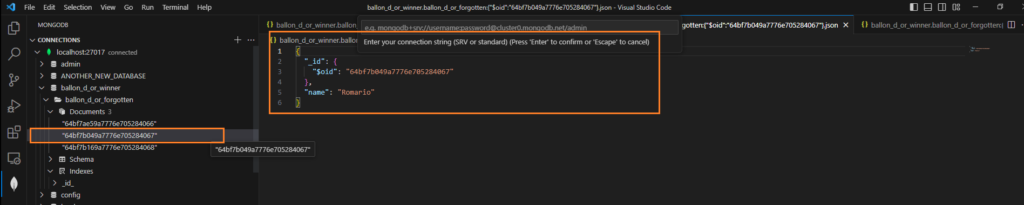
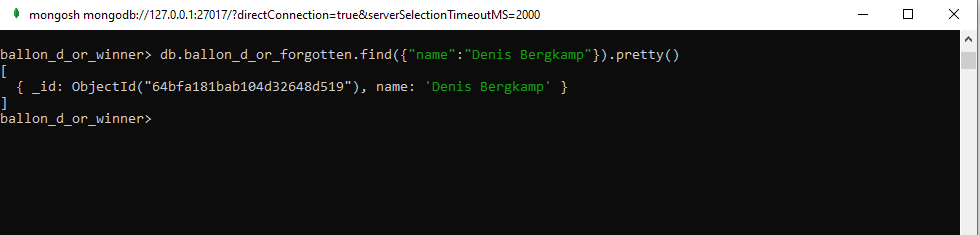
- We can compare it with the classic Mongo shell
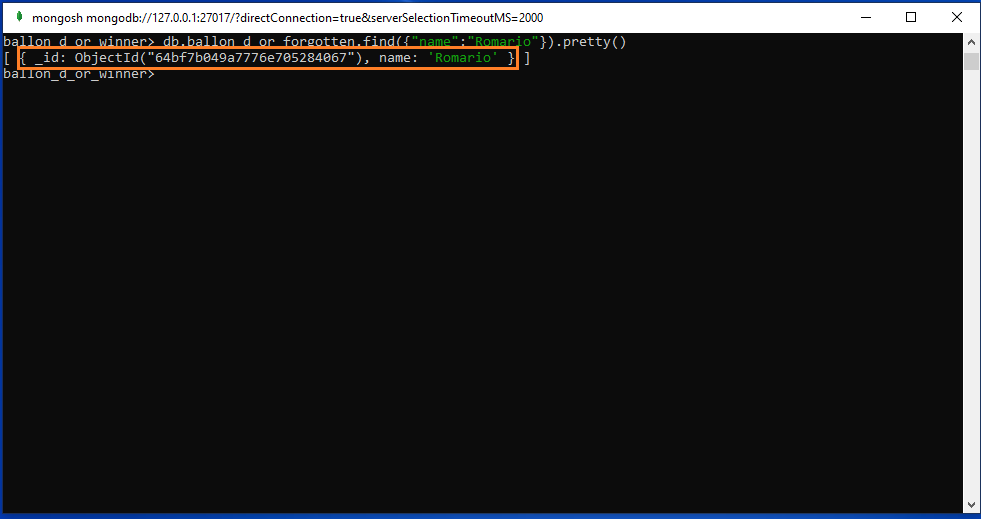
That is corresponding.
- So now we are able to update the data and create also new entries by using the VS Code.
Quick example with the playground feature ( will be developed in the next posts )
- When using MongoDB shell we can see that the input was done
Conclusion
That’s it!
Now you have an overview of the MongoDB extension for VS Code.
Many features inside such as text editor, playground, language converter and so on!
Installation is quick and easy, so let’s try it and give a feedback ( from my side I will continue to explore these features and come back to you later )
Feel free to check my other blogs and see you for the next post!
![Thumbnail [90x90]](https://www.dbi-services.com/blog/wp-content/uploads/2025/05/JDE_Web-1-scaled.jpg)