Introduction
MongoDB is a no sql database based on key value pair database ( as Redis )
In this topic we will check how to install MongoDB Community edition using the MSI file ( with cmd method and setup wizard method )
After that we will be able to use Mongo DB on our windows system and begin to work on Mongo requests 🙂
Installation with MSI and Setup wizard
- Install Mongo Server
First step is to go on MongoDB site and select the binaries for MSI file
Follow this link
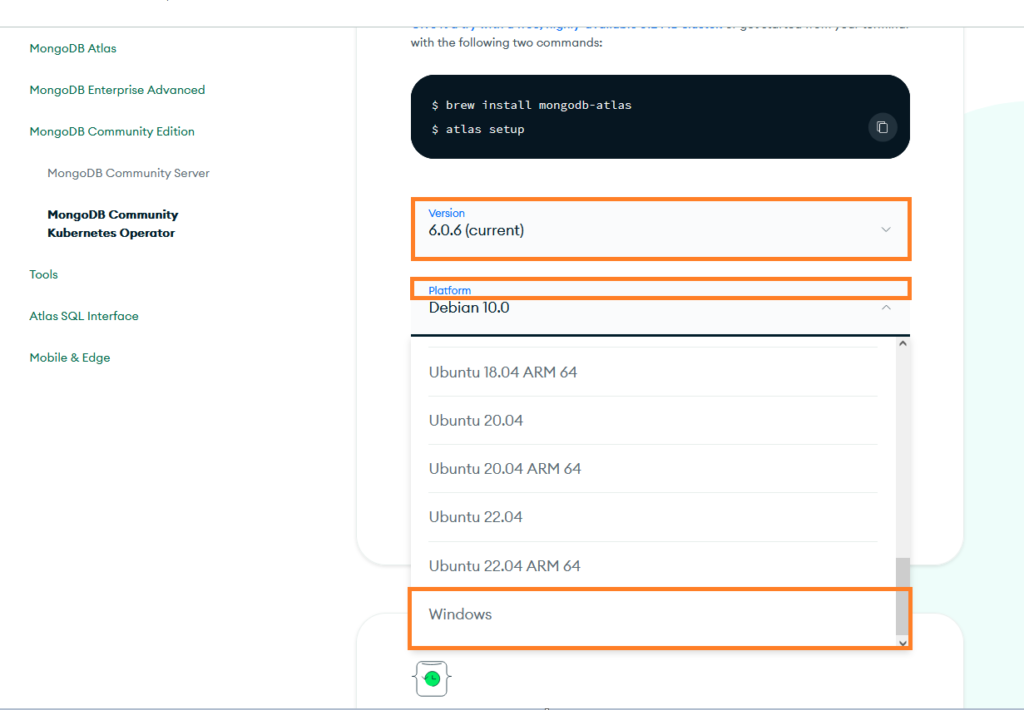
Note:
You can also download Mongo Server for many distributions such as Ubuntu or Debian
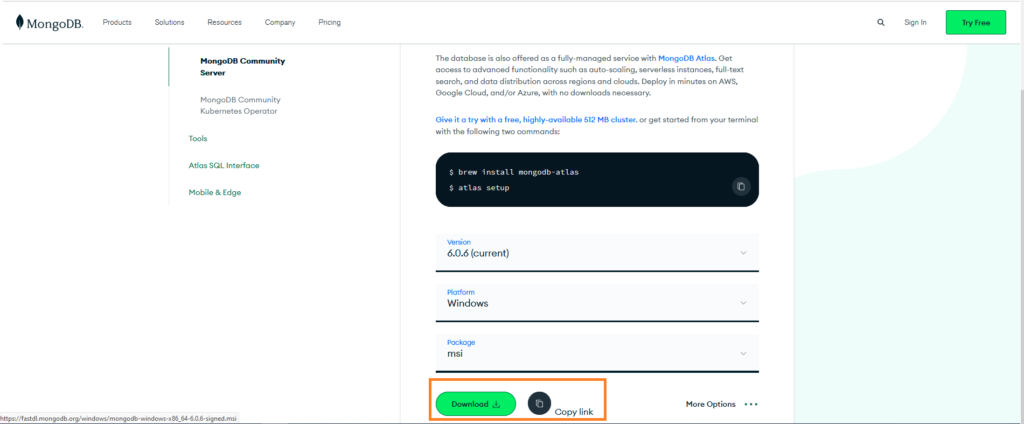
- Click on download , you will get an installer
Note:
You can start it with user interface or launch it by command line we will see that in the second part
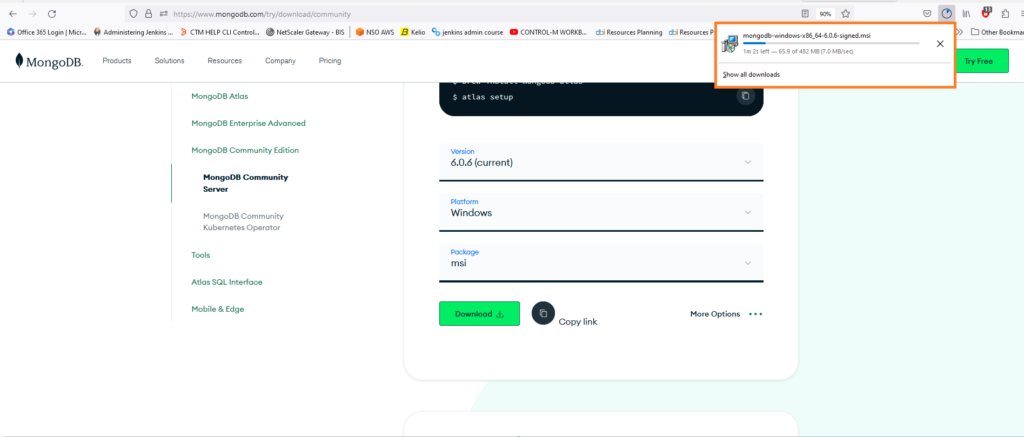
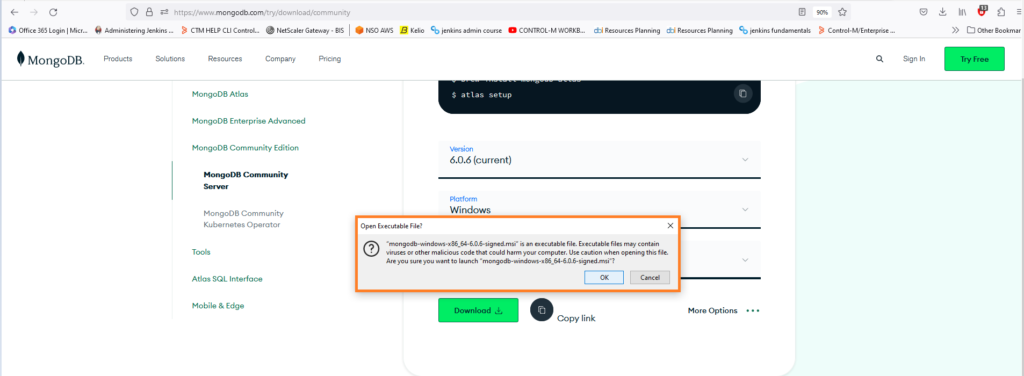
- Accept the warning message
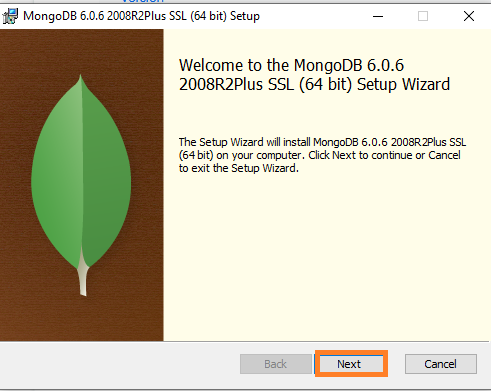
- Click on next on the installation wizard
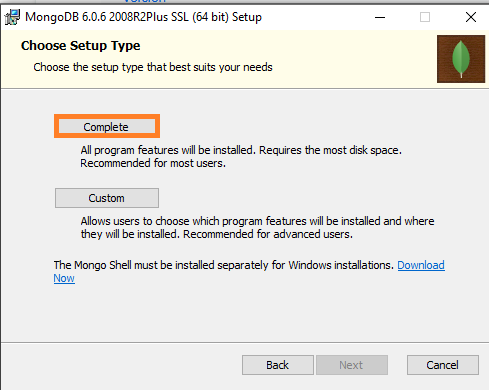
- Select you setup type ( complete or custom )
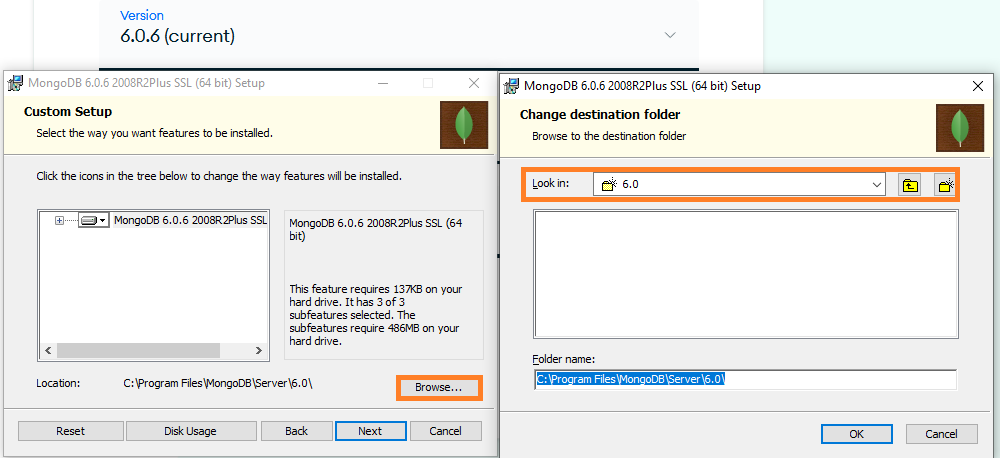
- I selected custom in order to chose the installation and data/log directory
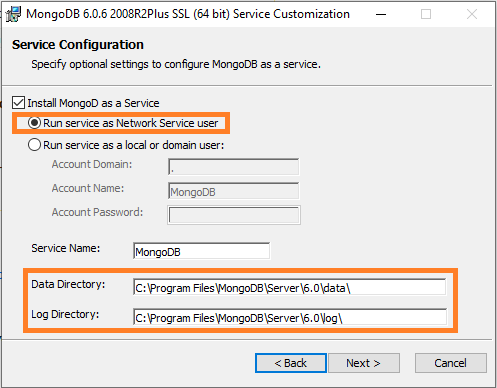
Select if you want to install Mongo D as a service or as a Local or domain user ( if it’s not installed as a service you will have to start it manually )
- You can select the log directory below and your Data directory as well:
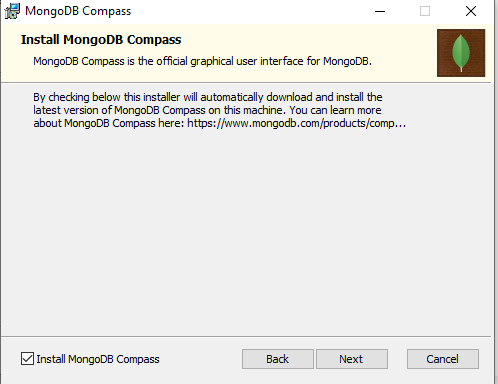
Create database directory.
Create the data directory where MongoDB stores data. MongoDB’s default data directory path is the absolute path \data\db on the drive from which you start MongoDB.
- From the Command Interpreter, create the data directories:
cd C:\
md "\data\db"
- Start the Mongo Server
Browse into the binary directory
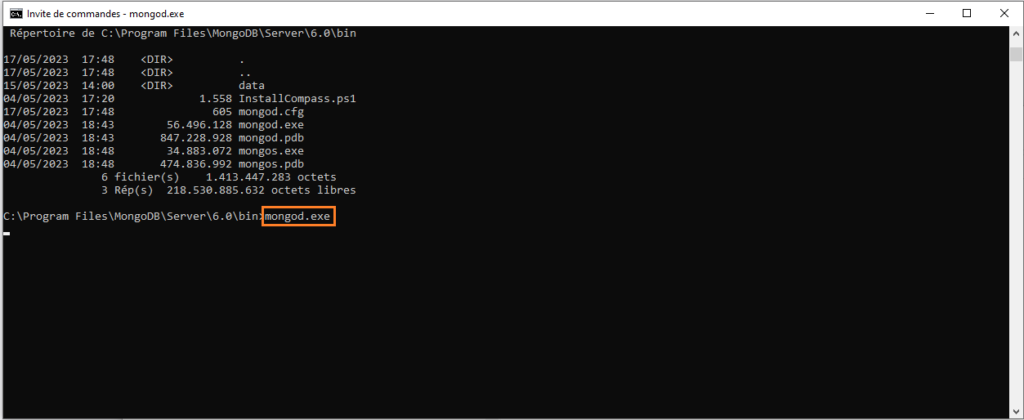
Start the mongod.exe
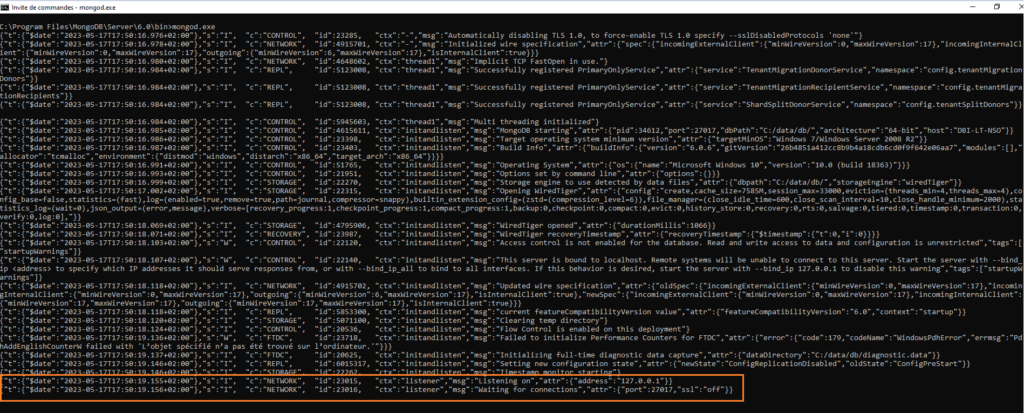
- Check if the server is now listening
Installation with MSI in command line
- Use the
.msiinstaller to install all MongoDB binaries, including MongoDB Compass.
In the Command Line Interpreter, go to the directory containing the .msi installation binary and run the below command:
PS C:\Users\nso> cd C:\Users\nso\Downloads
PS C:\Users\nso\Downloads> msiexec.exe /l*v mdbinstall.log  /qb /i mongodb-windows-x86_64-6.0.6-signed.msi

- It will start the Mongo server with all features like Compass:
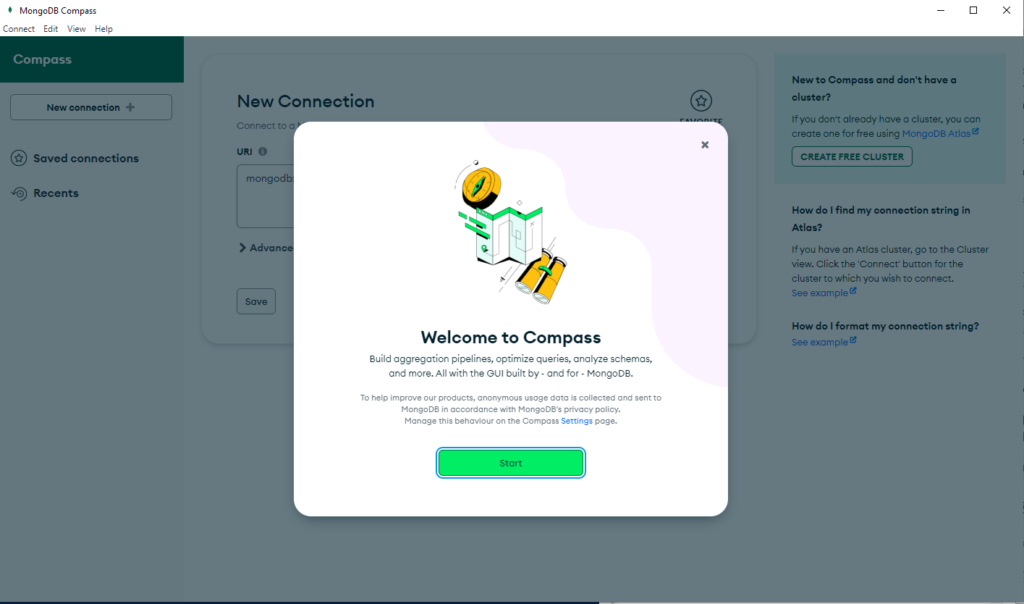
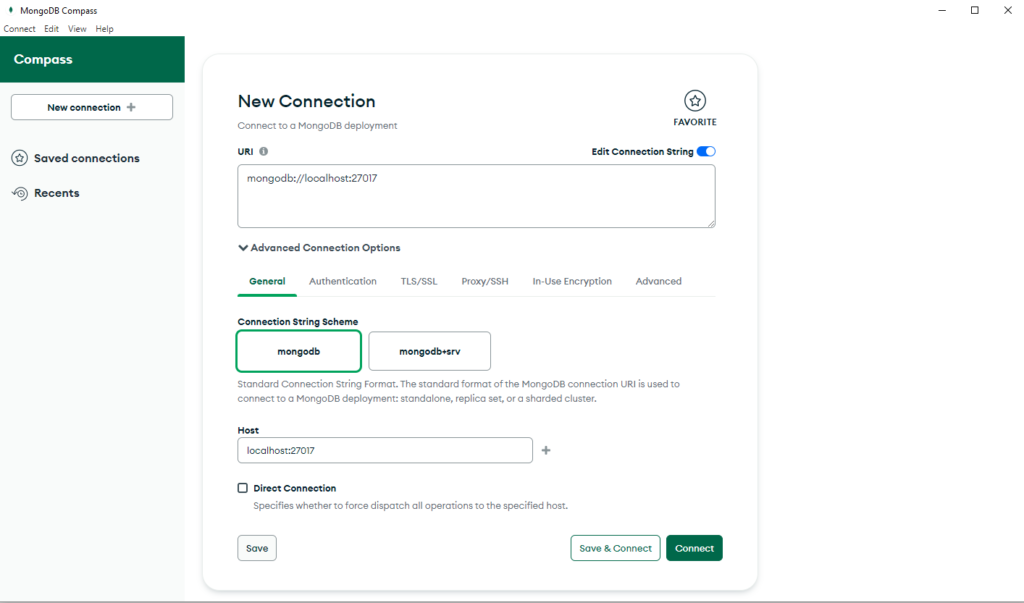
- It will propose you to setup Compass with your Mongo server
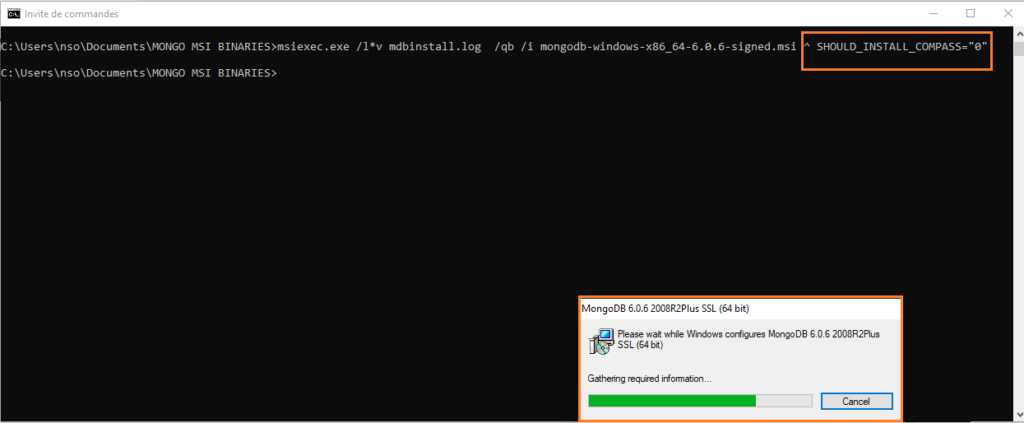
- If you want to only install the Mongo DB server you must exclude the Compass installation by using the below command you should add SHOULD_INSTALL_COMPASS argument with value 0 if you want to keep Compass installation just remove this argument :
msiexec.exe /l*v mdbinstall.log /qb /i mongodb-windows-x86_64-6.0.6-signed.msi ^ SHOULD_INSTALL_COMPASS="0"
- To chose your installation directory use the blow command with the INSTALLLOCATION argument:
C:\Users\nso\Documents\MONGO MSI BINARIES>msiexec.exe /l*v mdbinstall.log /qb /i mongodb-windows-x86_64-6.0.6-signed.msi ^ INSTALLLOCATION="C:\MongoDB\Server\6.0\"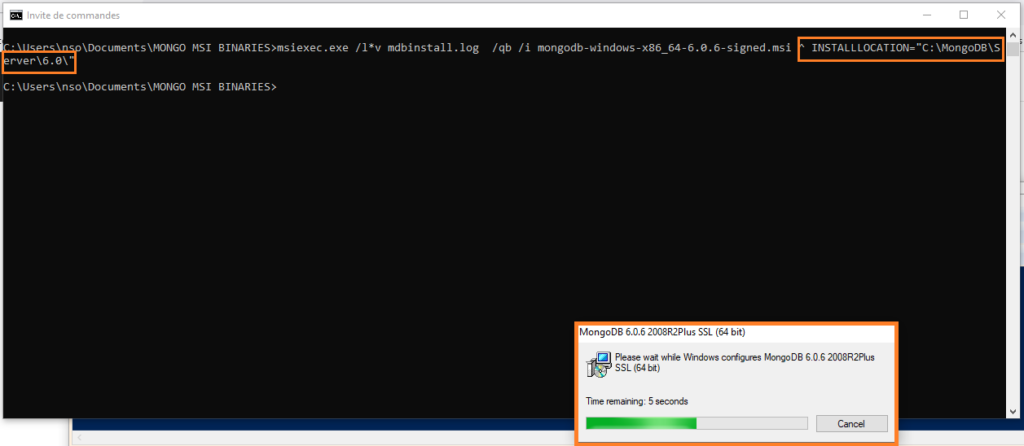
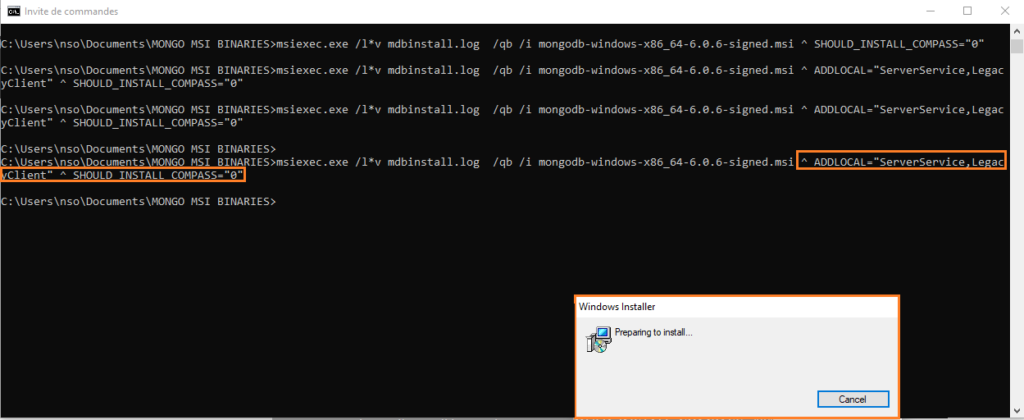
- If you want to install Mongo server as a service using the command line use this command:
msiexec.exe /l*v mdbinstall.log /qb /i mongodb-windows-x86_64-6.0.6-signed.msi ^ ADDLOCAL="ServerService,LegacyClient" ^ SHOULD_INSTALL_COMPASS="0"
- Install Mongo Shell
The MongoDB Shell (mongosh) is not installed with MongoDB Server. You need to follow the mongosh installation instructions to download and install mongosh separately.
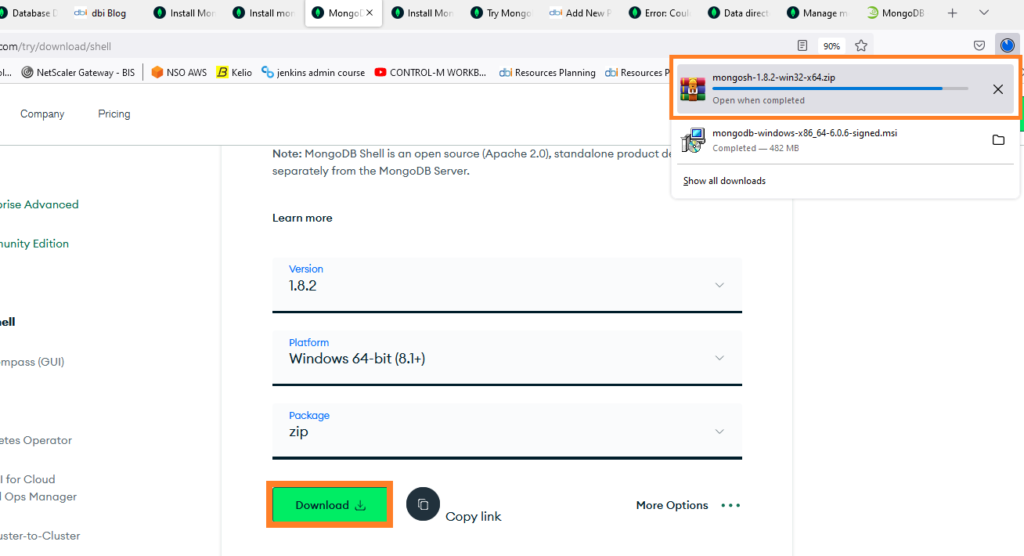
You can use the MongoDB Shell to connect to MongoDB version 4.2 or greater.
- Install Mongosh and start it
- Click on the link below
https://downloads.mongodb.com/compass/mongosh-1.8.2-win32-x64.zip
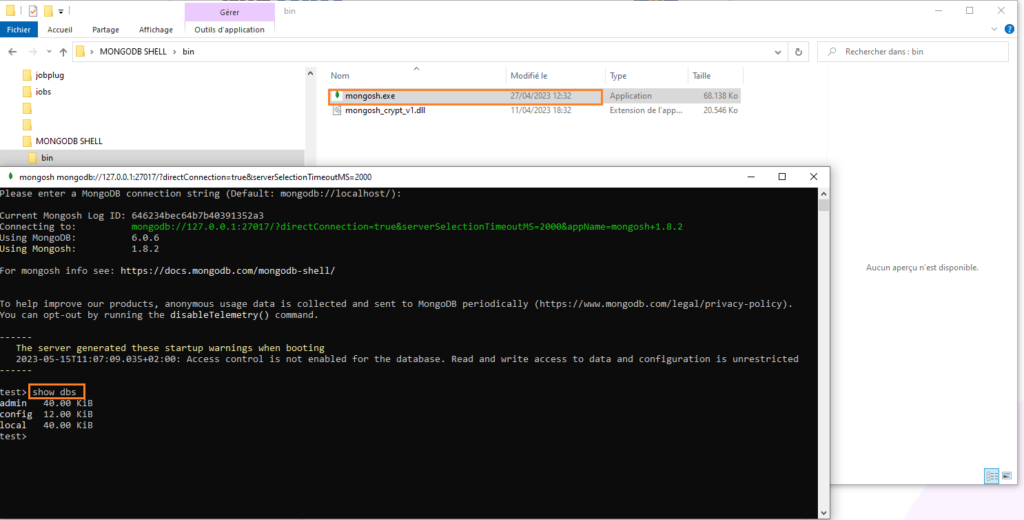
You are now connected to your Mongo DB server and you can now start to work on it
- Test Mongo access
You can use basic commands like show dbs to see your existing database( there are 3 by default )
Conclusion
Now we know how to install a MongoDB using MSI binaries,you will also find a post here explaining how to install Mongo server on Linux using dbi-services best practices, we will see next time how to use MongoDB to perform some basic tasks in order to familiarize with this great software 🙂
I also invite you to check the dbi bloggers posts and also mine 🙂