Last days, I needed to test our DMK tool for the new MySQL and MariaDB releases on the most recent version of CentOS.
Here you can find all important steps to configure a CentOS 8 VM with an Internet connection, a specific hostname and a static IP address, accessible through SSH on VirtualBox.
VM preparation
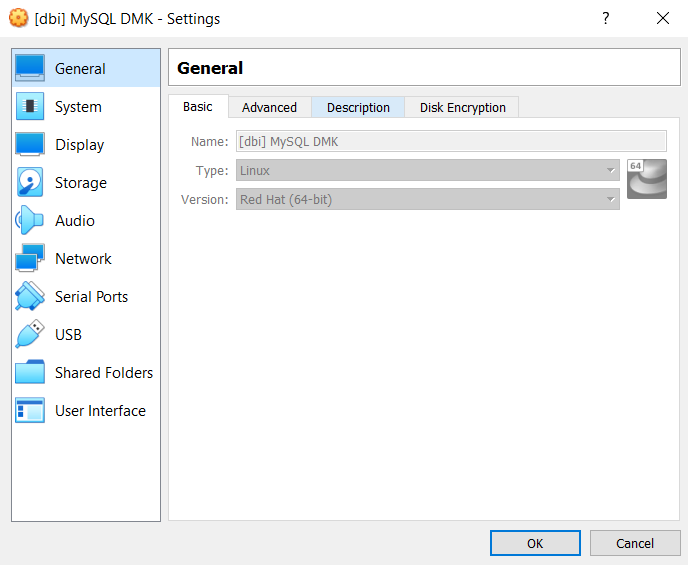
First of all, I create a new VM with the following configuration:
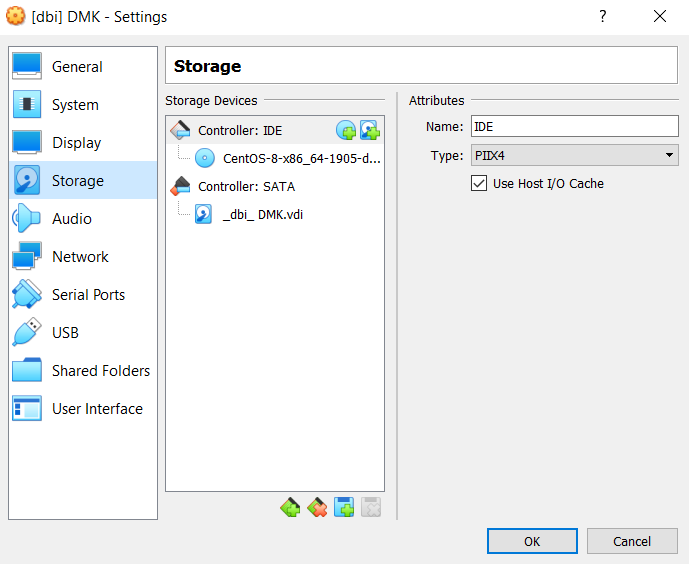
I need to download CentOS 8 ISO image available on the net and configure it as media to boot my system:
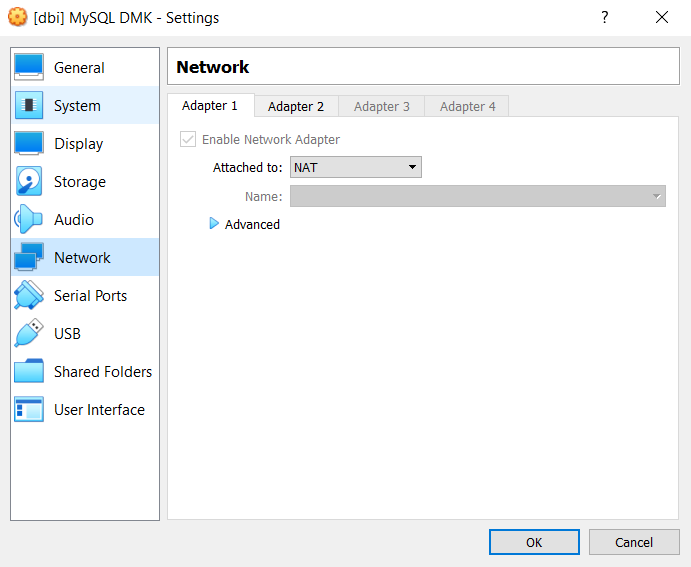
Then I configure my network cards:

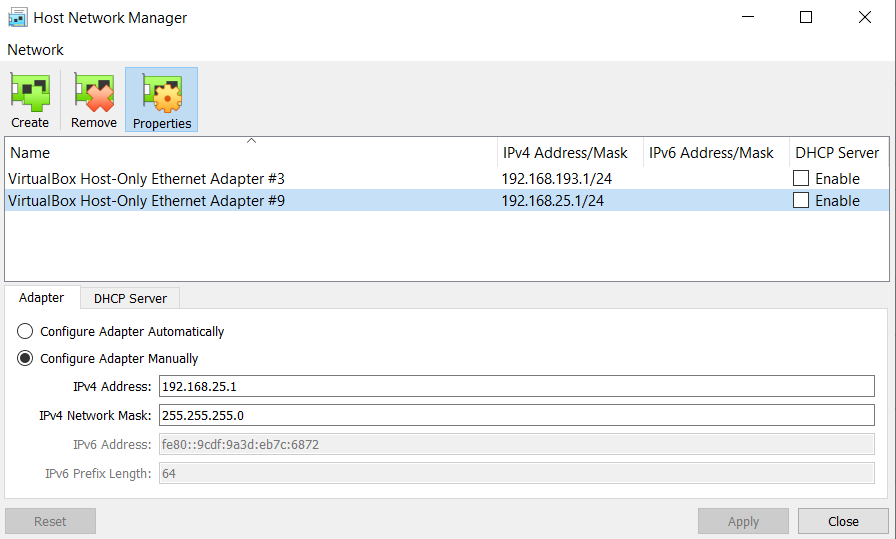
My adapter #9 is defined as follows:
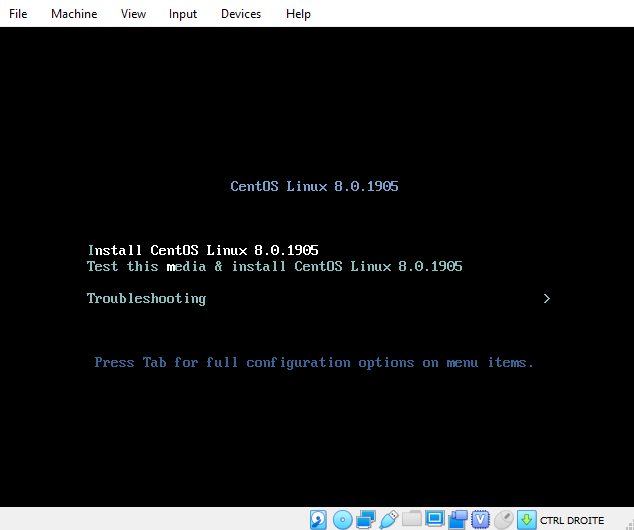
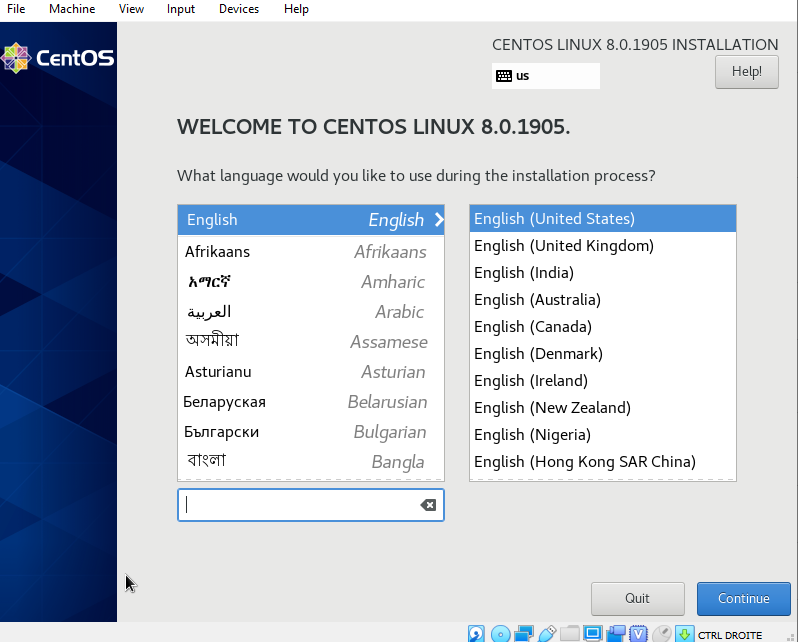
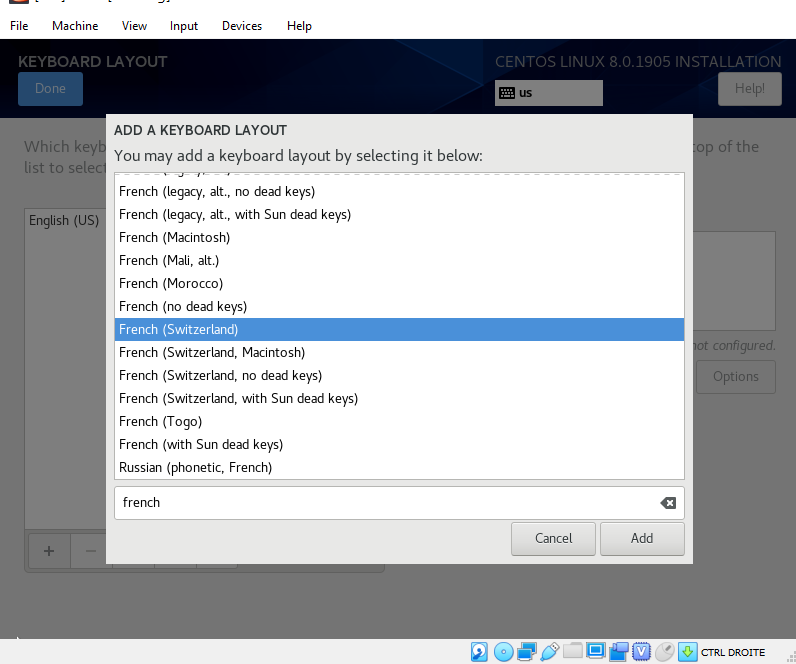
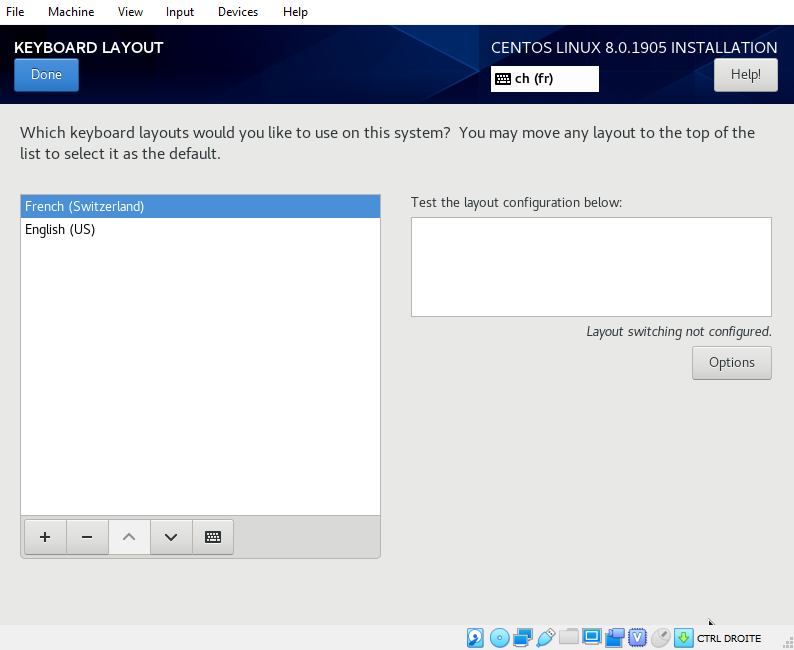
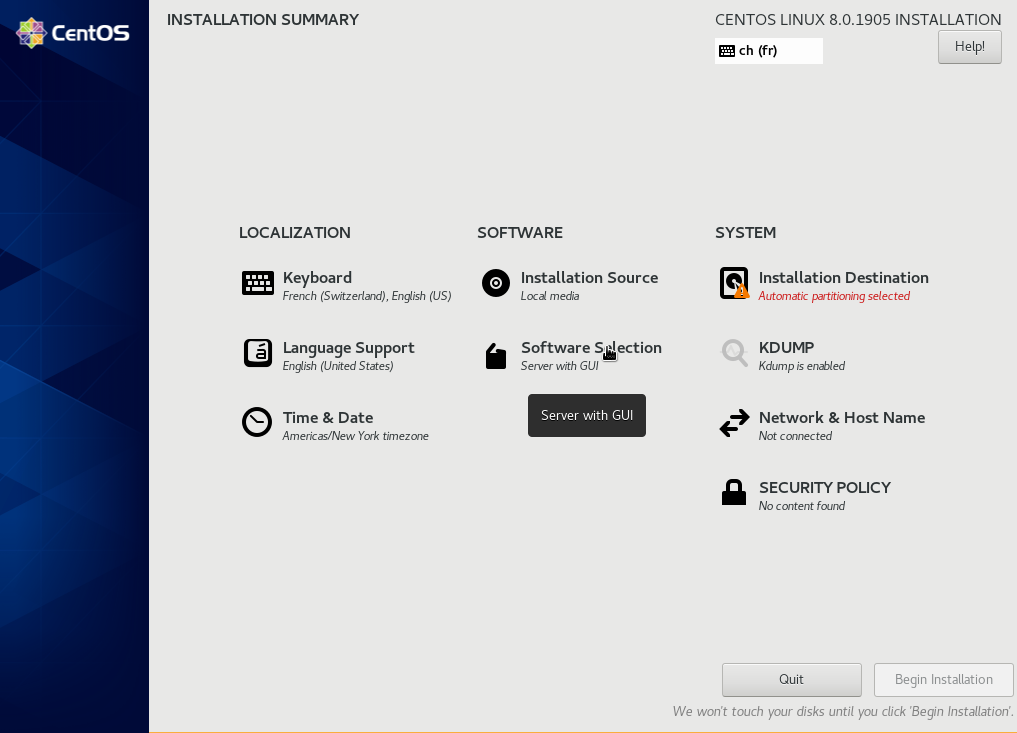
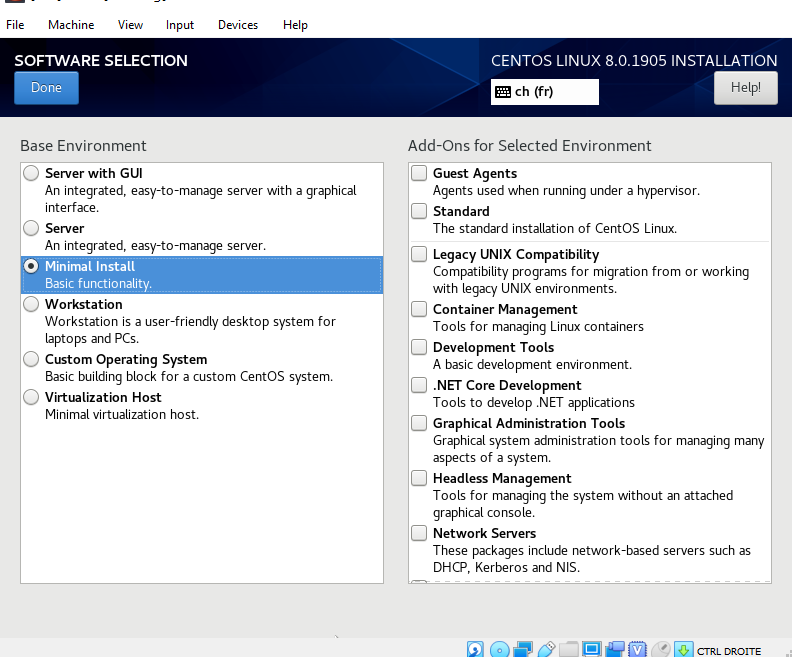
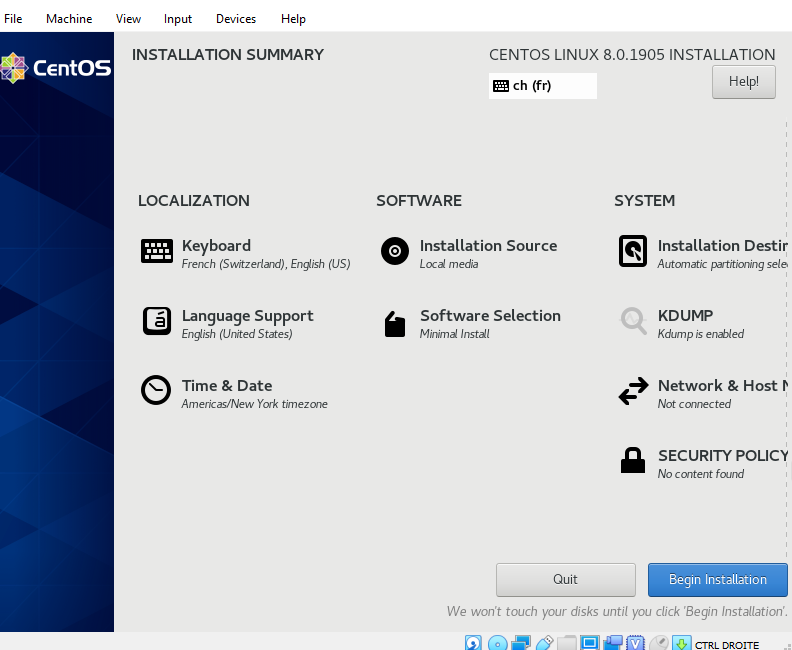
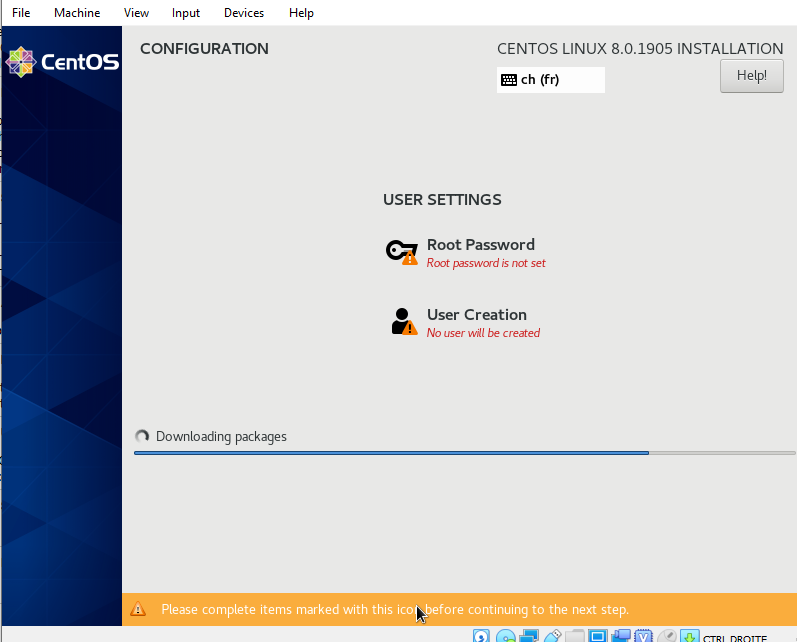
CentOS 8 installation
I can now start my VM and install CentOS 8 as below:

Then I can reboot my VM (I need to remove the ISO image from the storage before).
Network configuration
It’s time to configure network. I used nmcli command line tool to do it (it’s automatically installed with CentOS 8 packages).
Hostname definition
I changed the hostname from localhost.localdomain to dbi-dmk:
# hostnamectl set-hostname dbi-dmk
And I check if it worked properly:
# hostnamectl
   Static hostname: dbi-dmk
         Icon name: computer-vm
           Chassis: vm
        Machine ID: 4e8ad322e97d43e29faa45bc2307ce00
           Boot ID: bc835bf86eba4e1ab45950688f0acd26
    Virtualization: oracle
  Operating System: CentOS Linux 8 (Core)
       CPE OS Name: cpe:/o:centos:centos:8
            Kernel: Linux 4.18.0-80.el8.x86_64
      Architecture: x86-64
Static IP address definition
Now I want to configure a static IP address on enp0s8 Ethernet card as below:
– IP ADDRESS: 192.168.25.31
– NETMASK: 255.255.255.0
– GATEWAY: 192.168.25.1
So, I set the address to 192.168.25.31 and I configure the gateway:
# nmcli con mod enp0s8 ipv4.addresses 192.168.25.31/24
# nmcli con mod enp0s8 ipv4.gateway 192.168.25.1
I set the manual configuration to change from dhcp to static IP addressing:
# nmcli con mod enp0s8 ipv4.method manual
I set the ONBOOT option to yes:
# nmcli con mod enp0s8 connection.autoconnect yes
Then I save all modifications and reload enp0s8 interface:
# nmcli con up enp0s8
At this point, all changes are automatically saved into the file /etc/sysconfig/network-scripts/ifcfg-enp0s8:
# cat /etc/sysconfig/network-scripts/ifcfg-enp0s8
TYPE=Ethernet
PROXY_METHOD=none
BROWSER_ONLY=no
BOOTPROTO=none
DEFROUTE=yes
IPV4_FAILURE_FATAL=no
IPV6INIT=yes
IPV6_AUTOCONF=yes
IPV6_DEFROUTE=yes
IPV6_FAILURE_FATAL=no
IPV6_ADDR_GEN_MODE=stable-privacy
NAME=enp0s8
UUID=00b9f5af-00a9-4fb3-8964-3d28179c1ed0
DEVICE=enp0s8
ONBOOT=yes
IPADDR=192.168.25.31
PREFIX=24
GATEWAY=192.168.25.1
Internet access
I want also to have an Internet connection, so I need to activate enp0s3 interface:
# nmcli con mod enp0s3 connection.autoconnect yes
# nmcli con mod enp0s3 proxy.browser-only yes
# nmcli con up enp0s3
Same thing as before: all changes are automatically saved to file /etc/sysconfig/network-scripts/ifcfg-enp0s3:
# cat /etc/sysconfig/network-scripts/ifcfg-enp0s3
TYPE=Ethernet
PROXY_METHOD=none
BROWSER_ONLY=yes
BOOTPROTO=dhcp
DEFROUTE=yes
IPV4_FAILURE_FATAL=no
IPV6INIT=yes
IPV6_AUTOCONF=yes
IPV6_DEFROUTE=yes
IPV6_FAILURE_FATAL=no
IPV6_ADDR_GEN_MODE=stable-privacy
NAME=enp0s3
UUID=97f723a8-6b8e-4703-843b-c35e978f324e
DEVICE=enp0s3
ONBOOT=yes
I can now check that both interfaces are activated:
# nmcli connection
NAME    UUID                                  TYPE      DEVICE
enp0s3  97f723a8-6b8e-4703-843b-c35e978f324e  ethernet  enp0s3
enp0s8  00b9f5af-00a9-4fb3-8964-3d28179c1ed0  ethernet  enp0s8
# ip a |grep enp0s
2: enp0s3:  mtu 1500 qdisc fq_codel state UP group default qlen 1000
    inet 10.0.2.15/24 brd 10.0.2.255 scope global dynamic noprefixroute enp0s3
3: enp0s8:  mtu 1500 qdisc fq_codel state UP group default qlen 1000
    inet 192.168.25.31/24 brd 192.168.25.255 scope global noprefixroute enp0s8
And I edit the /etc/sysconfig/network file to enable networking because a CentOS minimal installation can’t connect to the Internet by default:
# vi /etc/sysconfig/network
NETWORKING=yes
# nmcli con up enp0s3
Connection successfully activated (D-Bus active path: /org/freedesktop/NetworkManager/ActiveConnection/6)
# nmcli con up enp0s8
Connection successfully activated (D-Bus active path: /org/freedesktop/NetworkManager/ActiveConnection/7)
# ping www.google.com
PING www.google.com (216.58.215.228) 56(84) bytes of data.
64 bytes from zrh11s02-in-f4.1e100.net (216.58.215.228): icmp_seq=1 ttl=54 time=104 ms
64 bytes from zrh11s02-in-f4.1e100.net (216.58.215.228): icmp_seq=2 ttl=54 time=113 ms
Remote access using SSH
Last step: I want to remotely access my VM through SSH.
So I need to check the firewall configuration:
# firewall-cmd --list-all
public (active)
  target: default
  icmp-block-inversion: no
  interfaces: enp0s3 enp0s8
  sources:
  services: cockpit dhcpv6-client ssh
  ports:
  protocols:
  masquerade: no
  forward-ports:
  source-ports:
  icmp-blocks:
  rich rules:
and check if the sshd service is activated:
# systemctl status sshd
● sshd.service - OpenSSH server daemon
   Loaded: loaded (/usr/lib/systemd/system/sshd.service; enabled; vendor preset: enabled)
   Active: active (running) since Tue 2019-11-12 04:04:41 EST; 1h 16min ago
     Docs: man:sshd(8)
           man:sshd_config(5)
 Main PID: 797 (sshd)
    Tasks: 1 (limit: 17968)
   Memory: 7.5M
   CGroup: /system.slice/sshd.service
           └─797 /usr/sbin/sshd -D [email protected],[email protected],aes256-ctr,aes256-cbc,[email protected],aes128-ct>
Nov 12 04:04:41 dbi-dmk systemd[1]: Starting OpenSSH server daemon...
Nov 12 04:04:41 dbi-dmk sshd[797]: Server listening on 0.0.0.0 port 22.
Nov 12 04:04:41 dbi-dmk systemd[1]: Started OpenSSH server daemon.
Nov 12 04:04:41 dbi-dmk sshd[797]: Server listening on :: port 22.
Nov 12 04:07:08 dbi-dmk sshd[1554]: Accepted password for root from 192.168.25.1 port 53480 ssh2
Nov 12 04:07:08 dbi-dmk sshd[1554]: pam_unix(sshd:session): session opened for user root by (uid=0)
Nov 12 04:07:08 dbi-dmk sshd[1558]: Accepted password for root from 192.168.25.1 port 53481 ssh2
Nov 12 04:07:08 dbi-dmk sshd[1558]: pam_unix(sshd:session): session opened for user root by (uid=0)
Everything seems ok, I can now access my VM using:
# ssh [email protected]
Enjoy CentOS 8 😉
![Thumbnail [60x60]](https://www.dbi-services.com/blog/wp-content/uploads/2022/10/ELU_web-min-1-scaled.jpg)
![Thumbnail [90x90]](https://www.dbi-services.com/blog/wp-content/uploads/2022/11/TBR-web-min-scaled.jpg)
![Thumbnail [90x90]](https://www.dbi-services.com/blog/wp-content/uploads/2022/08/FRJ_web-min-scaled.jpg)
![Thumbnail [90x90]](https://www.dbi-services.com/blog/wp-content/uploads/2024/03/AHI_web.jpg)