By end of June 2023 Oracle announced the availability of Oracle 19c for the Arm-architecture (aarch64). Consultants and DBAs, who do use a Mac Laptop with Apple Silicon (M1 or M2), have waited quite a long time to run an Oracle database in a Sandbox environment on their Apple machine.
The database software Oracle 19c is not certified on MacOS. To run it on a Mac you have to install a Linux for Arm in a virtual machine and then install Oracle 19c in there as well. Virtualization software available on Apple Silicon are
- Parallels
- VMWare Fusion
- Virtualbox (was available as Beta software, but while writing this blog is no longer available for download)
- UTM as a wrapper for QEMU
I’ve been running Virtualbox on Intel for a long time, but the beta software was available only as 32-Bit for Apple M1. Due to the fact that Parallels and VMWare have to be licensed or need an account to download software, I tested UTM as a virtualization platform. Below the steps I used to
- install UTM
- create a virtual machine and install Oracle Enterprise Linux 8 for Arm
- install Oracle Database 19c for Arm
- create an Oracle Database
1. Install UTM
You may install UTM from the App Store, which costs a couple of Dollars/Euros/Swiss Franks or you download it from here.
The software from the App Store and the download from the mentioned website is identical. The only difference is that you donate some money for the project when you download and install the software from the App Store.
The installation is a typical Mac-installation. Just download from the App Store and install it or double click on the downloaded UTM.dmg and follow the instructions.
2. Create a VM in UTM and install Oracle Enterprise Linux 8 for Arm
Click on the +-sign to create a new VM:

Click on Virtualize:

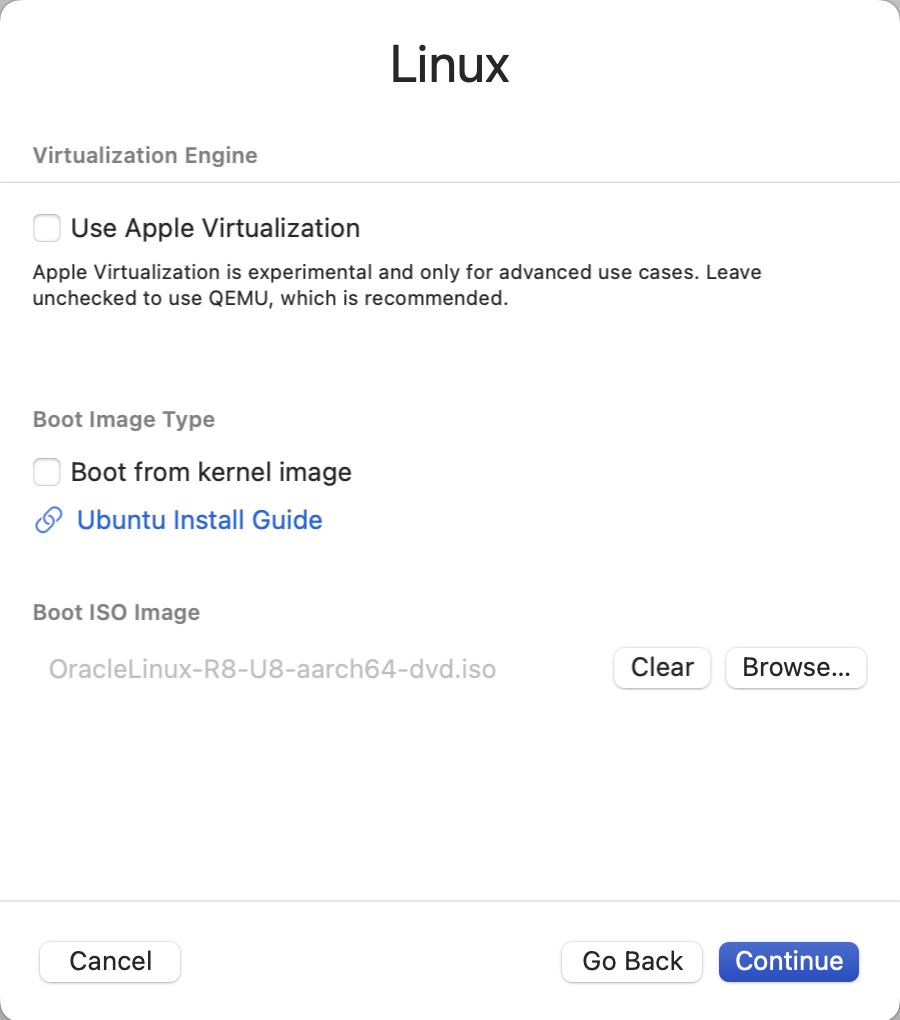
Click on Linux:

Click on Browse… in the section “Boot ISO image”:

Select the downloaded ISO-image you downloaded from here:

Click on “Continue”:
Select the amount of memory you want to provide to the VM and leave the rest on its defaults. Then press “Continue”:
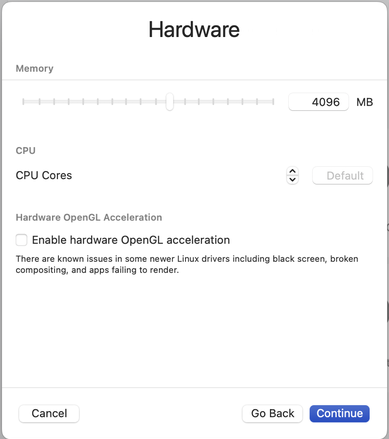
REMARK: If you leave “CPU Cores” on Default then UTM will create a VM with 4 cores. This is half the number of cores available on my M1 which also seems to be related to the fact that an M1 has 4 performance and 4 efficiency cores.
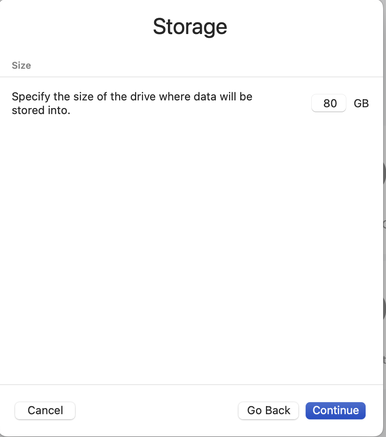
Specify the size of the virtual disk attached to the VM:
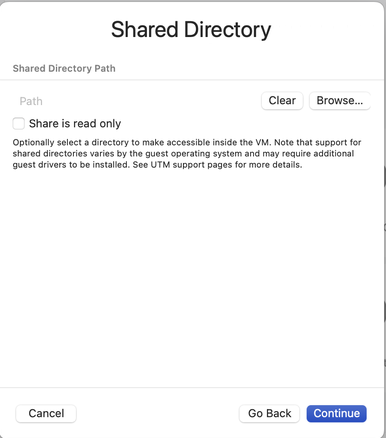
I do not use a shared directory:
Check your settings (you may give it another name than “Linux”) and click “Save”:
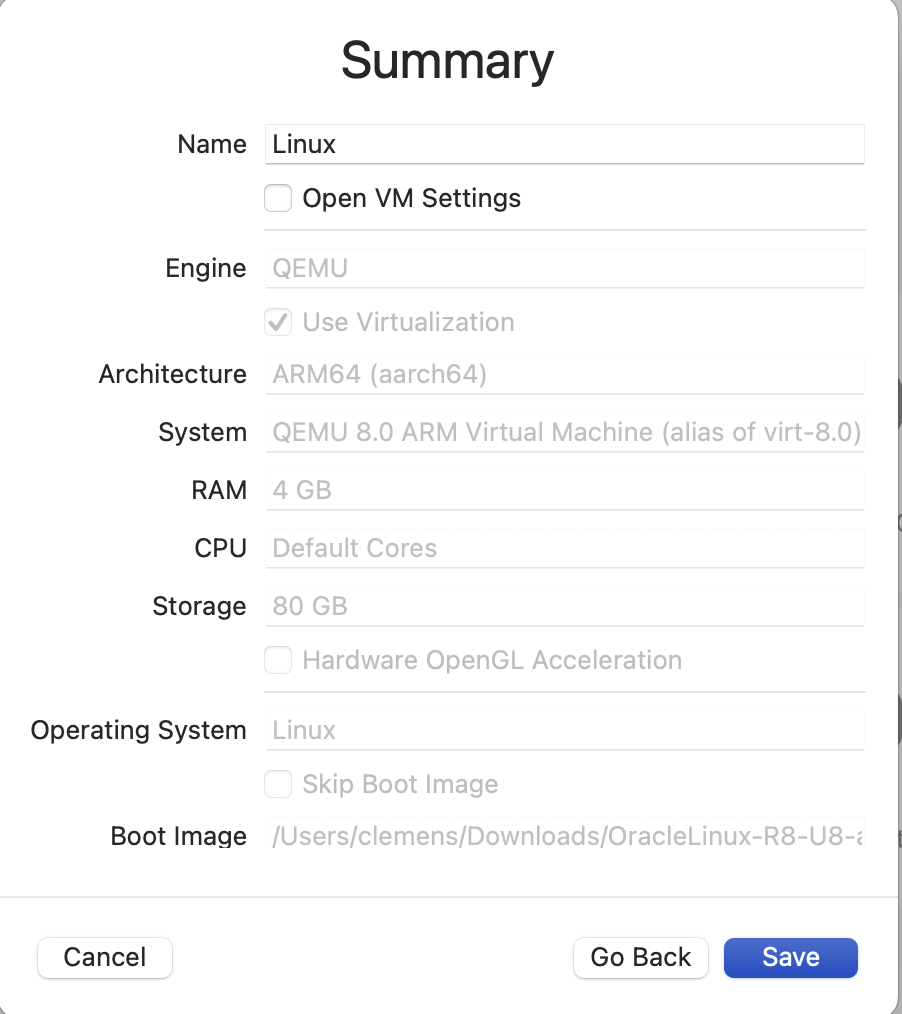
Your VM is now ready for booting the first time:
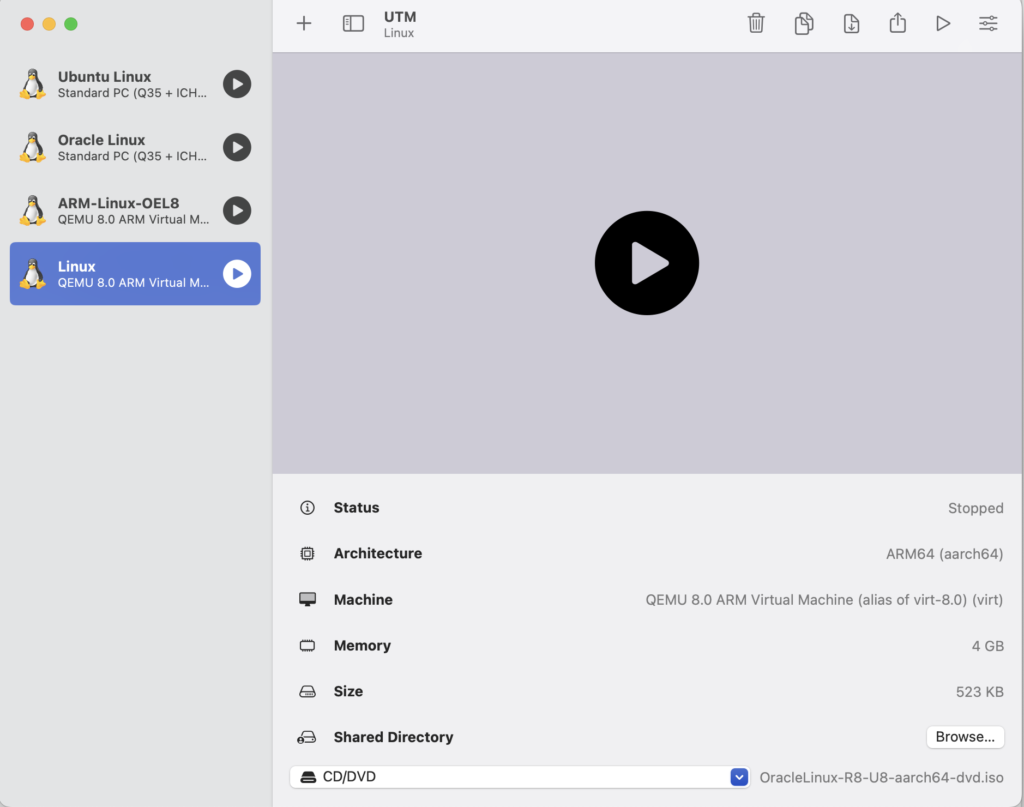
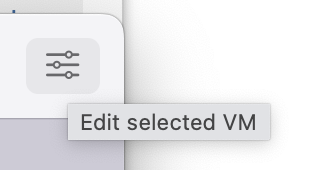
I changed the name to “Oracle DB on Arm” by clicking the “Edit selected VM”:
And renamed it to “Oracle DB on Arm”:

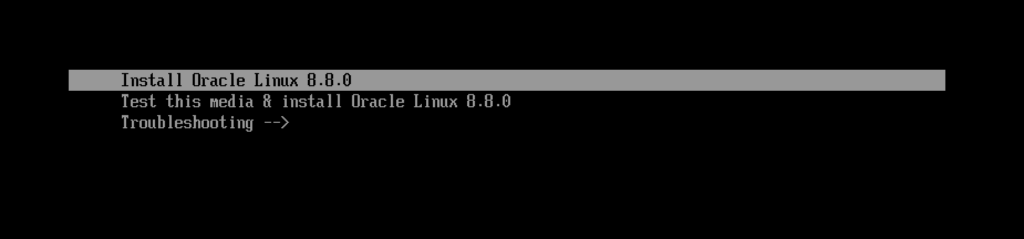
Click “Save” and then the “Play”-Button:

Select to install OEL8:
Chose your Language:

Setup Keyboard and the usual other settings:
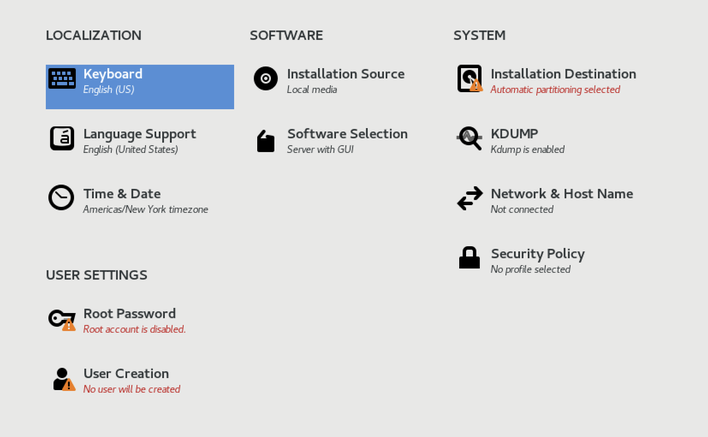
After adjusting everything to my needs (I do use the minimal install) it looked as follows:
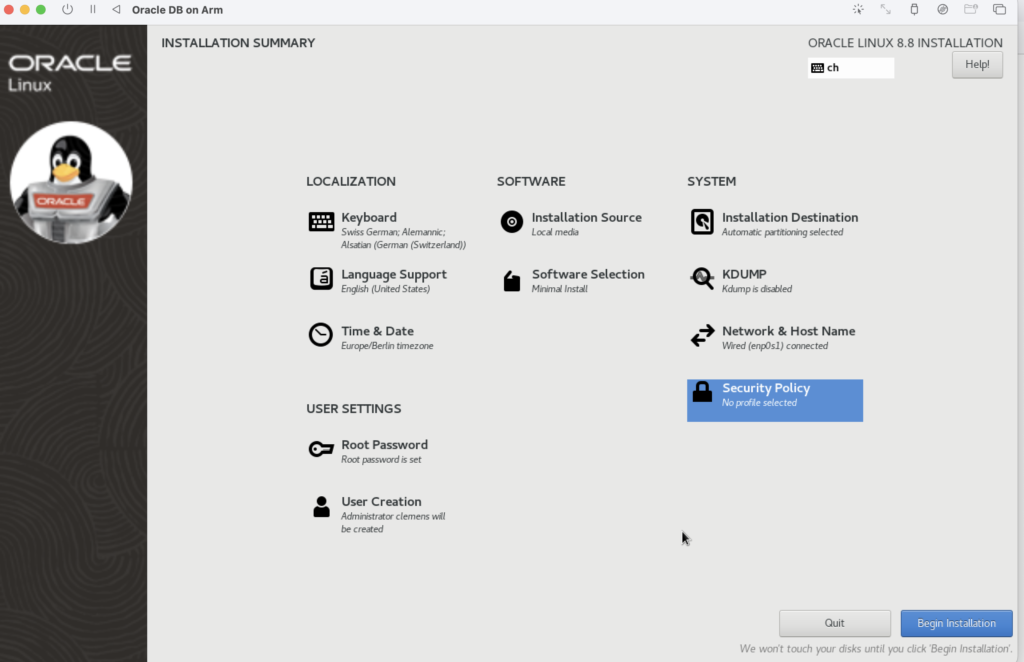
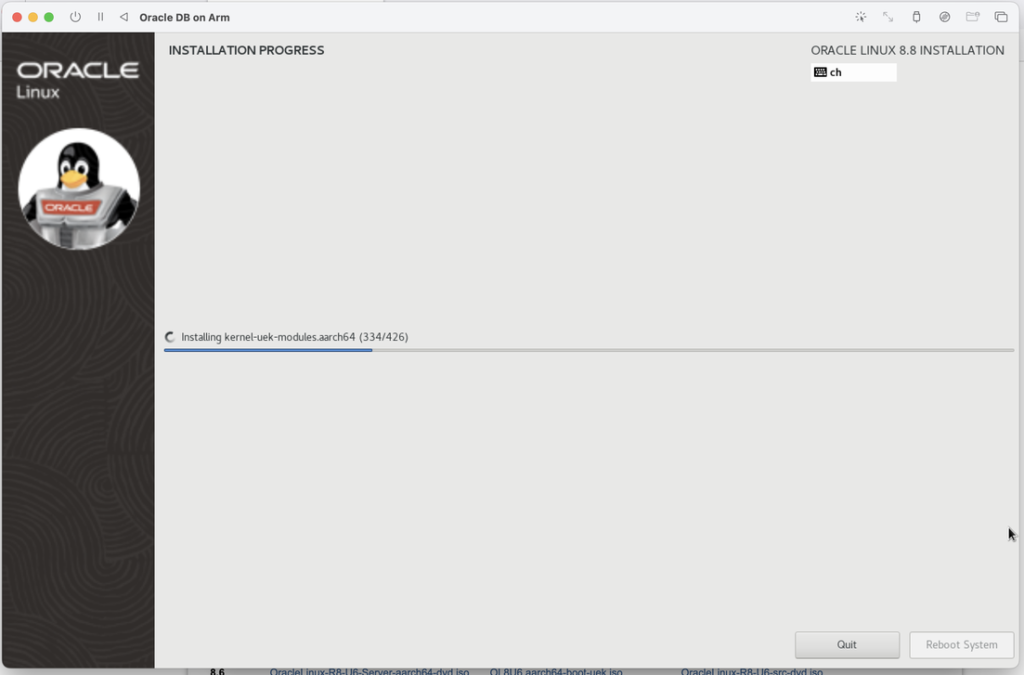
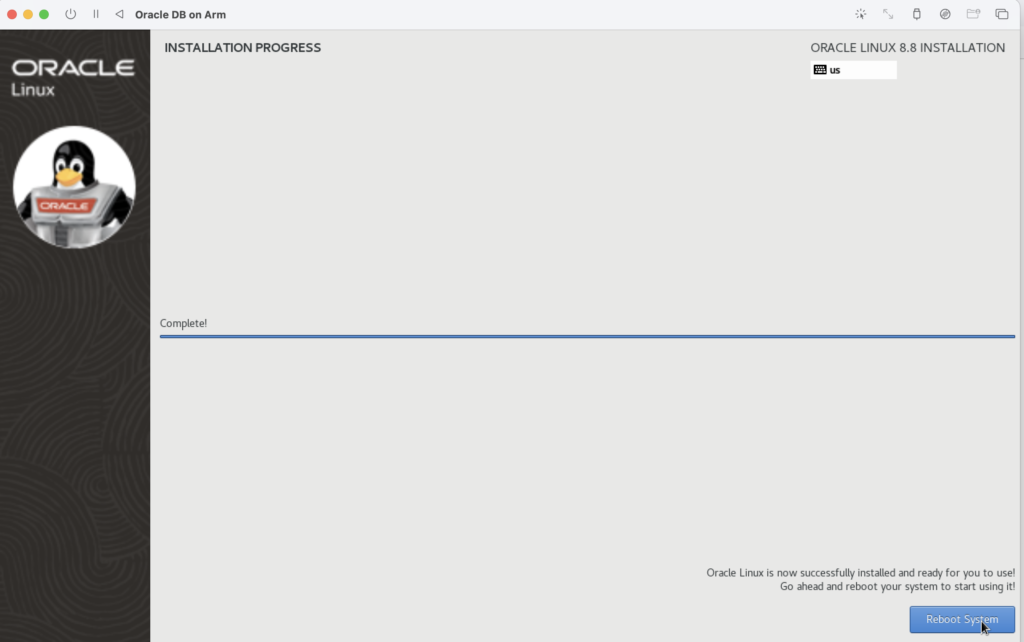
So I clicked on “Begin Installation” and could check the progress:
Finally I can reboot:
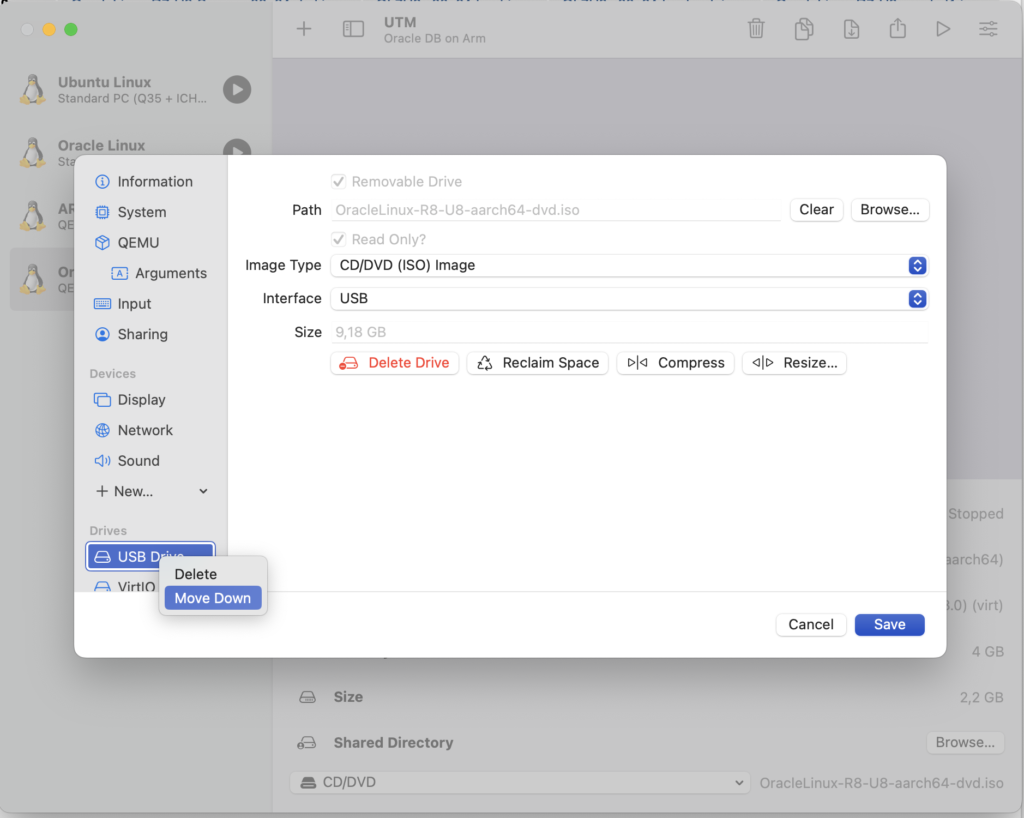
When the machine is down I clicked on the Power-Off-Button to adjust not to use the ISO-Image after reboot. I.e. moved the USB-drive down in the Boot-order:
After clicking on “Save” I also adjusted the Network to have a Bridged Network. After that I powered the VM on:
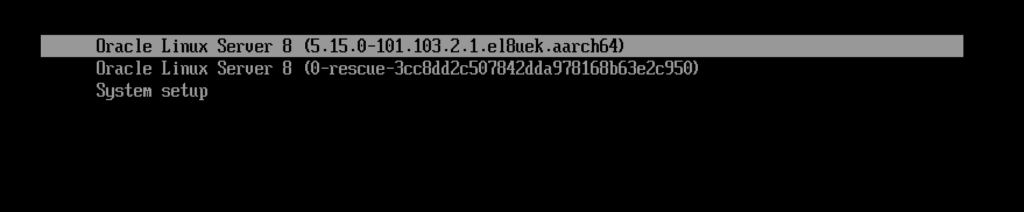
A couple of secs later the machine is up:
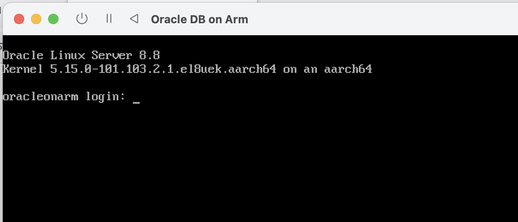
The machine is reachable through ssh then and I can use my Terminal to continue with the installation.
3. Install Oracle Database software 19c for Arm
Login as root and do the required steps (steps are mainly taken from here):
dnf -y update
dnf -y install oracle-database-preinstall-19c.aarch64

mkdir -p /u01/app/oracle
chown -R oracle:oinstall /u01/app

systemctl stop firewalld

passwd oracle

dnf -y install xterm.aarch64 tigervnc-server.aarch64
The Oracle software can be downloaded here. I uploaded it to the /tmp directory on my just created VM. Just by coincidence I saw that the 19.19.-version available for Arm is smaller than the 19.3.-version for x86-64:

Install the Oracle software:
su - oracle
mkdir -p /u01/app/oracle/product/19.0.0/dbhome_1
cd /u01/app/oracle/product/19.0.0/dbhome_1

unzip -oq /tmp/LINUX.ARM64_1919000_db_home.zip

export ORACLE_BASE=/u01/app/oracle
export ORACLE_HOME=/u01/app/oracle/product/19.0.0/dbhome_1
export ORACLE_HOSTNAME=`hostname`
export ORA_INVENTORY=/u01/app/oraInventory


./runInstaller -ignorePrereq -waitforcompletion -silent             \
    -responseFile ${ORACLE_HOME}/install/response/db_install.rsp    \
    oracle.install.option=INSTALL_DB_SWONLY                         \
    ORACLE_HOSTNAME=${ORACLE_HOSTNAME}                              \
    UNIX_GROUP_NAME=oinstall                                        \
    INVENTORY_LOCATION=${ORA_INVENTORY}                             \
    SELECTED_LANGUAGES=en,en_GB                                     \
    ORACLE_HOME=${ORACLE_HOME}                                      \
    ORACLE_BASE=${ORACLE_BASE}                                      \
    oracle.install.db.InstallEdition=EE                             \
    oracle.install.db.OSDBA_GROUP=dba                               \
    oracle.install.db.OSBACKUPDBA_GROUP=backupdba                   \
    oracle.install.db.OSDGDBA_GROUP=dgdba                           \
    oracle.install.db.OSKMDBA_GROUP=kmdba                           \
    oracle.install.db.OSRACDBA_GROUP=racdba                         \
    SECURITY_UPDATES_VIA_MYORACLESUPPORT=false                      \
    DECLINE_SECURITY_UPDATES=true

su - root
/u01/app/oraInventory/orainstRoot.sh
/u01/app/oracle/product/19.0.0/dbhome_1/root.sh
exit
4. Create a DB
Start a listener and create an Oracle DB:
$ORACLE_HOME/bin/lsnrctl start

export ORACLE_SID=db19ee
export PDB_NAME=pdb1
export DATA_DIR=$ORACLE_BASE/oradata
mkdir -p $DATA_DIR

$ORACLE_HOME/bin/dbca -silent -createDatabase                            \
      -templateName General_Purpose.dbc                                   \
      -gdbname ${ORACLE_SID} -sid  ${ORACLE_SID} -responseFile NO_VALUE   \
      -characterSet AL32UTF8                                              \
      -sysPassword oracle_4U                                              \
      -systemPassword oracle_4U                                           \
      -createAsContainerDatabase true                                     \
      -numberOfPDBs 1                                                     \
      -pdbName ${PDB_NAME}                                                \
      -pdbAdminPassword oracle_4U                                         \
      -databaseType MULTIPURPOSE                                          \
      -memoryMgmtType auto_sga                                            \
      -totalMemory 2500                                                   \
      -storageType FS                                                     \
      -datafileDestination "${DATA_DIR}"                                  \
      -redoLogFileSize 200                                                \
      -emConfiguration NONE                                               \
      -ignorePreReqs

$ORACLE_HOME/bin/sqlplus / as sysdba <<EOF
alter system set db_create_file_dest='${DATA_DIR}';
alter pluggable database ${PDB_NAME} save state;
exit;
EOF
As root adjust the firewalld:
# systemctl start firewalld
# cd /etc/firewalld/services
# vi oranetwork.xml
# cat oranetwork.xml
<?xml version="1.0" encoding="utf-8"?> <service>
<short>oranetwork</short>
<description>Oracle Network communication</description> <port protocol="tcp" port="1521"/>
</service>
# firewall-cmd --permanent --add-service=oranetwork
# firewall-cmd --reload
# firewall-cmd --list-all
...
  services: cockpit dhcpv6-client oranetwork ssh
...
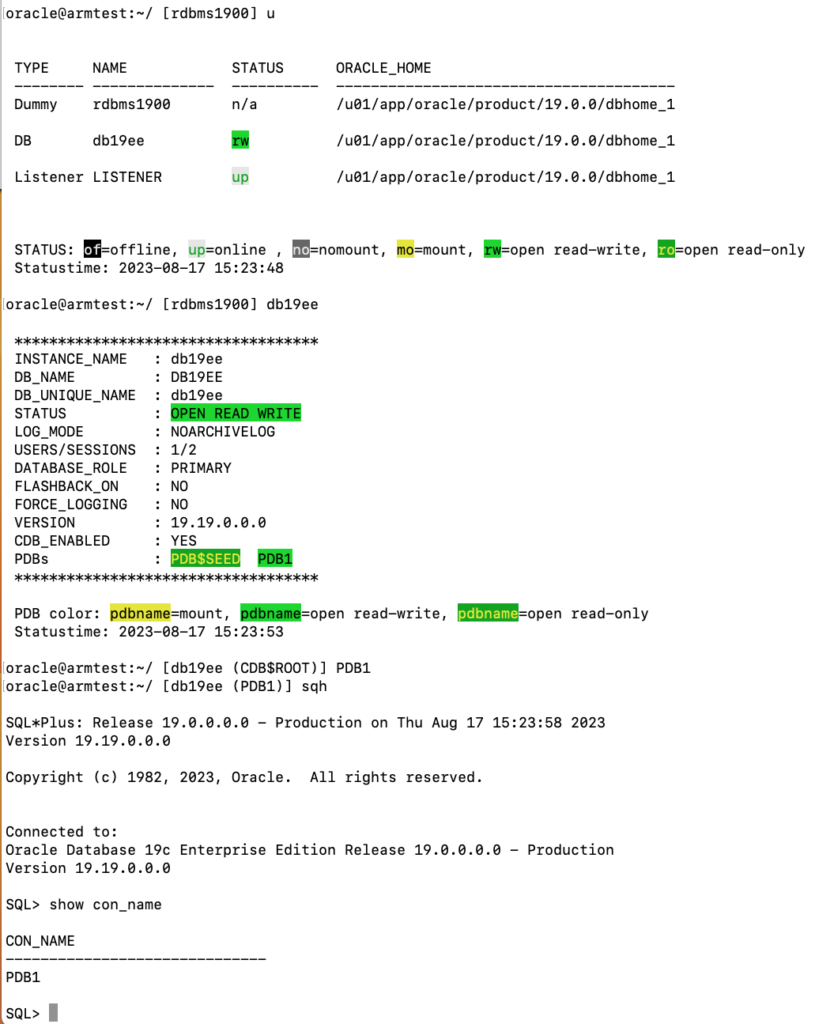
Finally I can connect to my 19.19.-DB:
[oracle@oracleonarm ~]$ sqlplus / as sysdba

SQL*Plus: Release 19.0.0.0.0 - Production on Thu Aug 17 13:31:16 2023
Version 19.19.0.0.0

Copyright (c) 1982, 2023, Oracle.  All rights reserved.


Connected to:
Oracle Database 19c Enterprise Edition Release 19.0.0.0.0 - Production
Version 19.19.0.0.0

SQL> show pdbs

    CON_ID CON_NAME			  OPEN MODE  RESTRICTED
---------- ------------------------------ ---------- ----------
	 2 PDB$SEED			  READ ONLY  NO
	 3 PDB1 			  READ WRITE NO
SQL>
Performance
The DB on my Apple Macbook Air M1 runs really fast. The M1 has 8 cores, 4 performance cores and 4 efficiency cores. By using the default concerning number of cores in UTM, it uses 4 cores in the VM and tests showed that performance cores were active:
# lscpu
Architecture:        aarch64
Byte Order:          Little Endian
CPU(s):              4
On-line CPU(s) list: 0-3
Thread(s) per core:  1
Core(s) per socket:  4
Socket(s):           1
NUMA node(s):        1
Vendor ID:           0x00
BIOS Vendor ID:      QEMU
Model:               0
BIOS Model name:     virt-8.0
Stepping:            0x0
BogoMIPS:            48.00
L1d cache:           unknown size
L1i cache:           unknown size
L2 cache:            unknown size
NUMA node0 CPU(s):   0-3
Flags:               fp asimd evtstrm aes pmull sha1 sha2 crc32 atomics fphp asimdhp cpuid asimdrdm jscvt fcma lrcpc dcpop sha3 asimddp sha512 asimdfhm dit uscat ilrcpc flagm sb paca pacg dcpodp flagm2 frint
I tested the number of logical IOs a single process can do on my VM with SLOB. The method I used is described here. On my M1 running Oracle inside UTM I could do quite impressive 1,242,790.7 LIOs with a single process per second. The table size I did LIOs on was 2GB.
dbi services DMK (Database Management Kit)
Our DMK 2.0.0 could be installed with only a minor issue: The provided rlwrap-executable did of course not work, because the deployed one is for x86-64. I downloaded the source code and quickly compiled it on my VM and could use DMK without issues then:
![Thumbnail [60x60]](https://www.dbi-services.com/blog/wp-content/uploads/2022/11/CBL_web-min-min-scaled.jpg)


![Thumbnail [90x90]](https://www.dbi-services.com/blog/wp-content/uploads/2022/08/MAW_web-min-scaled.jpg)
![Thumbnail [90x90]](https://www.dbi-services.com/blog/wp-content/uploads/2025/05/JDE_Web-1-scaled.jpg)
Madhuri Tratiya
09.10.2024The Oracle software can be downloaded here. I uploaded it to the /tmp directory on my just created VM. Just by coincidence I saw that the 19.19.-version available for Arm is smaller than the 19.3.-version for x86-64:
i have downloaded oracle database image but not understanding your instruction where to keep this like you given instruction keep it inside created VM inside in /temp directory.
so please reply for this query
Clemens Bleile
10.10.2024Hi, put the downloaded Oracle software on the virtual machine just created. E.g. in my case I scp'ed it to my virtual machine "oracleonarm" in /tmp. I.e. that's the machine you want to run Oracle on, so copy the software there. You can also see with one of the next commands that I'm unzipping the software from /tmp:
unzip -oq /tmp/LINUX.ARM64_1919000_db_home.zip
Clemens