I blogged in the past about running an Oracle database for testing purposes on Apple Silicon. Initially with emulated Intel code here and then (when Oracle released its 19c database software for ARM) with UTM as a wrapper for the QEMU hypervisor here. In the meantime another possibility came up since Oracle released its type II hypervisor Virtualbox for ARM in version 7.1.
Below the steps to setup an Oracle database from scratch on a Virtualbox VM on my MacBook Air M1.
Install Virtualbox and a VM with Oracle Enterprise Linux 8
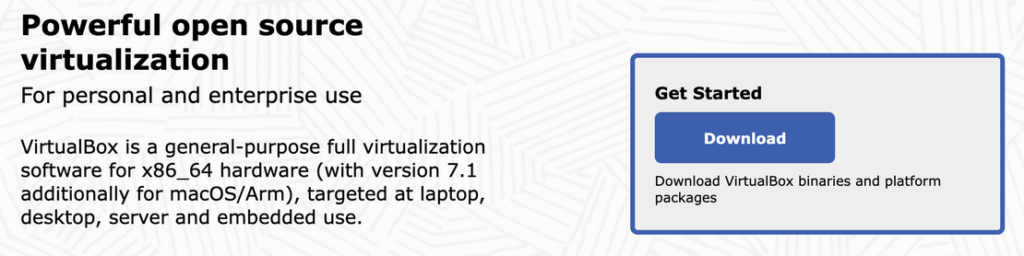
First things first: Install Virtualbox. To do that go to www.virtualbox.org and click on the download link:
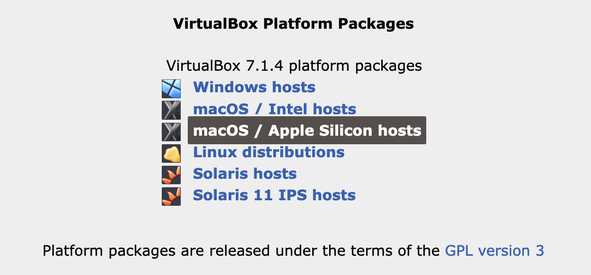
Click on “macOS / Apple Silicon hosts”, which downloads VirtualBox-7.1.4-165100-macOSArm64.dmg (at the time when writing this Blog):
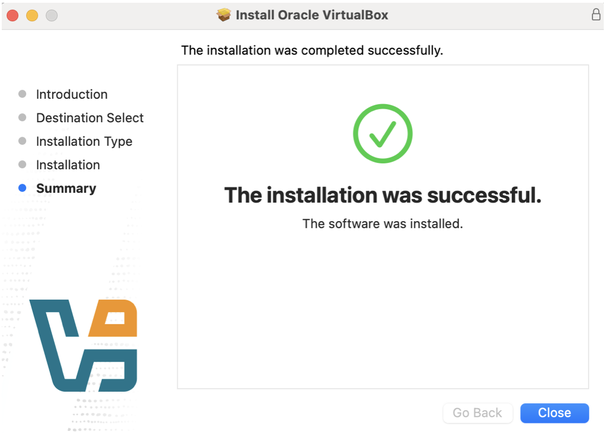
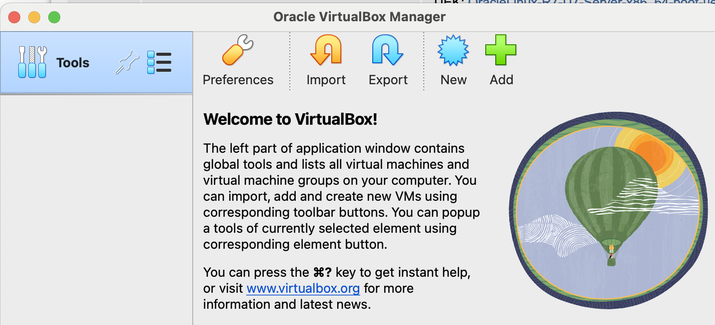
In Finder double click the DMG to install Virtualbox. Go through the usual installation process until you see the following screen:
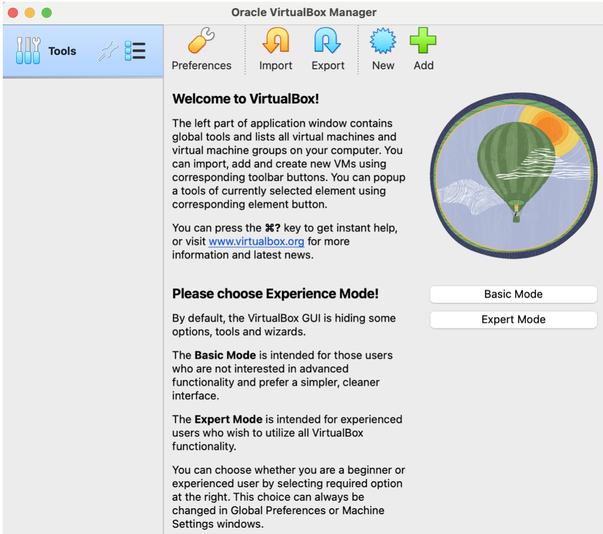
When starting Virtualbox the first time I set the Expert mode:
But before creating a VM I downloaded Oracle Enterprise Linux 8 for ARM from here:

Then I create a new VM by clicking “New” in Virtualbox:
Provided the information requested:
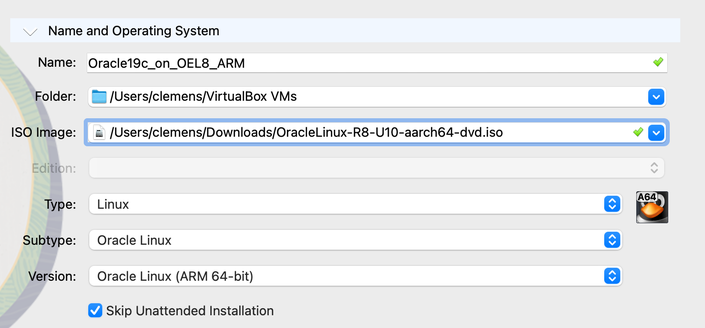
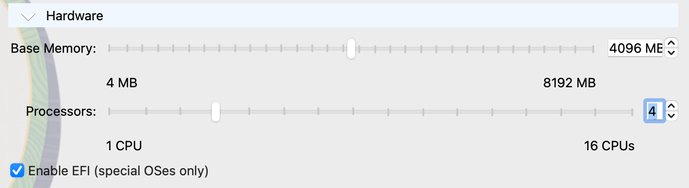
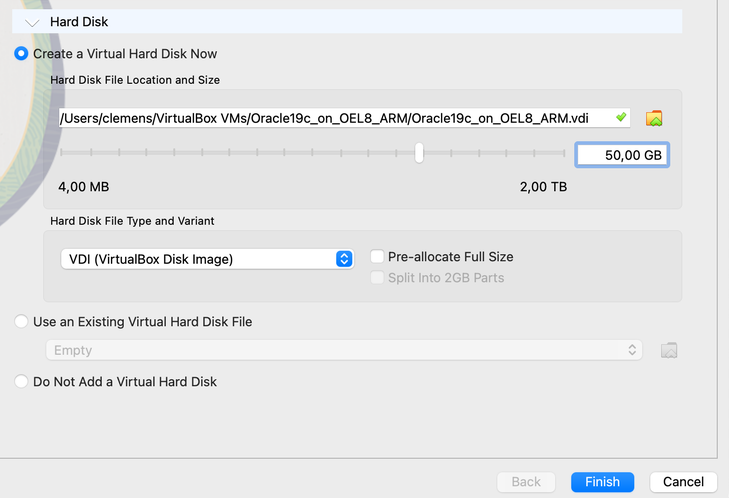
Then clicked “Finish”.
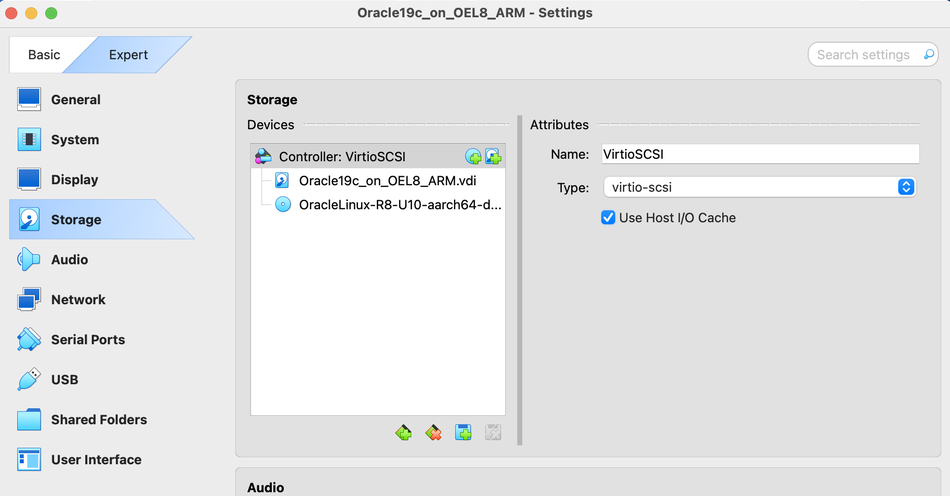
Before starting the VM I enabled host caching under Settings -> Storage -> Controller: VirtioSCSI:
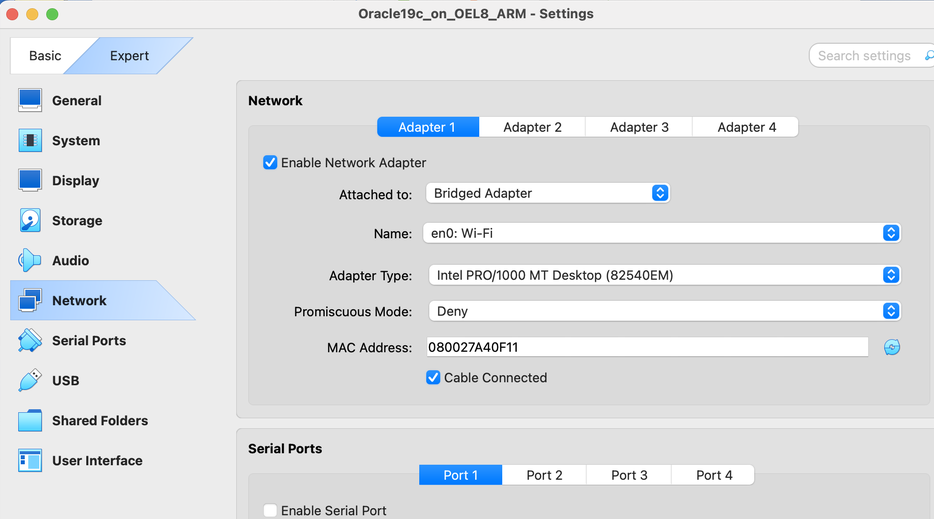
I set the network to bridged, so that I also can reach the VM remotely for some tests (if you want to access your VM remotely, you have to adjust the firewall on your Mac):
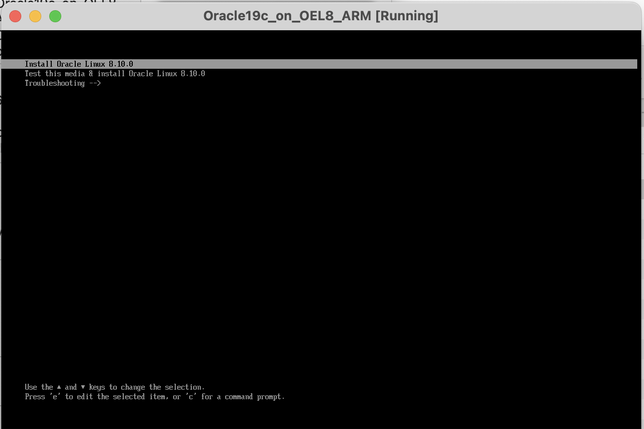
Then I powered the machine on by clicking “Start”. I had to provide access to the keyboard and computer in the security settings of the Mac. The VM booted from the ISO and I could see the installation screen and choose to install Linux 8:
Then choose the language and other settings and begin the installation:

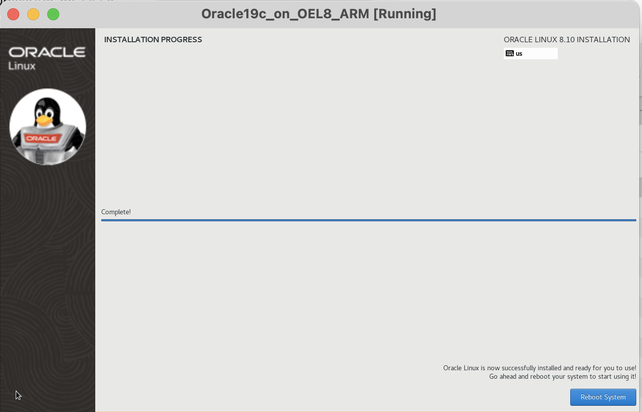
Then reboot the system:
Install Oracle 19c (19.25.)
After the reboot I can login to the machine through ssh as root and prepare for the Oracle installation:
dnf -y update
dnf -y install oracle-database-preinstall-19c.aarch64

mkdir -p /u01/app/oracle
chown -R oracle:oinstall /u01/app

systemctl stop firewalld

passwd oracle

dnf -y install xterm.aarch64 tigervnc-server.aarch64
The Oracle software can be downloaded here. I uploaded it to the /tmp directory on my just created VM and installed Oracle 19c:
su - oracle
mkdir -p /u01/app/oracle/product/19.0.0/dbhome_1
cd /u01/app/oracle/product/19.0.0/dbhome_1

unzip -oq /tmp/LINUX.ARM64_1919000_db_home.zip

export ORACLE_BASE=/u01/app/oracle
export ORACLE_HOME=/u01/app/oracle/product/19.0.0/dbhome_1
export ORACLE_HOSTNAME=`hostname`
export ORA_INVENTORY=/u01/app/oraInventory


./runInstaller -ignorePrereq -waitforcompletion -silent             \
    -responseFile ${ORACLE_HOME}/install/response/db_install.rsp    \
    oracle.install.option=INSTALL_DB_SWONLY                         \
    ORACLE_HOSTNAME=${ORACLE_HOSTNAME}                              \
    UNIX_GROUP_NAME=oinstall                                        \
    INVENTORY_LOCATION=${ORA_INVENTORY}                             \
    SELECTED_LANGUAGES=en,en_GB                                     \
    ORACLE_HOME=${ORACLE_HOME}                                      \
    ORACLE_BASE=${ORACLE_BASE}                                      \
    oracle.install.db.InstallEdition=EE                             \
    oracle.install.db.OSDBA_GROUP=dba                               \
    oracle.install.db.OSBACKUPDBA_GROUP=backupdba                   \
    oracle.install.db.OSDGDBA_GROUP=dgdba                           \
    oracle.install.db.OSKMDBA_GROUP=kmdba                           \
    oracle.install.db.OSRACDBA_GROUP=racdba                         \
    SECURITY_UPDATES_VIA_MYORACLESUPPORT=false                      \
    DECLINE_SECURITY_UPDATES=true

su - root
/u01/app/oraInventory/orainstRoot.sh
/u01/app/oracle/product/19.0.0/dbhome_1/root.sh
exit
Then install the 19.25. release update, which I copied to /tmp/19.25:
cd $ORACLE_HOME
mv OPatch OPatch_1919
unzip -oq /tmp/19.25/p6880880_190000_Linux-ARM-64.zip
cd /tmp/19.25
unzip -oq p36912597_190000_Linux-ARM-64.zip
cd 36912597/
$ORACLE_HOME/OPatch/opatch apply
Start a listener and install a DB
$ORACLE_HOME/bin/lsnrctl start

export ORACLE_SID=db19ee
export PDB_NAME=pdb1
export DATA_DIR=$ORACLE_BASE/oradata
mkdir -p $DATA_DIR

$ORACLE_HOME/bin/dbca -silent -createDatabase                            \
      -templateName General_Purpose.dbc                                   \
      -gdbname ${ORACLE_SID} -sid  ${ORACLE_SID} -responseFile NO_VALUE   \
      -characterSet AL32UTF8                                              \
      -sysPassword oracle_4U                                              \
      -systemPassword oracle_4U                                           \
      -createAsContainerDatabase true                                     \
      -numberOfPDBs 1                                                     \
      -pdbName ${PDB_NAME}                                                \
      -pdbAdminPassword oracle_4U                                         \
      -databaseType MULTIPURPOSE                                          \
      -memoryMgmtType auto_sga                                            \
      -totalMemory 2500                                                   \
      -storageType FS                                                     \
      -datafileDestination "${DATA_DIR}"                                  \
      -redoLogFileSize 200                                                \
      -emConfiguration NONE                                               \
      -ignorePreReqs

$ORACLE_HOME/bin/sqlplus / as sysdba <<EOF
alter system set db_create_file_dest='${DATA_DIR}';
alter pluggable database ${PDB_NAME} save state;
exit;
EOF
As root adjust the firewalld:
# systemctl start firewalld
# cd /etc/firewalld/services
# vi oranetwork.xml
# cat oranetwork.xml
<?xml version="1.0" encoding="utf-8"?> <service>
<short>oranetwork</short>
<description>Oracle Network communication</description> <port protocol="tcp" port="1521"/>
</service>
# firewall-cmd --permanent --add-service=oranetwork
# firewall-cmd --reload
# firewall-cmd --list-all
...
  services: cockpit dhcpv6-client oranetwork ssh
...
Finally I can connect to my 19.25.-DB:
[oracle@db19c-arm ~]$ . oraenv
ORACLE_SID = [db19ee] ? db19ee
The Oracle base remains unchanged with value /u01/app/oracle
[oracle@db19c-arm ~]$ sqlplus / as sysdba

SQL*Plus: Release 19.0.0.0.0 - Production on Thu Dec 5 19:35:34 2024
Version 19.25.0.0.0

Copyright (c) 1982, 2024, Oracle.  All rights reserved.


Connected to:
Oracle Database 19c Enterprise Edition Release 19.0.0.0.0 - Production
Version 19.25.0.0.0

SQL> show pdbs

    CON_ID CON_NAME			  OPEN MODE  RESTRICTED
---------- ------------------------------ ---------- ----------
	 2 PDB$SEED			  READ ONLY  NO
	 3 PDB1 			  READ WRITE NO
SQL>
Summary
Consultants and DBAs who are used to run Oracle Database test environments on Virtualbox, can do this now on Apple Silicon as well. The steps to setup and run an Oracle DB on ARM are the same as on x86-64. Please consider that there are still some limitations on ARM. E.g. 19c is not supported on Oracle Enterprise Linux 9 (OEL9) on ARM.
![Thumbnail [60x60]](https://www.dbi-services.com/blog/wp-content/uploads/2022/11/CBL_web-min-min-scaled.jpg)


![Thumbnail [90x90]](https://www.dbi-services.com/blog/wp-content/uploads/2022/08/MAW_web-min-scaled.jpg)
![Thumbnail [90x90]](https://www.dbi-services.com/blog/wp-content/uploads/2025/05/JDE_Web-1-scaled.jpg)
kernel-panic-j
03.07.2025Hey there!
It works for me at Macbook pro m4. But I saw that you must be using the Oracle8 version instead of the most recent, I tried and there are a few libs missing on recent version.
Don't forget to install the oraclelinux-r8-u10-server-aarch64-dvd iso, find it here --+ https://yum.oracle.com/oracle-linux-isos.html
It works on Parrallels for me but pretty sure it will work at UTM if you are able to install the linux distro.
Clemens Bleile
29.01.2026Thanks for the info.
Regards
Clemens