In my previous Blog I wrote how to install and configure SUSE Manager. In this Blog I will go more in the deep like repository management and PXE boot configuration.
Configuring repository
To get your username and password for repository you need to go: https://scc.suse.com/ Login with your SUSE Account

Admin -> Setup Wizard -> Organization Credentials -> Add a new credential
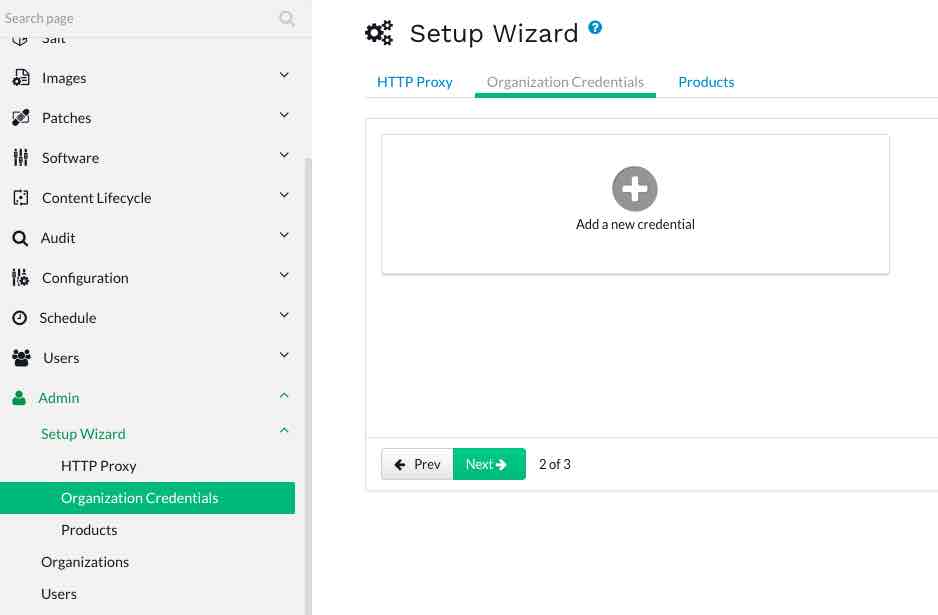
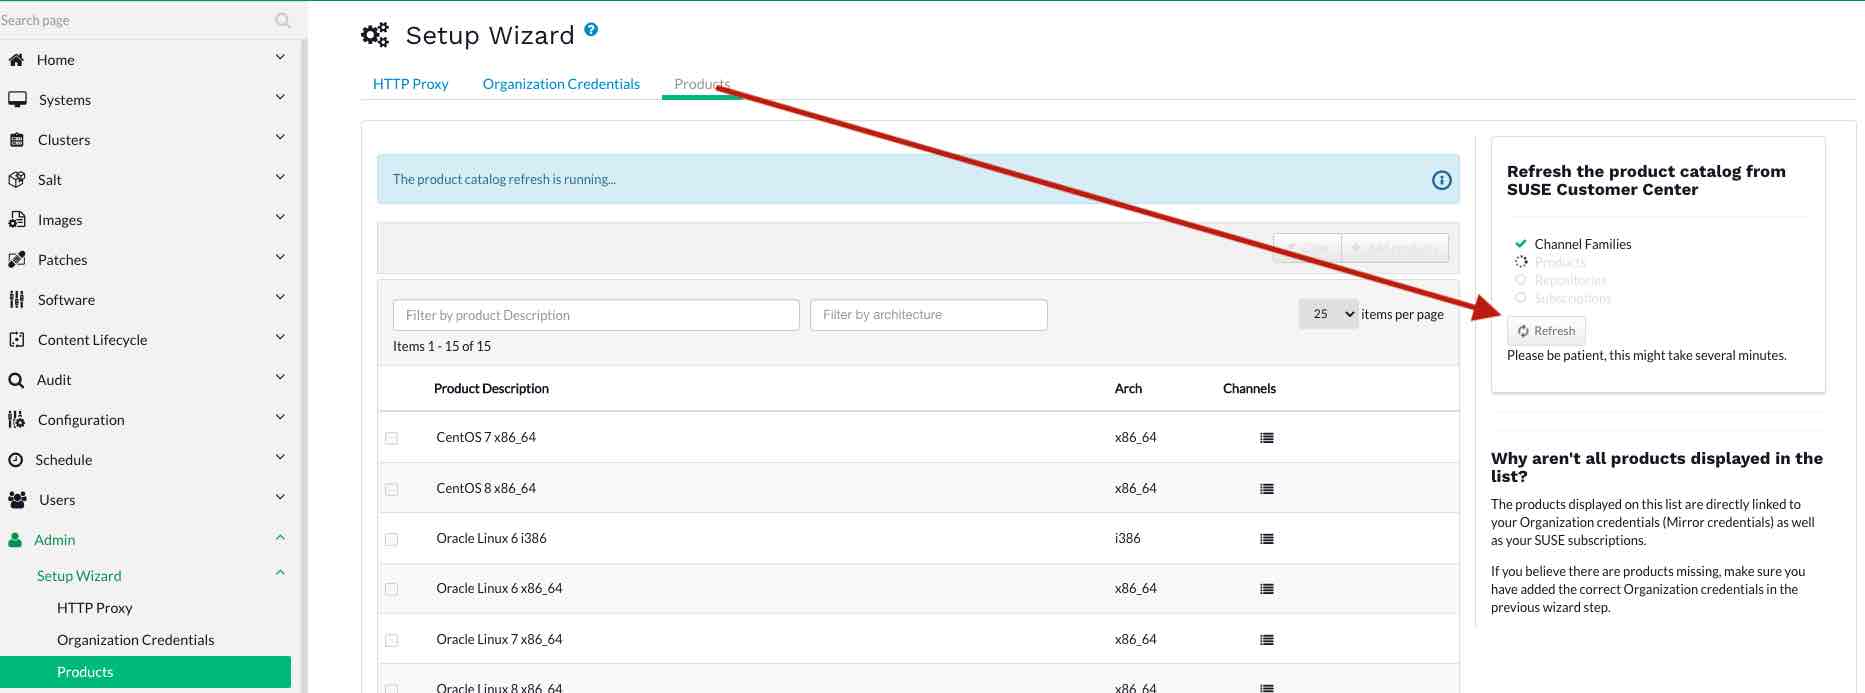
After you successfully added the Organization Credentials, you need to refresh it.
Preboot Execution Environment can make your system installation and deployment easier. You can prepare multiple profiles/systems and boot your client directly from the image to install it.
Before we start with profiles, we need configure our DHCP Server to enable PXE boot.
if your DHCP Server runs on Linux:
You need open /etc/dhcp/dchpd.conf and add next-server and filename to your subnet.
[root@localhost dhcp]# vi dhcpd.conf

#
# DHCP Server Configuration file.
#   see /usr/share/doc/dhcp-server/dhcpd.conf.example
#   see dhcpd.conf(5) man page
#

default-lease-time 600;
max-lease-time 7200;
ddns-update-style none;
authoritative;
allow booting;
allow bootp;

subnet 192.168.50.0 netmask 255.255.255.0 {
 range 192.168.50.50 192.168.50.200;
 option routers 192.168.50.1;
 option subnet-mask 255.255.255.0;
 option domain-name-servers 8.8.8.8, 8.8.4.4;
 next-server 192.168.50.149;
 filename "pxelinux.0";
}
save the file and restart your dhcp server:
systemctl restart dhcpd
if your DHCP Server runs on Windows Server:
Open DHCP configuration -> IPv4 -> Scope -> Server Options You need to add new options 066 and 067
066: FQDN or IP for your SUMA Server 067: pxelinux.0
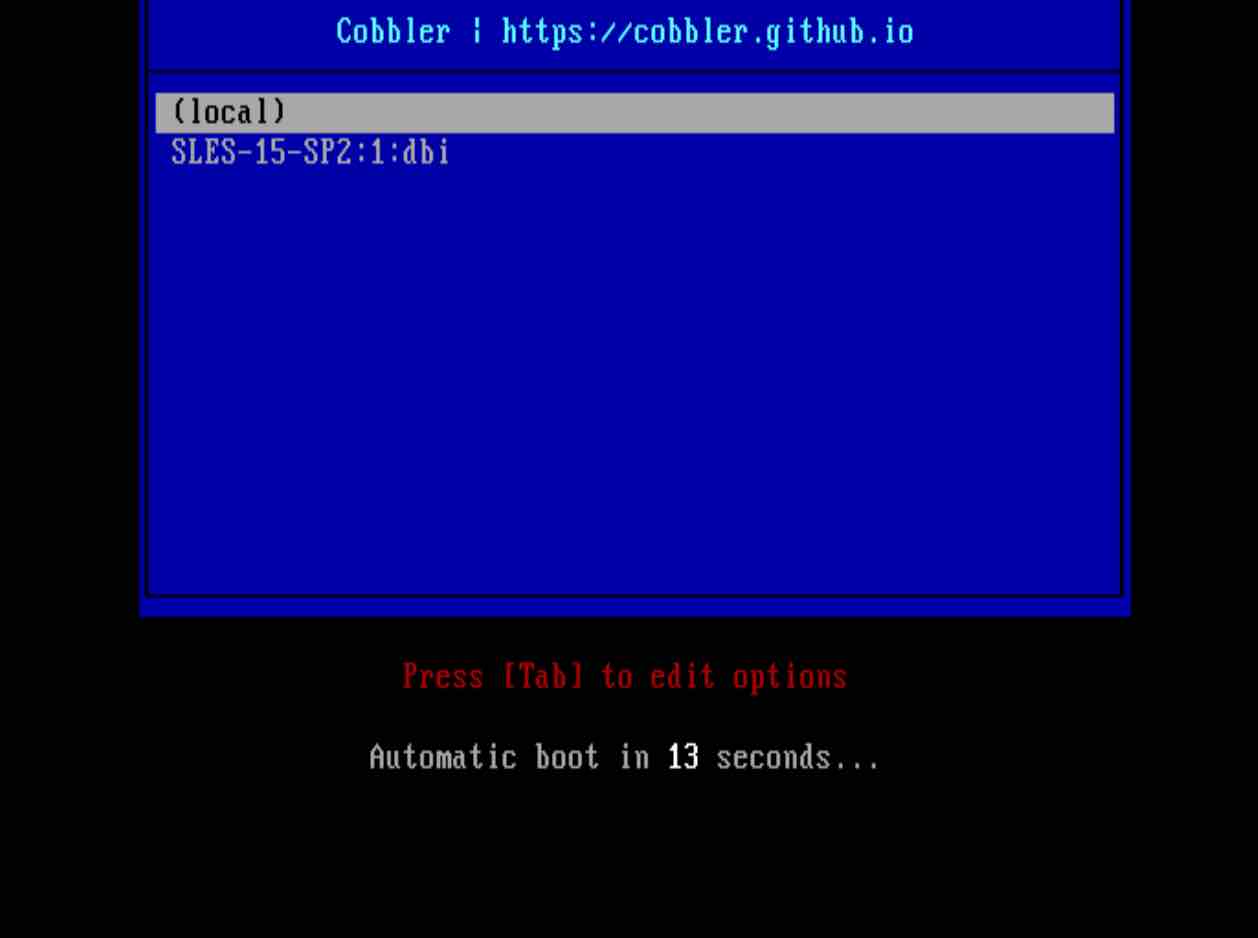
Boot from PXE
After you configured your DHCP Server, you can boot your client from LAN. You should see following screen:
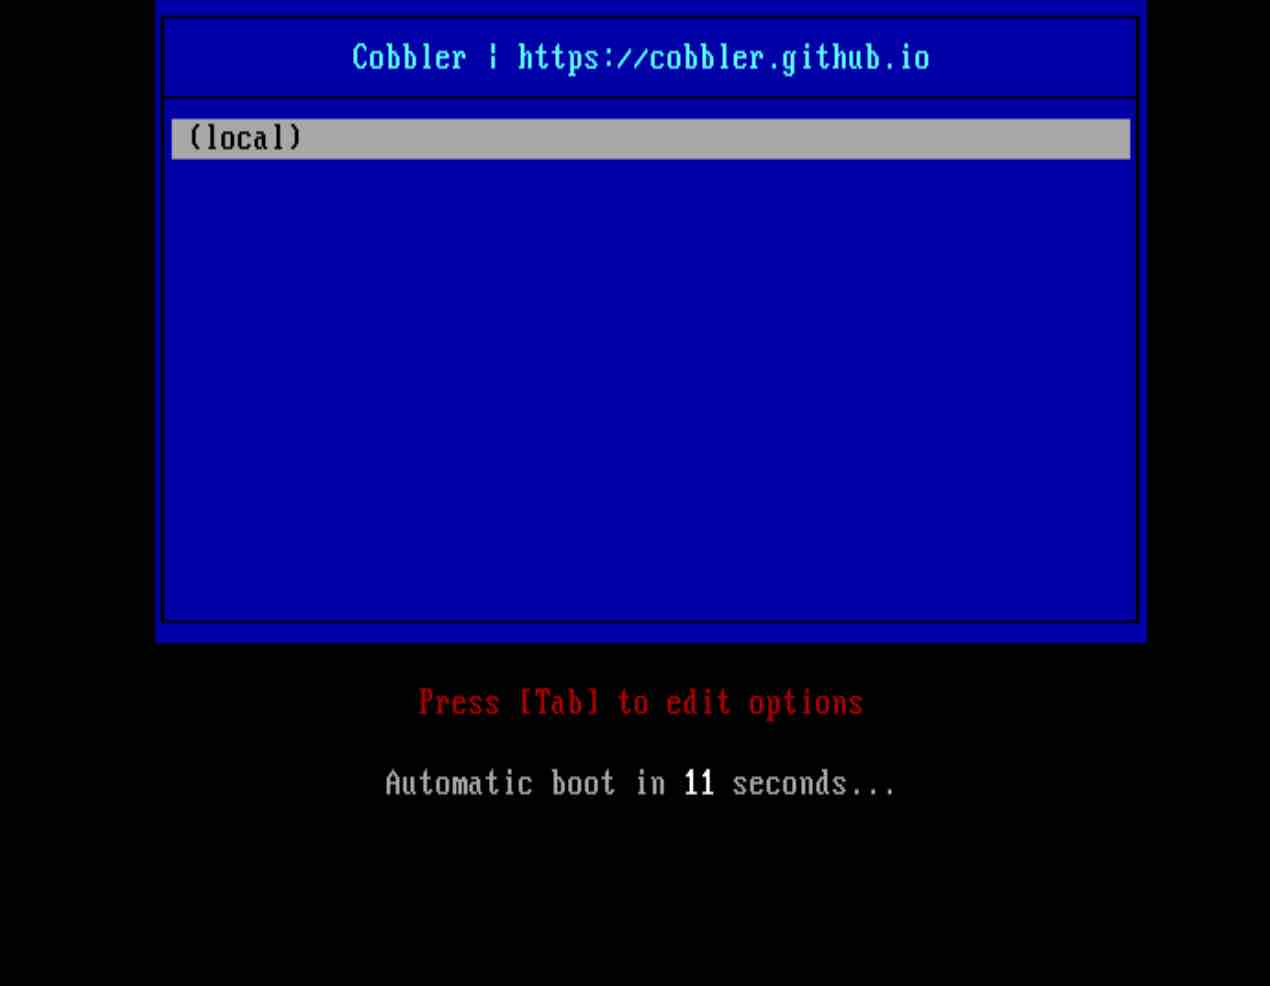
As we did not configured any system images, the list is empty.
To be able to make installation over network, you need to download iso files and put it on SUMA Server. Go to https://www.suse.com/download/sles/ and download the iso file.
Create needed folders:
mkdir -p /srv/www/htdocs/pub/isos
mkdir -p /srv/www/htdocs/pub/distros/SLES-15-SP2-DVD-x86_64
Copy the files to SUMA Server: /srv/www/htdocs/pub/isos and mount it
scp sles15-sp2-x86_64.iso [email protected]:/srv/www/htdocs/pub/isos
mount -o loop /srv/www/htdocs/pub/isos/sles15-sp2-x86_64.iso /srv/www/htdocs/pub/distros/SLES-15-SP2-DVD-x86_64
After you copied all your isos and mounted, you need to define tree path in SUSE Manager. Open your SUMA Server -> Systems -> Autoinstallation -> Distributions.
Make sure that you synced down your products which you want to deploy!

If you configured correctly, you will see on the right side a green checkmark.
The AutoYaST profile in this section installs a SUSE Linux Enterprise Server system with all default installation options including a default network configuration using DHCP. After the installation is finished, a bootstrap script located on the SUSE Manager server is executed in order to register the freshly installed system with SUSE Manager. You need to adjust the IP address of the SUSE Manager server, the name of the bootstrap script, and the root password according to your environment:
All possible Attributes you can find under: https://doc.opensuse.org/projects/autoyast/
Basic AutoYast file:
<?xml version="1.0"?>
<!DOCTYPE profile>
<profile
xmlns_config="http://www.suse.com/1.0/configns">
<general>
<mode>
<confirm config_type="boolean">false</confirm>
</mode>
</general>
<networking>
<keep_install_network config_type="boolean">true</keep_install_network>
</networking>
<software>
<install_recommended config_type="boolean">true</install_recommended>
<patterns config_type="list">
<pattern>base</pattern>
</patterns>
</software>
<users config_type="list">
<user>
<encrypted config_type="boolean">false</encrypted>
<fullname>root</fullname>
<gid>0</gid>
<home>/root</home>
<password_settings>
<expire></expire>
<flag></flag>
<inact></inact>
<max></max>
<min></min>
<warn></warn>
</password_settings>
<shell>/bin/bash</shell>
<uid>0</uid>
<username>root</username>
<user_password>linux</user_password>
</user>
</users>
<scripts>
<init-scripts config_type="list">
<script>
<interpreter>shell</interpreter>
<location>http://192.168.1.1/pub/bootstrap/my_bootstrap.sh</location>
</script>
</init-scripts>
</scripts>
</profile>
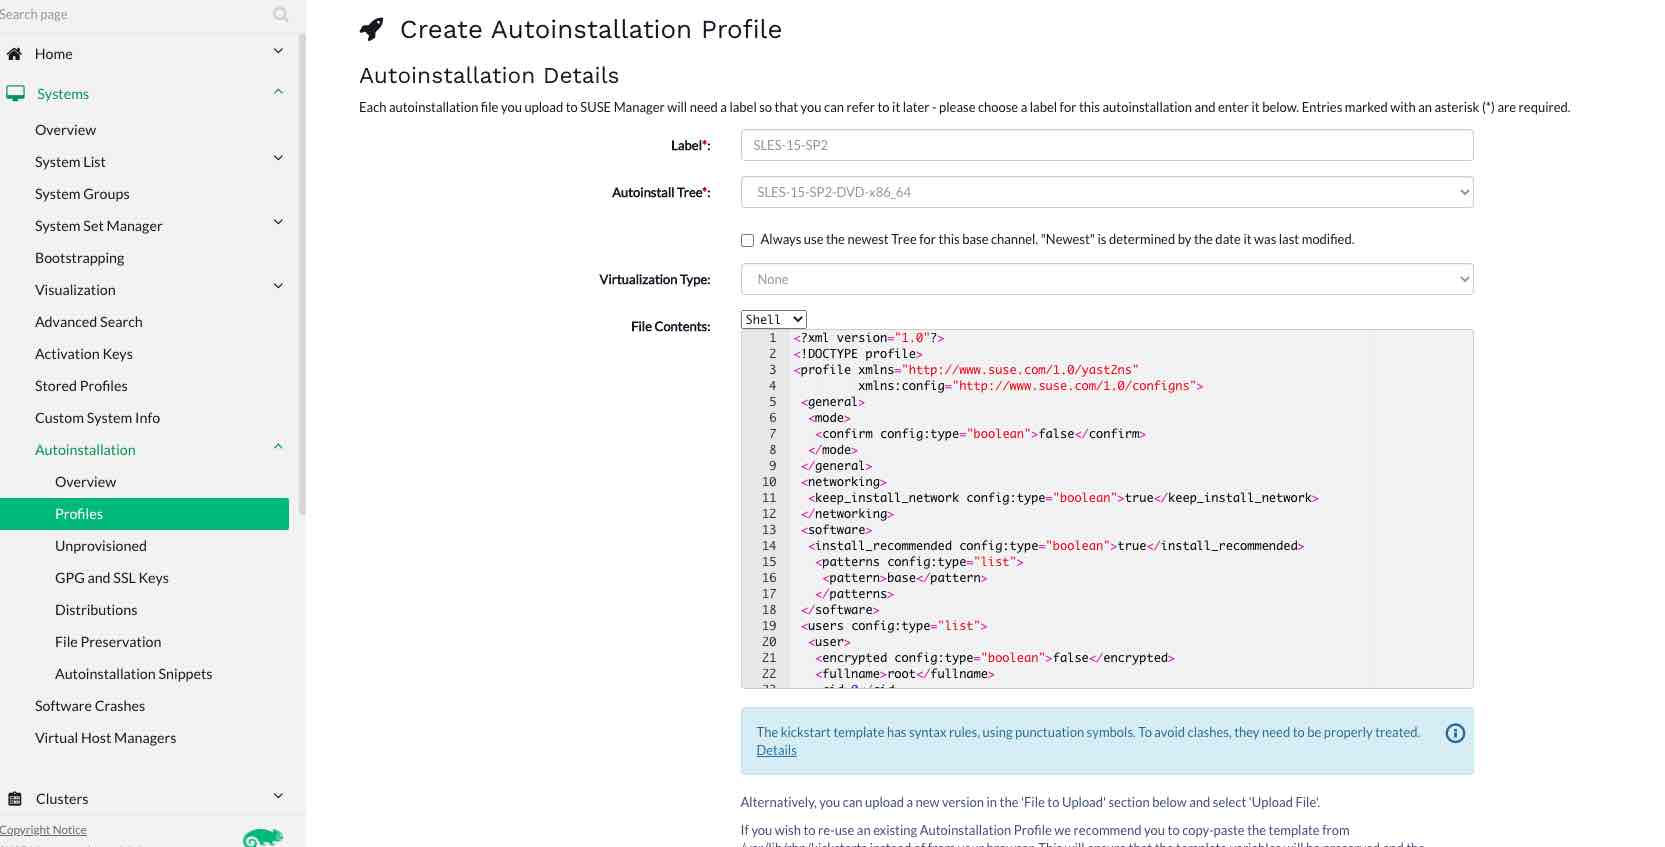
After you prepared and modifed your AutoYast file, you need to upload it to SUMA Server. Systems -> Autoinstallation -> Profiles -> Upload Kickstart/Autoyast File and past the content fo file contents.

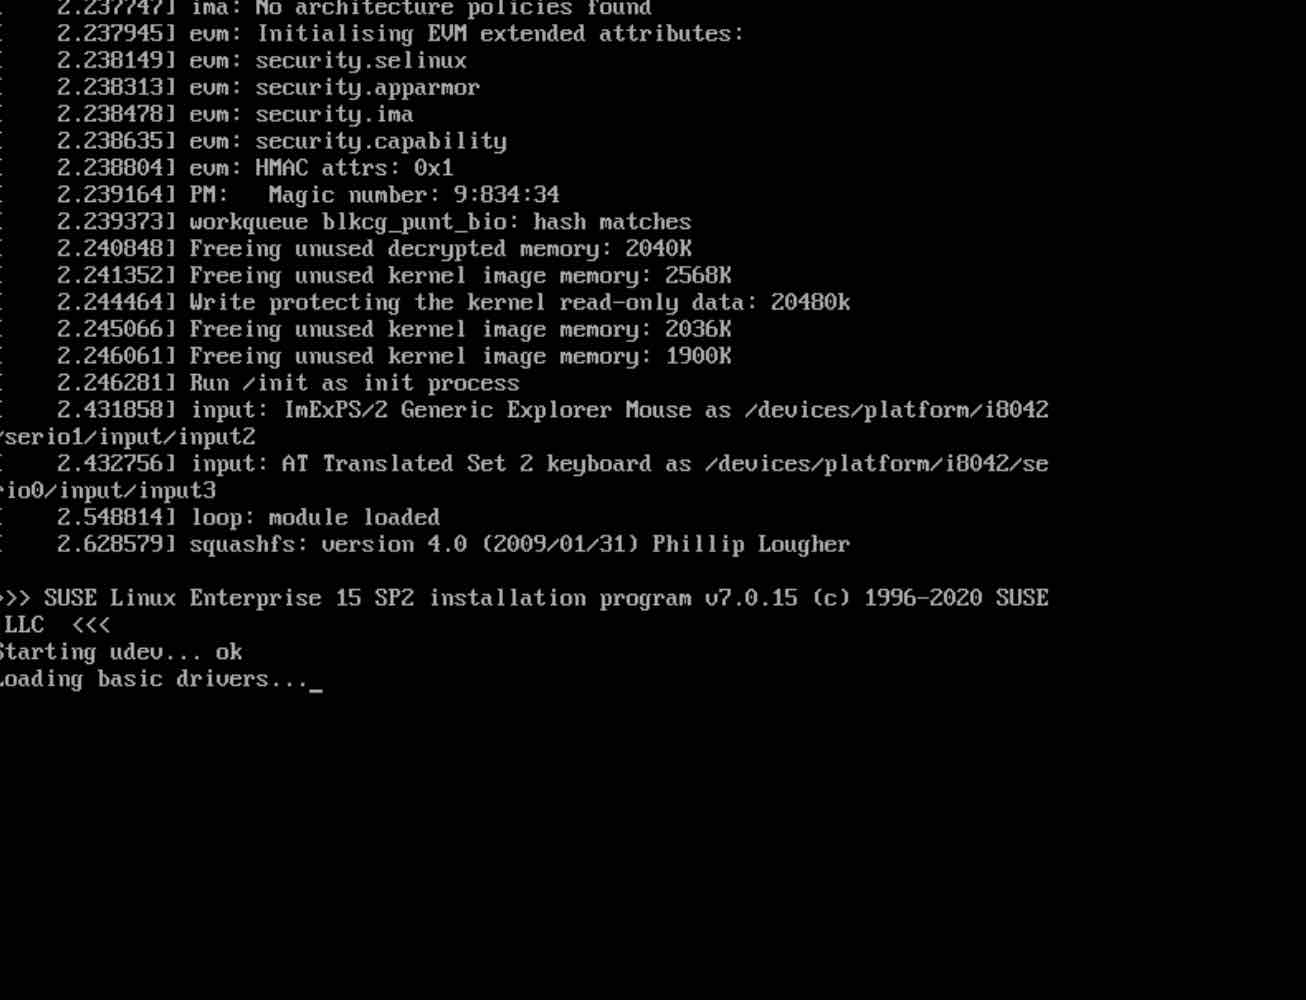
Now let’s boot client again from the PXE:
Conclusion
![Thumbnail [60x60]](https://www.dbi-services.com/blog/wp-content/uploads/2022/05/open-source-author.png)
![Thumbnail [90x90]](https://www.dbi-services.com/blog/wp-content/uploads/2025/11/LTO_WEB.jpg)
![Thumbnail [90x90]](https://www.dbi-services.com/blog/wp-content/uploads/2022/08/FRJ_web-min-scaled.jpg)