During my last blog-post I experienced to use Azure backup to protect an on-premise Windows server.
To recover data from Azure backup we need to use the Microsoft Azure Recovery Services console (MARS).
This service and its management console have been installed during the setup of the Azure backup in the Windows Admin Center.
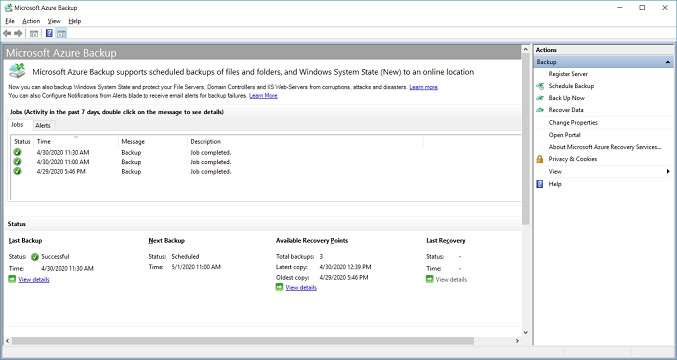
When we open the Microsoft Azure Backup console, we directly visualize the jobs activity for the last 7 days in the major part of the screen and on the right an Actions part with the different backup options available:
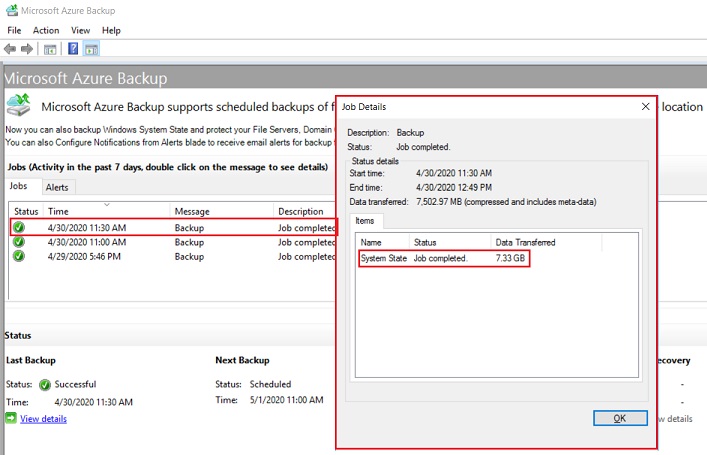
If we want more information about a specific job just click on it and a new window will be displayed with information like backup date, duration, type of backup (here System State), size of transferred data, status…:
But let’s have a look at the Actions pan.
Here we will find 3 interesting action:
- Schedule Backup: it’s where we can create and modify our Files & Folders or System State backups in term of stop/start the schedule, select for Files & Folders what we want to backup, schedule the backup, add a retention policy
- Back Up Now: let us start an adhoc Files & Folders or System State backup with the desired retention
- Recover Data: give the possibility to restore our Azure backup on our on-premise server. To start click on the Recover Data action button and we have first to select the server where the backup has been created:
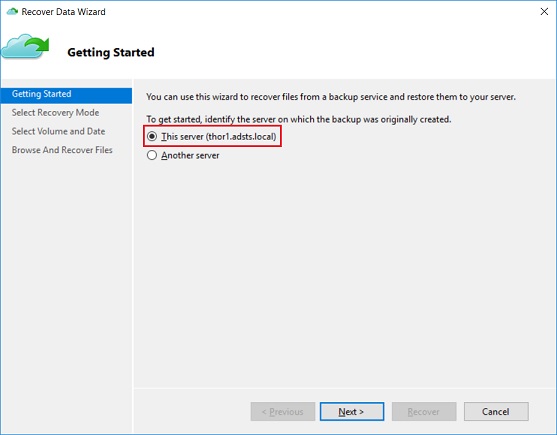
We will use our thor1 server and after clicking on the Next button we are able to select what we want to restore:
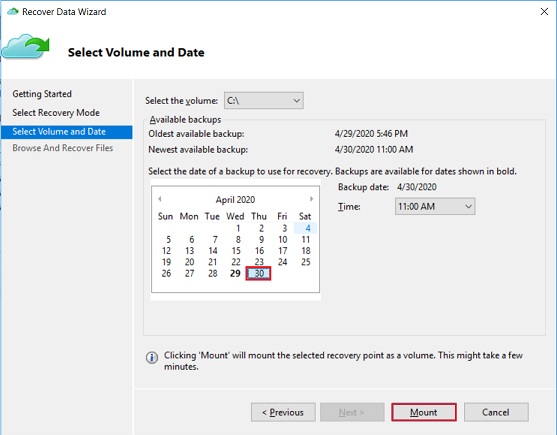
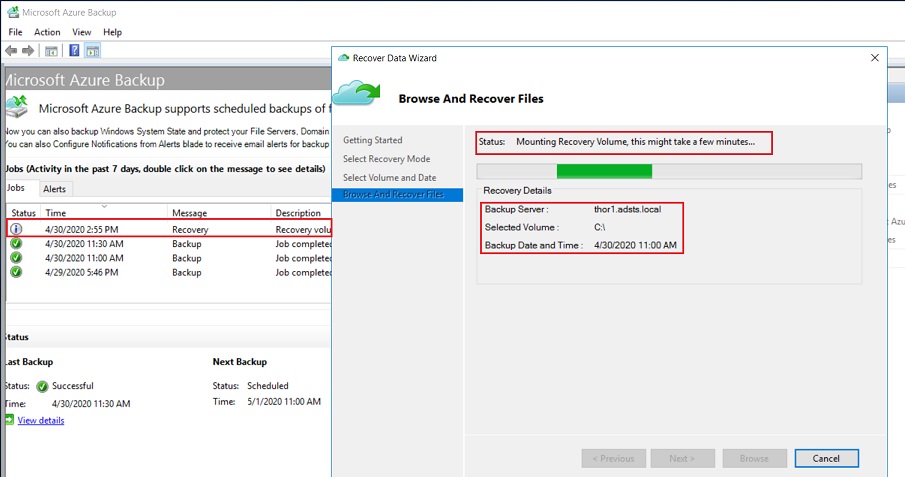
- Individual files and folders: this will mount a backup of the selected volume that we can browse to recover files and folders we need. Once the volume is selected, the last backups are available and we can select the one we need. Here I select the last and after we can click the Mount button:
The selected volume will be mounted, we have the details of the volume and backup date on the screen and we can also see that a new job is currently running:
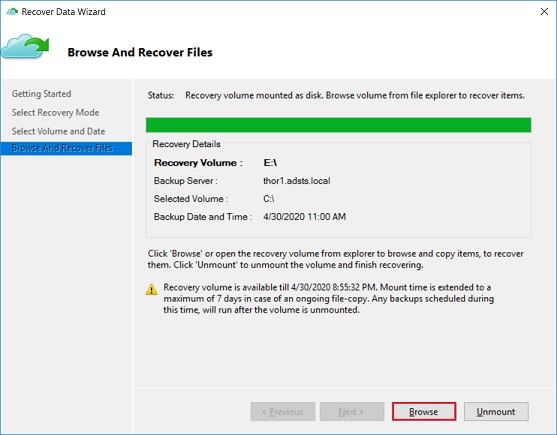
When finished, our new volume E:\ is mounted and can be browsed to recover the needed items:
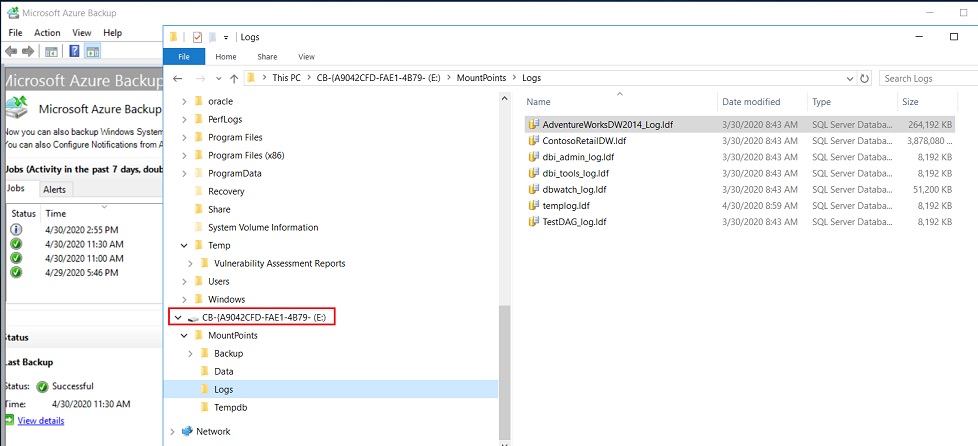
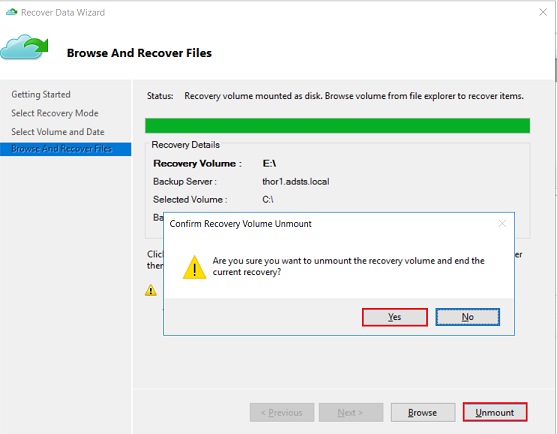
We can now go to our File Explorer, browse our new backup volume and copy the files & folders we would like to recover, once finished click the Unmount button and validate:
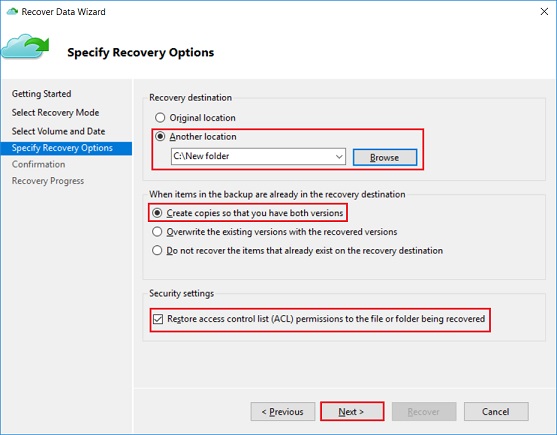
- Volume: will recover all files and folders of the selected volume. First steps are the same than above: select the volume and the desired backup. After we need to define the recovery destination, the rules if items are already in the destination and if security permissions will also be restored. For this example, we created a Restore folder:
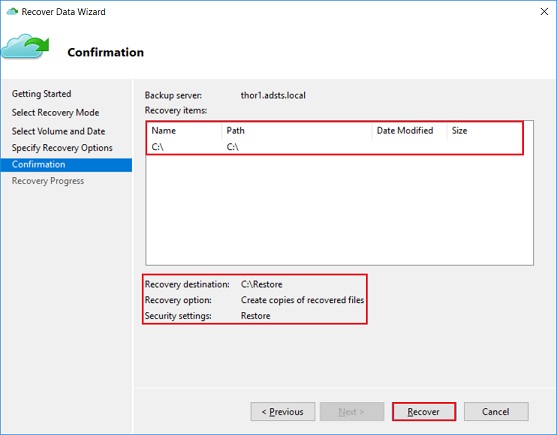
We need now to confirm the restoration of the C:\ volume to our new folder c:\Restore:
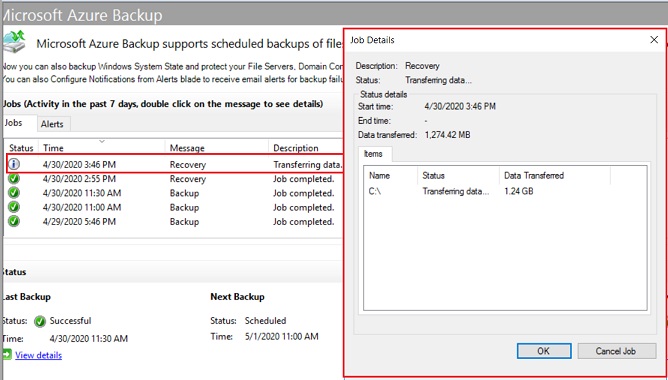
The recovery is running, the wizard can be closed and the progress can be checked directly on the job dashboard:
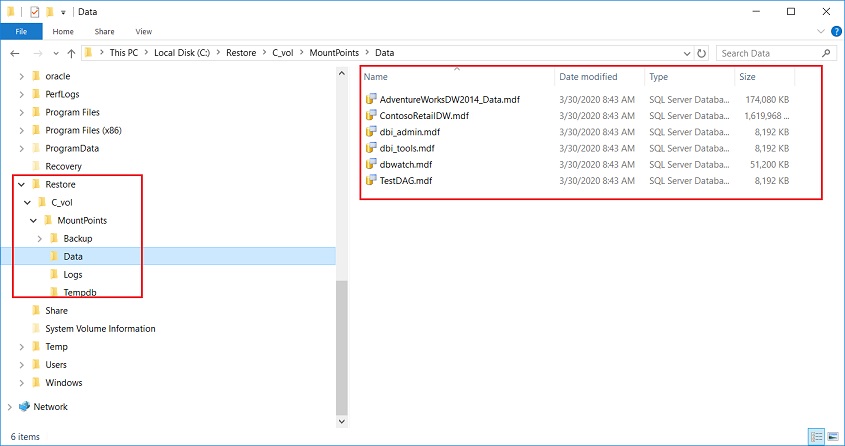
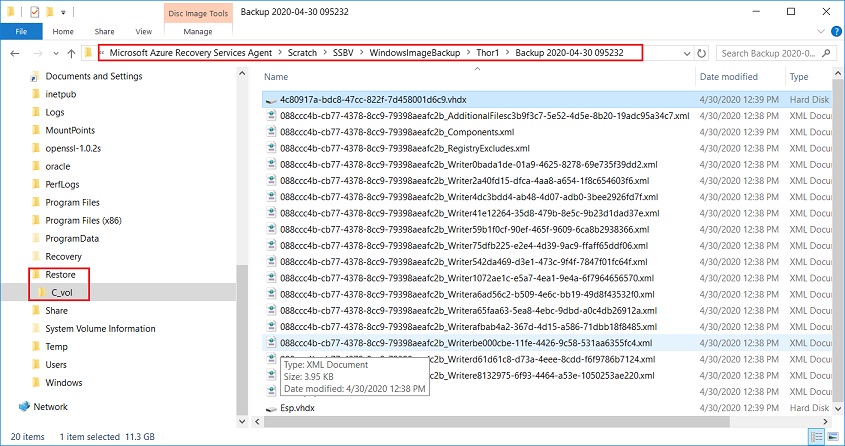
The job finished successfully and we can now browse our restore folder to copy the necessary items:
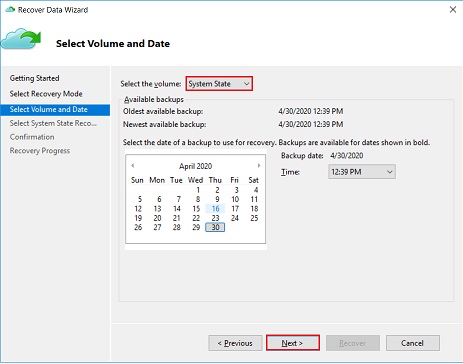
- System State: restore the system state. First step is to select the backup, here I have just one:
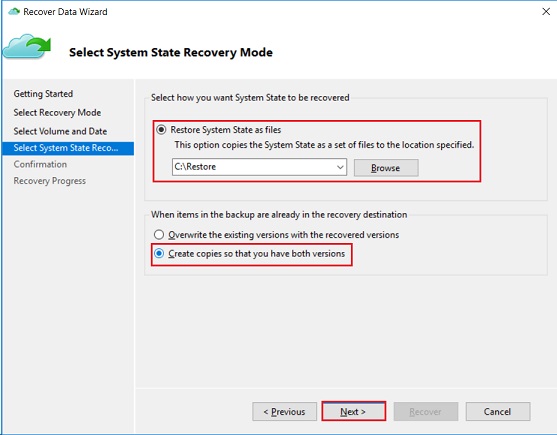
As before I will restore those System State as files on my Restore folder and in case we made a mistake use the option to create a copies if existing versions already exist:
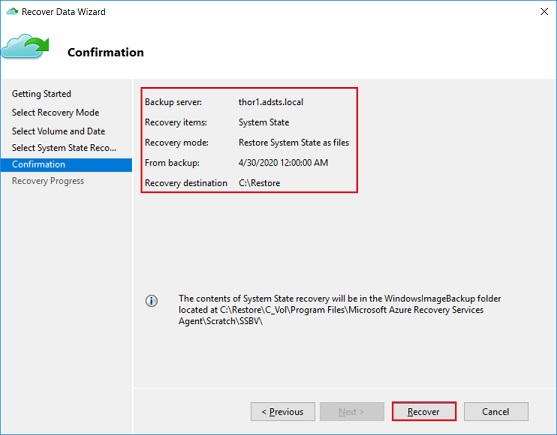
A confirmation screen appears and we can click the Recover button to start the recovery process:
The recovery process is running:
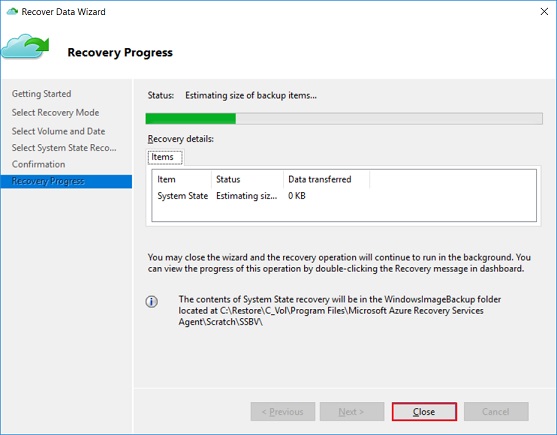
When it’s over we can browse the Restore folders:
Here ends this second blog-post relative to Azure backup.
Recovering our Azure Backup is really easy and could be helpful in case of corruption or of accidental or malicious deletions.
Next time I will check how can we back up a complete on-premise server on Azure.
See you soon.
![Thumbnail [60x60]](https://www.dbi-services.com/blog/wp-content/uploads/2022/10/STS_web-min-scaled.jpg)
![Thumbnail [90x90]](https://www.dbi-services.com/blog/wp-content/uploads/2022/08/FRJ_web-min-scaled.jpg)
![Thumbnail [90x90]](https://www.dbi-services.com/blog/wp-content/uploads/2024/03/AHI_web.jpg)