Although we are running PostgreSQL mostly on Linux distributions, you can install an run PostgreSQL on a lot of other operating systems. On of them is FreeBSD. FreeBSD is one of those Unixes that derived from the Berkeley Software Distribution (BSD) and it is well known for having very few security issues and it is running a wide range of websites today. In addition, it is the foundation of storage appliances such as Isilon. Running PostgreSQL on FreeBSD is not rocket science and in this post we’ll go through the basics: Installing FreeBSD. In the follow up posts we’ll configure networking, update the system and then install PostgreSQL from pre-build packages and from source.
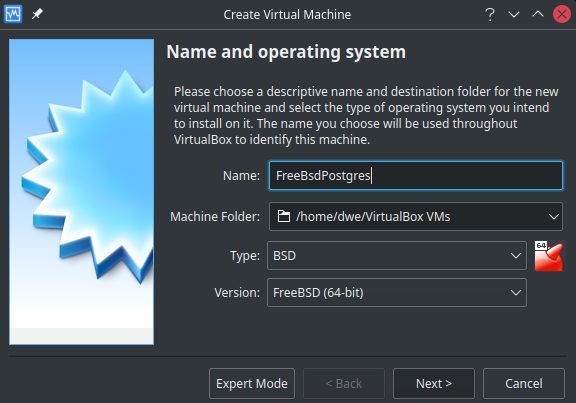
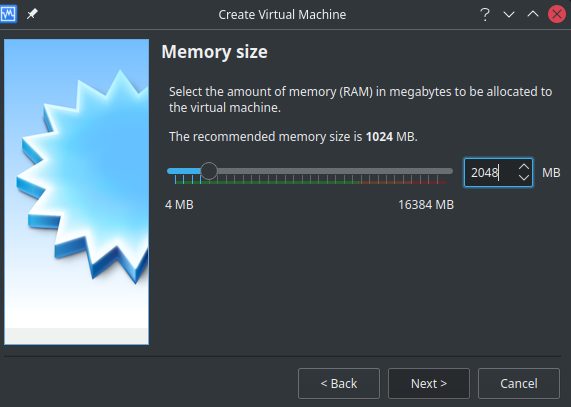
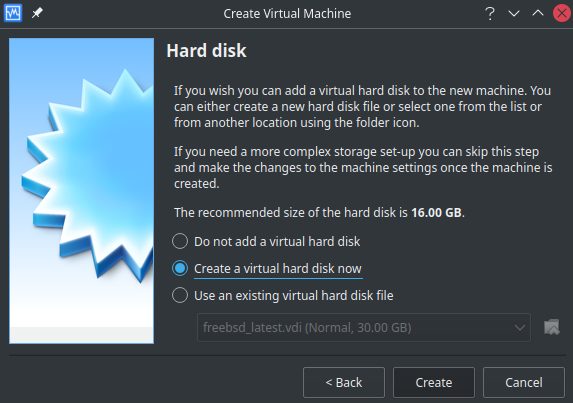
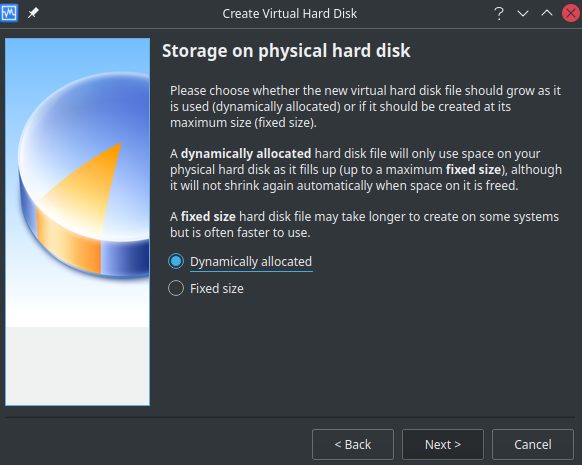
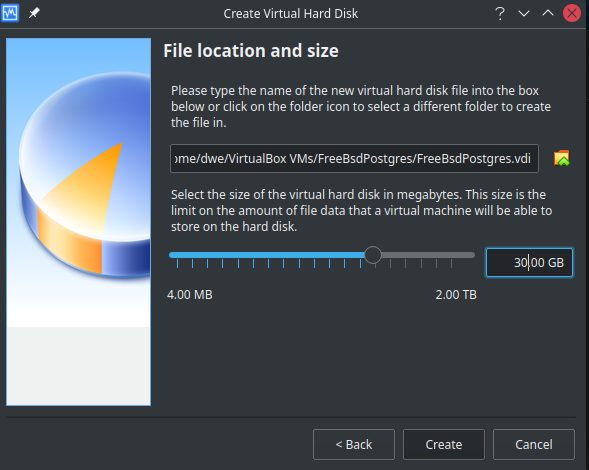
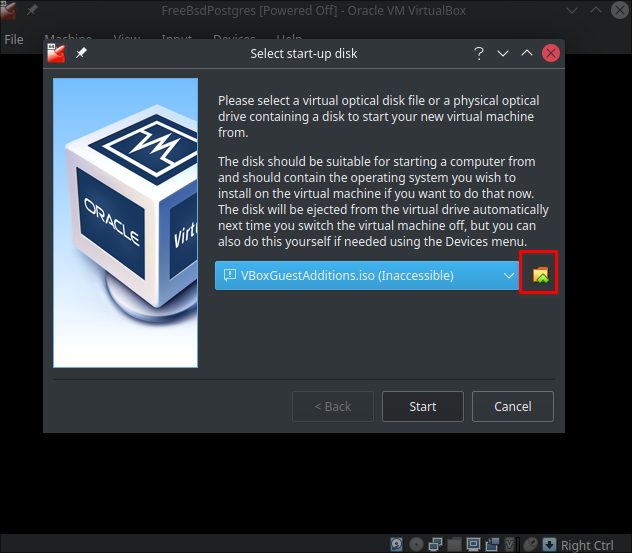
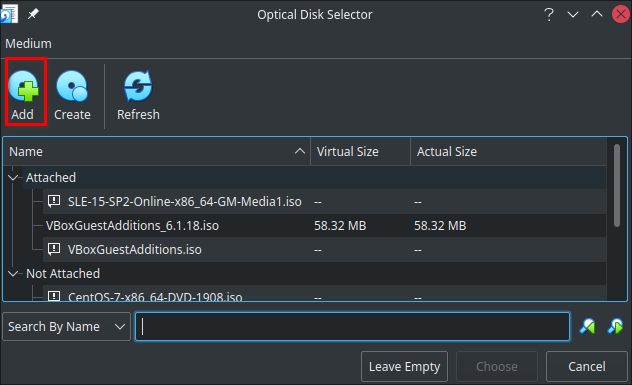
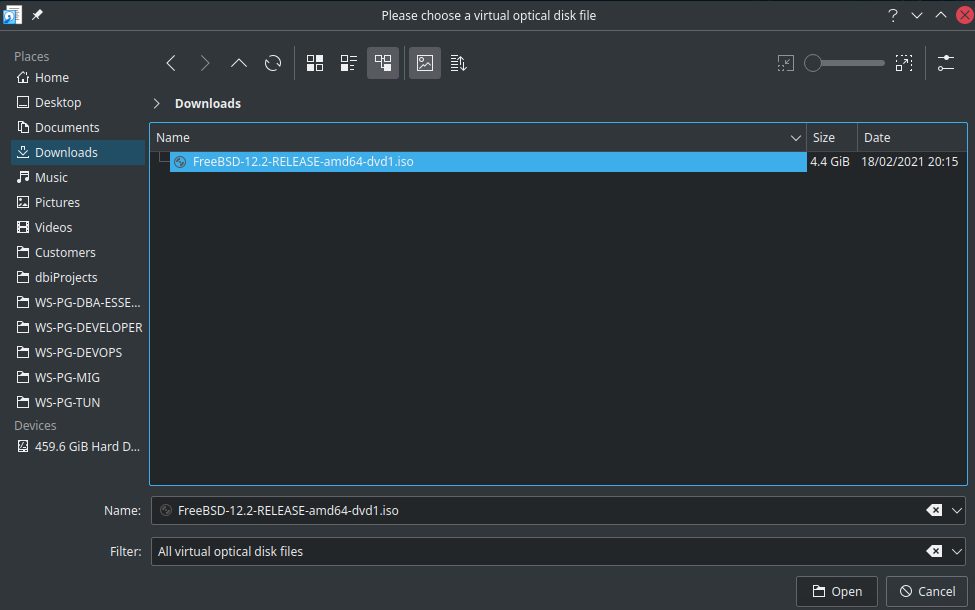
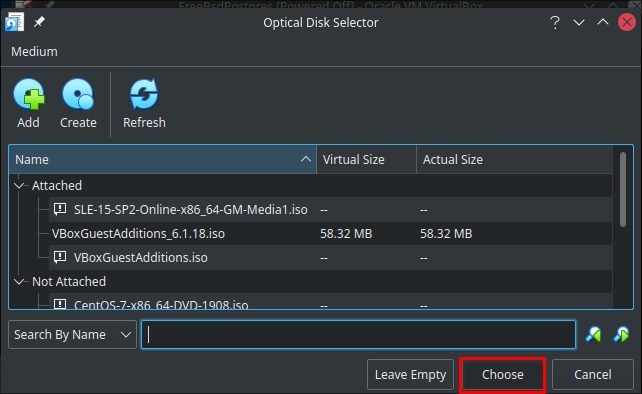
To make it reproducible for everyone, we’ll be using VirtualBox as the virtualization layer. Obviously you’ll need to download the FreeBSD ISO file for being able to install it. Once you have it downloaded, head over to VirtualBox and create the virtual machine:
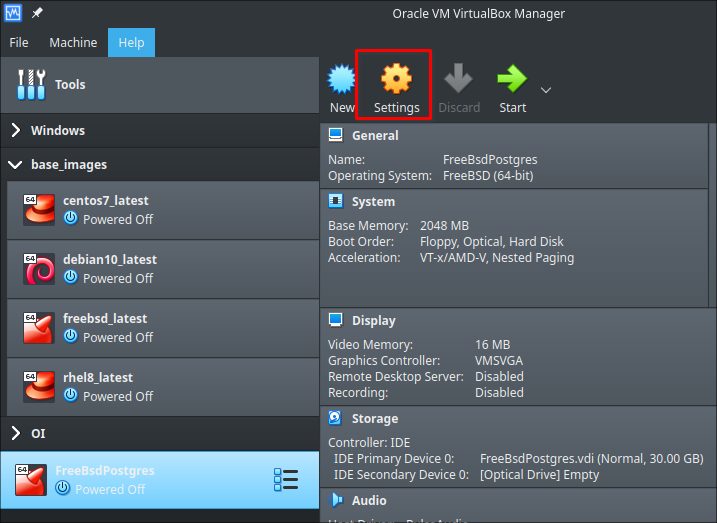
As this is a server setup I usually disable features which are not required:
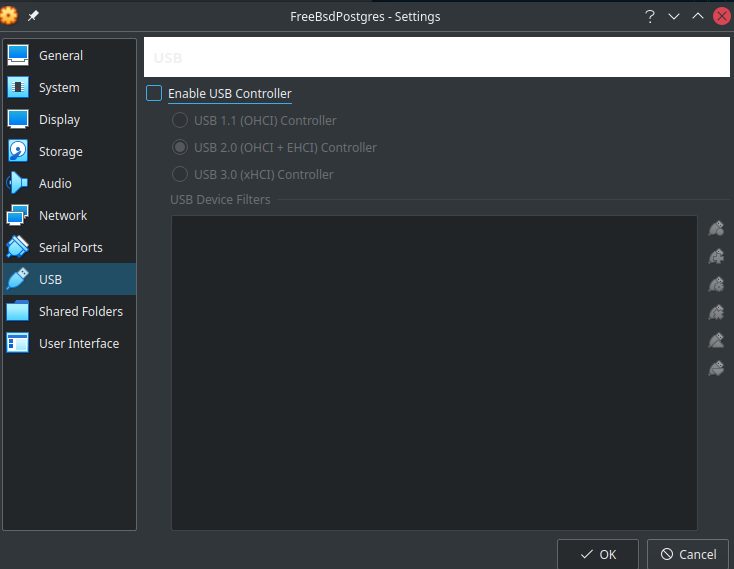
We do not need USB support:
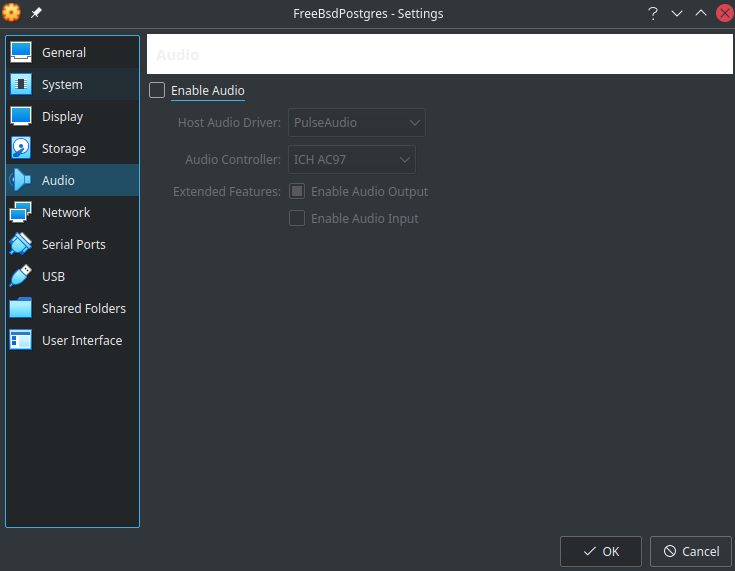
We don’t need audio:
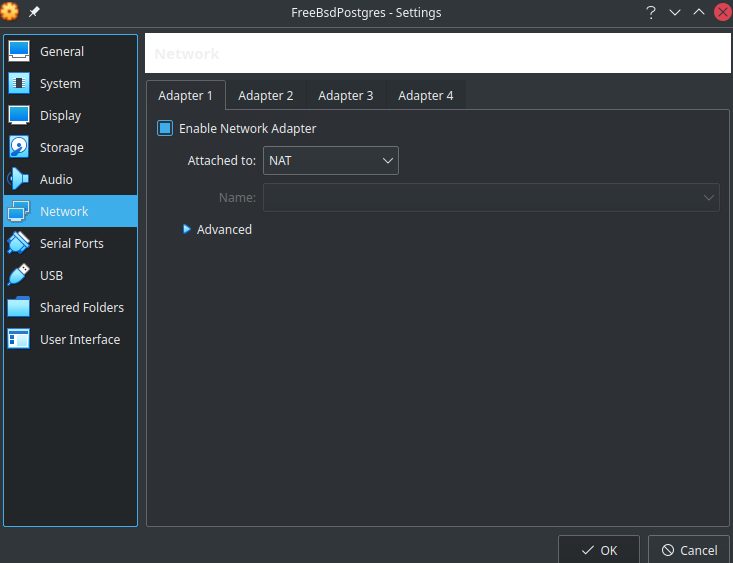
A more general tip regarding VirtualBox is this: I usually configure one NAT interface for connecting to the internet:
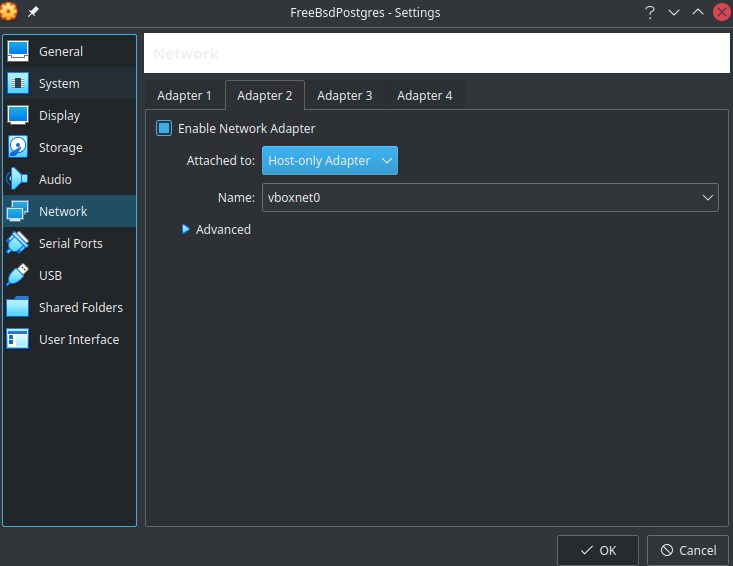
In addition I use a second interface for connecting to the virtual machine using the host only network adapter:
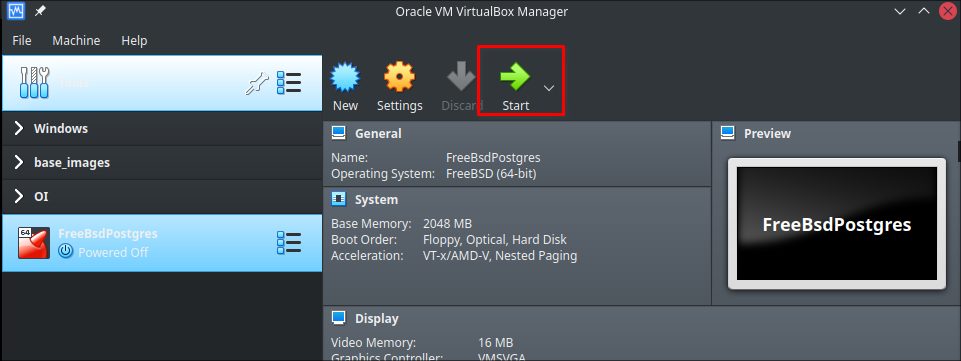
That’s it for the basic configuration. We can go ahead and start the virtual machine:

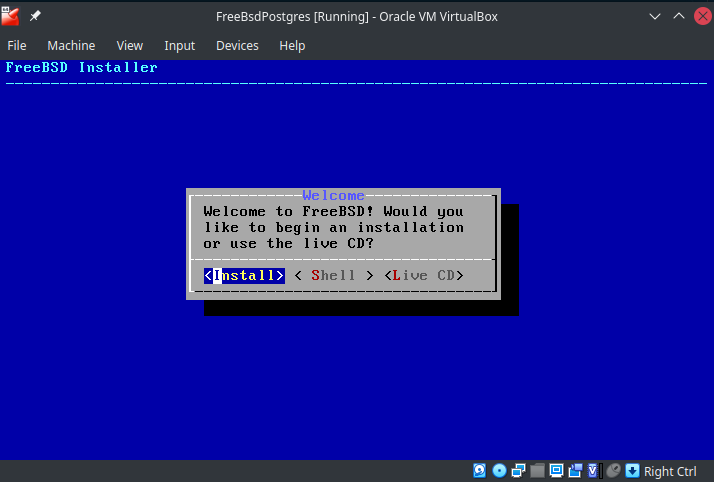
.. and here we go with the installation of FreeBSD:
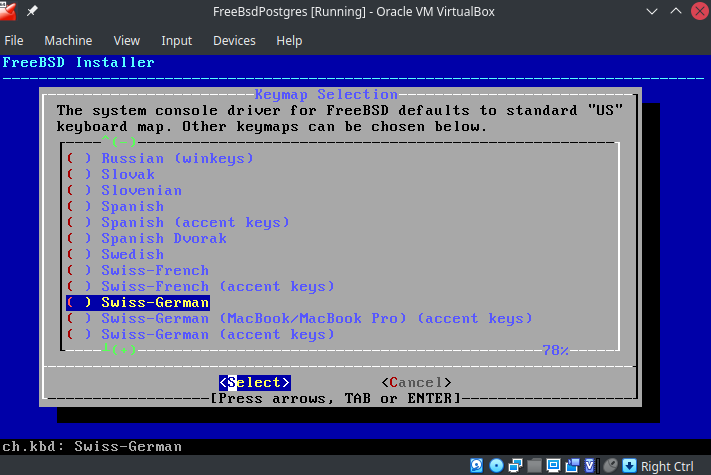
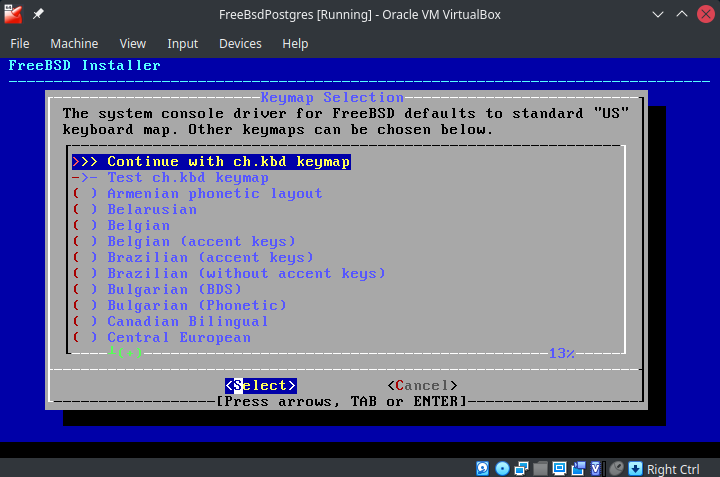
As usual you need to specify the keyboard layout:

Of course there needs to be a hostname:

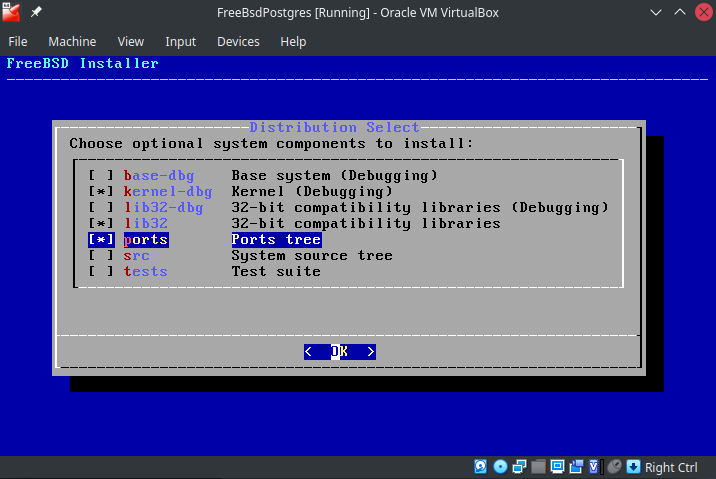
The FreeBSD ports tree makes it easy to install additional software, so, please do yourself a favor and enable it:
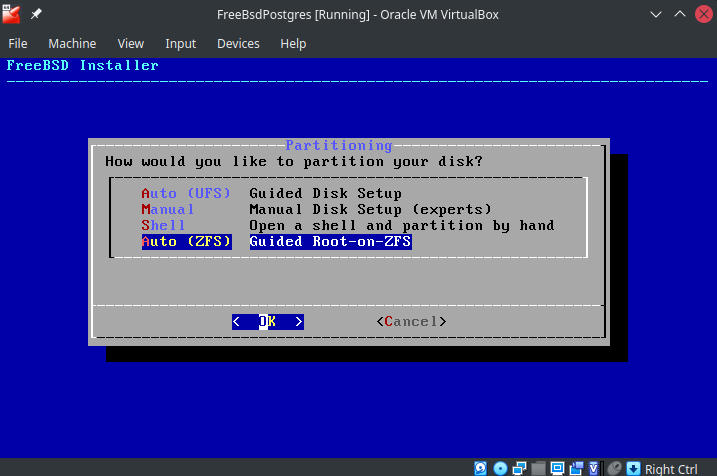
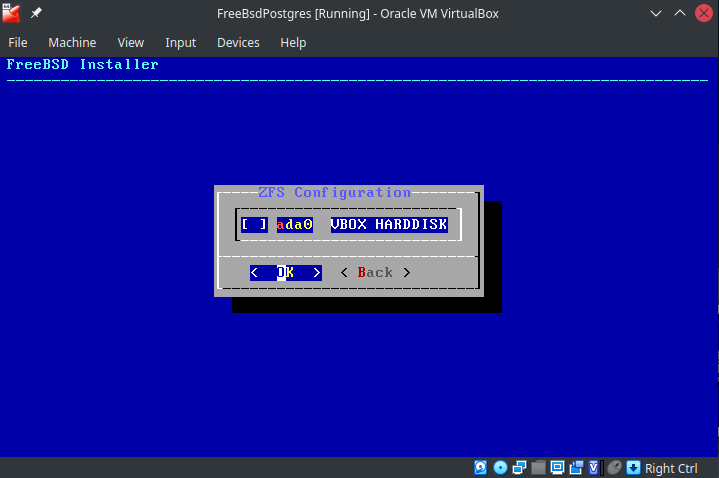
Next is the file system selection and as ZFS comes with a lot of features, go with it:
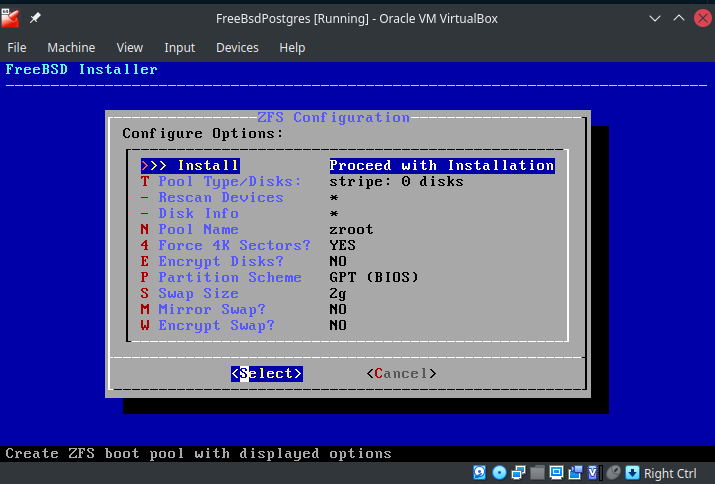
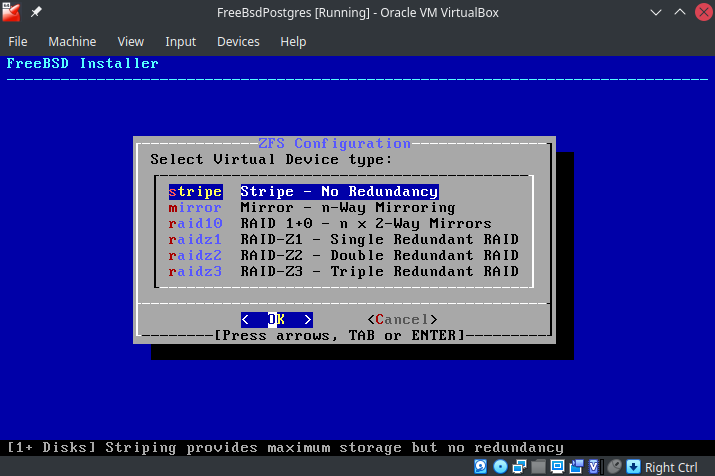
The defaults are fine for the scope of this post:

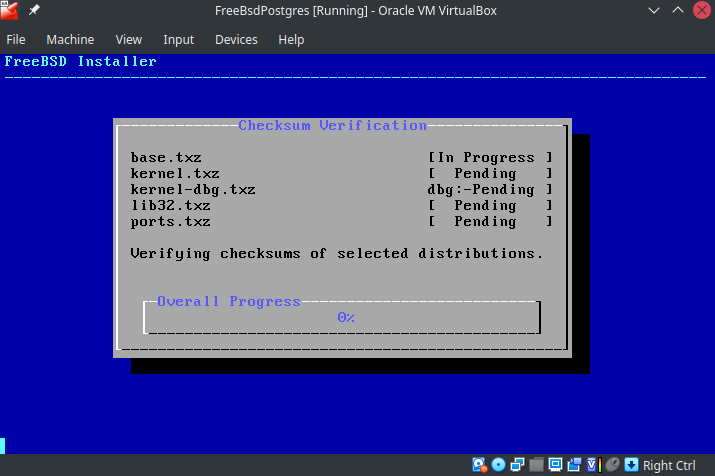
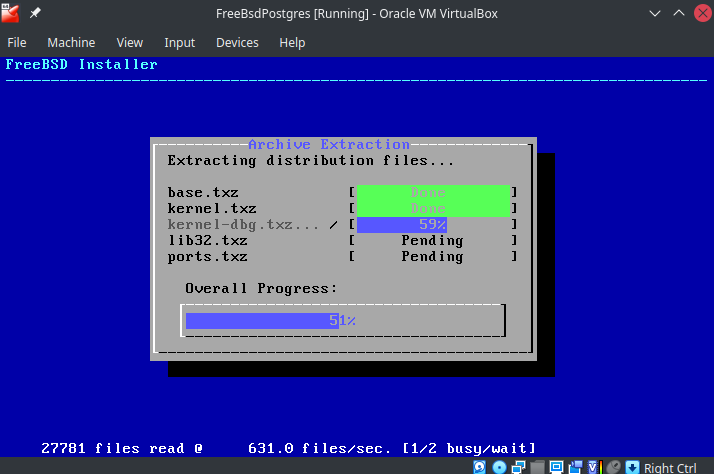
… and the installation starts:
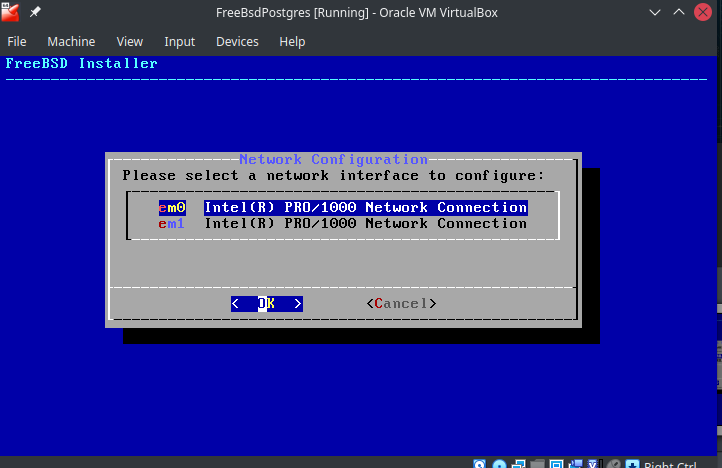
Once it is completed and you specified the root password you need to configure the network interfaces. As mentioned earlier I usually go with two interfaces: “em0” is my NAT interface and “em1” is my host only interface:
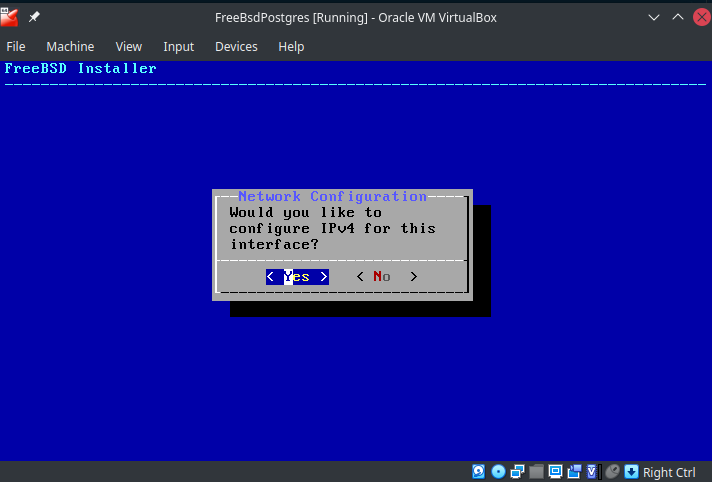
IPv4 for the NAT interface is fine:
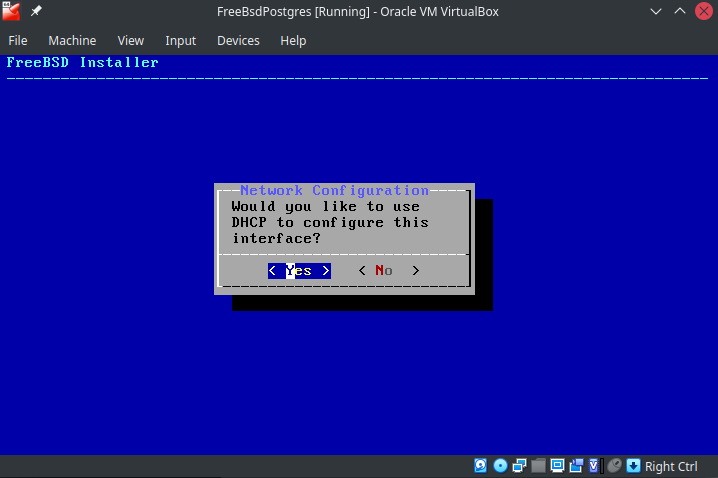
DHCP as well is fine as VirtualBox will take care of it for the NAT interface:
We don’t need IPv6:

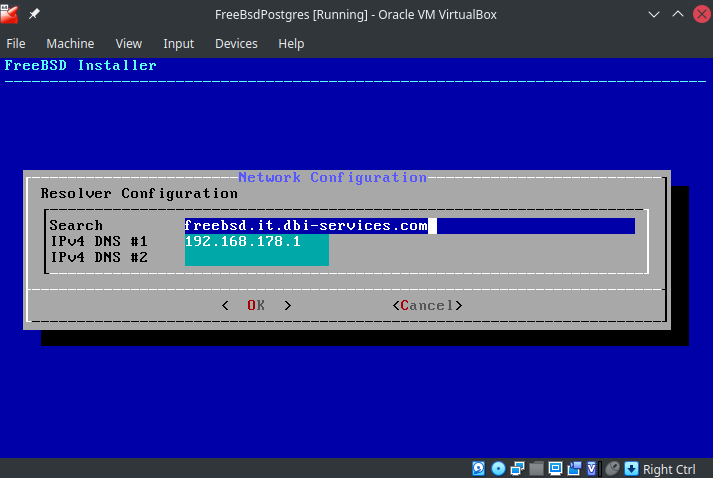
Provide a hostname (the DNS server should be automatic, otherwise specify a valid one):
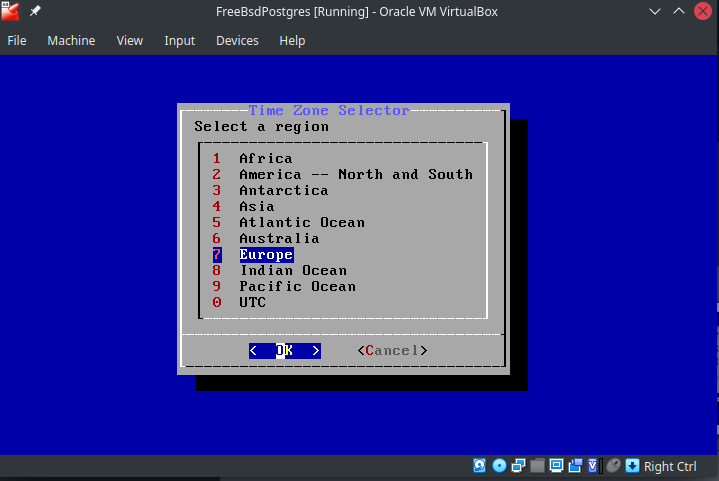
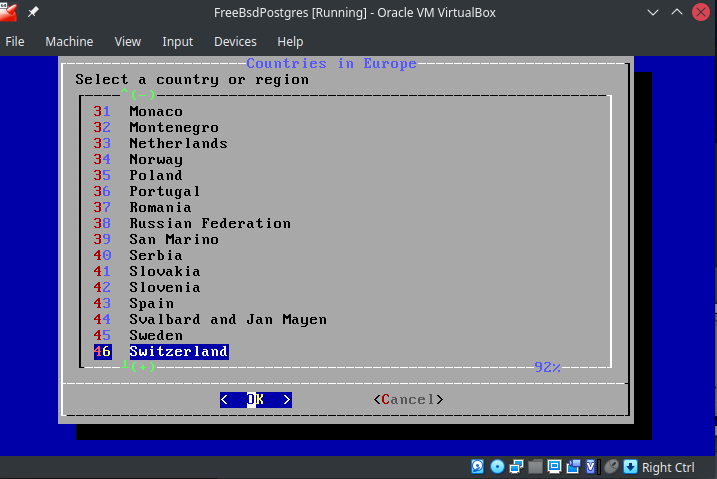
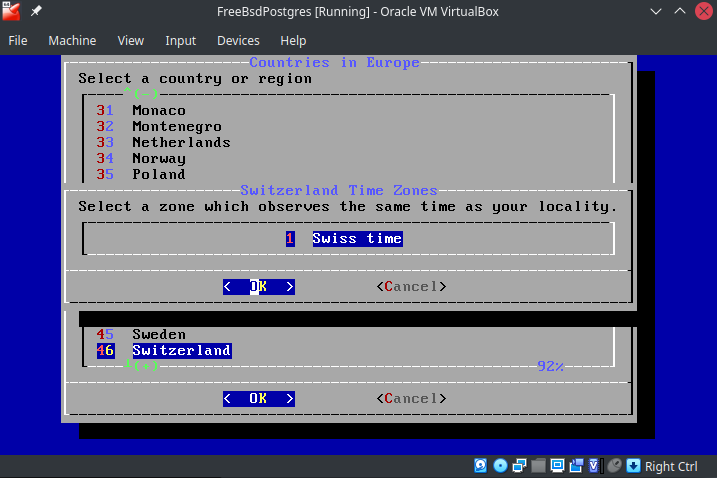
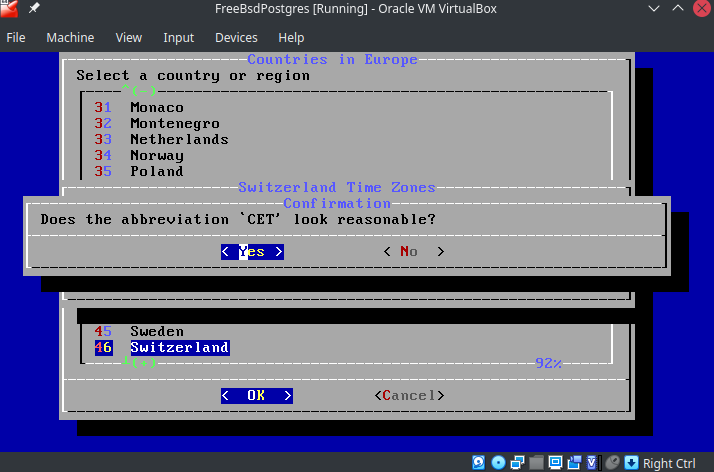
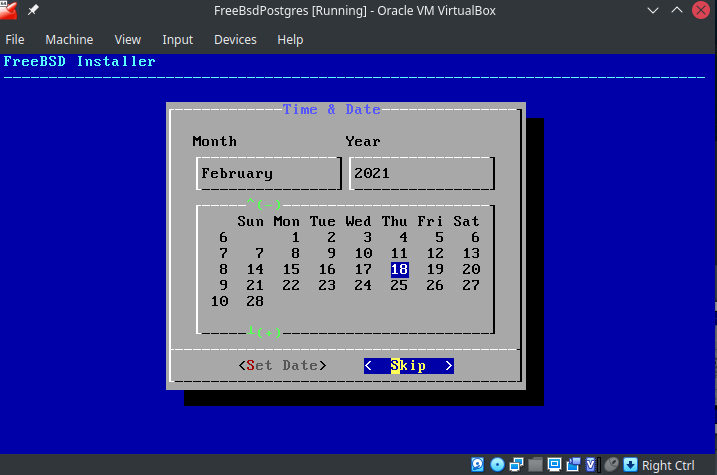
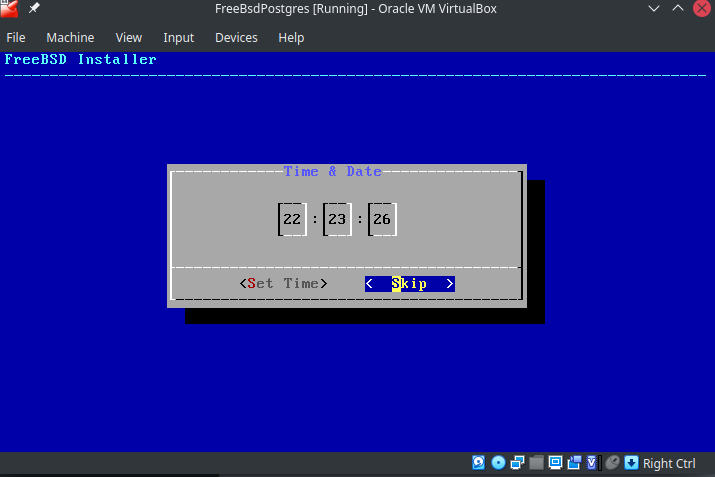
Specify your timezone:
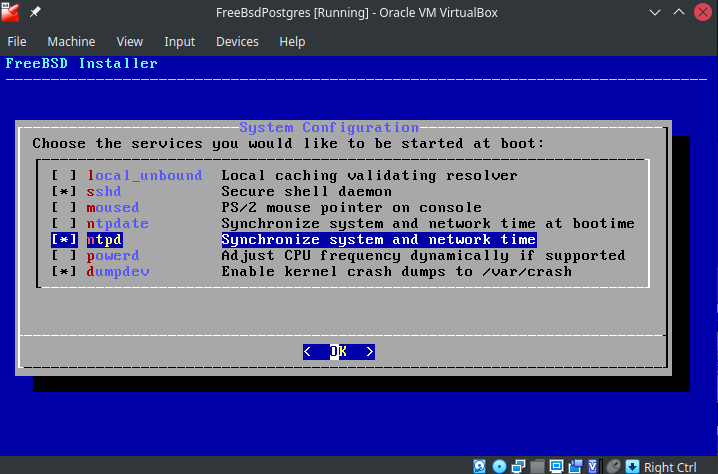
We do not need anything more than ssh and ntp, so the defaults are fine for the services:
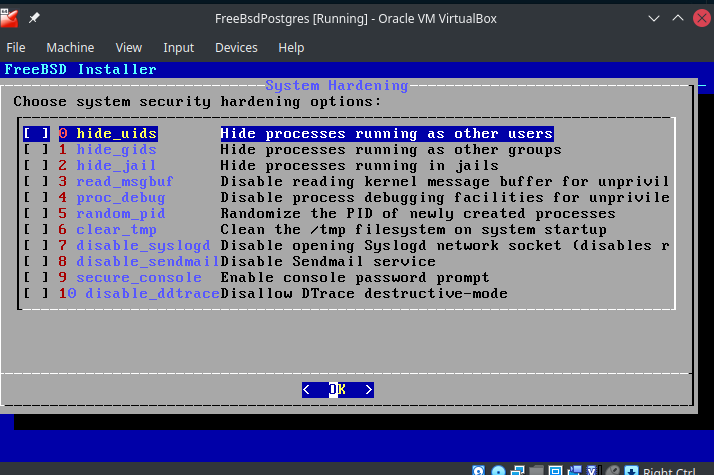
As we’ll not go into security details, just go ahead in the next screen:
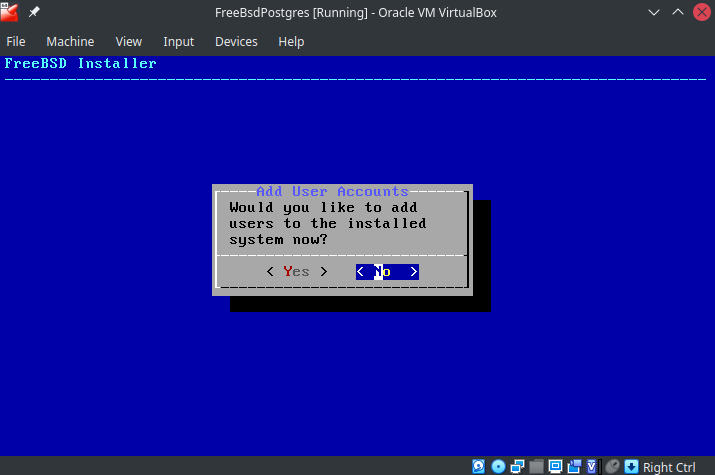
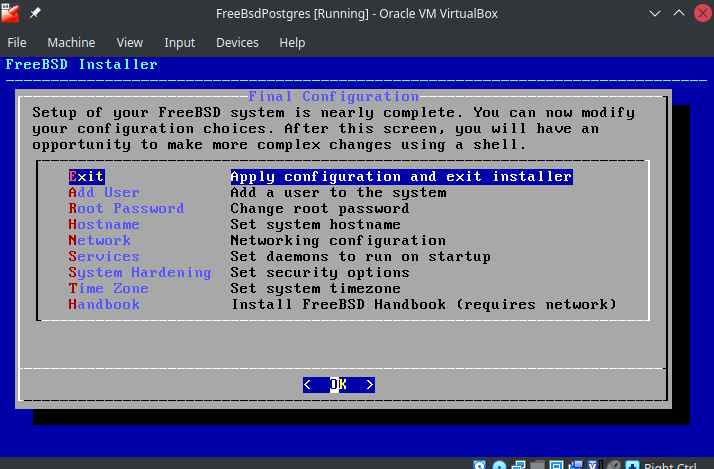
We’ll add users later, so just skip this for now:
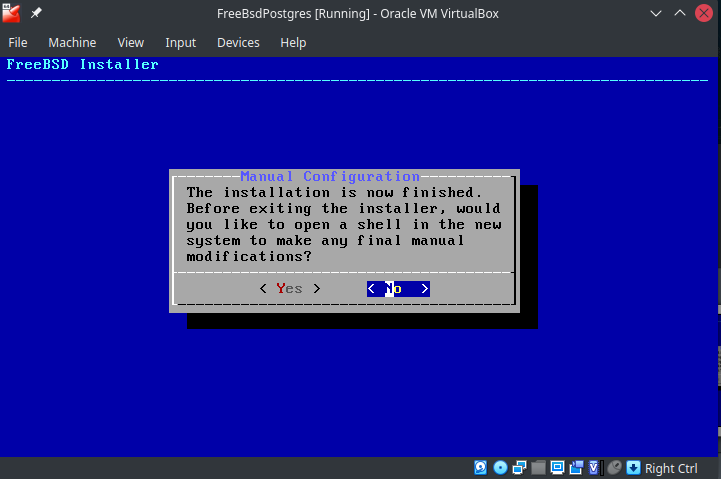
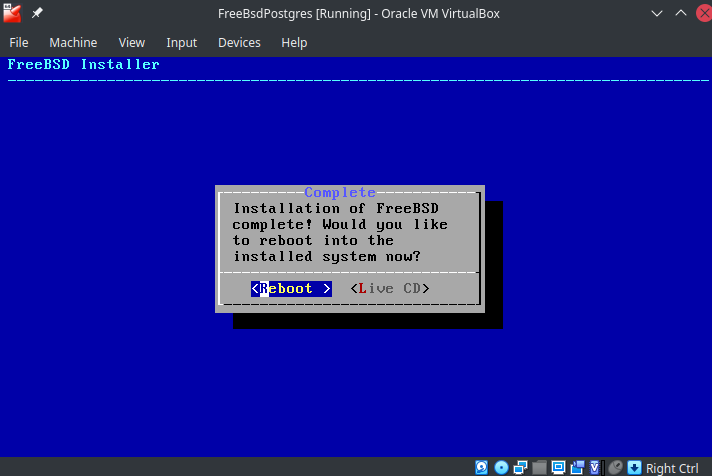
That’s it for the installation, go ahaed and reboot the system:
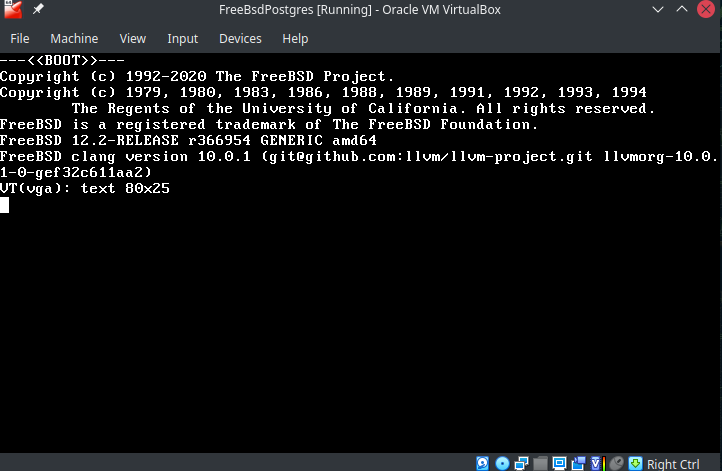
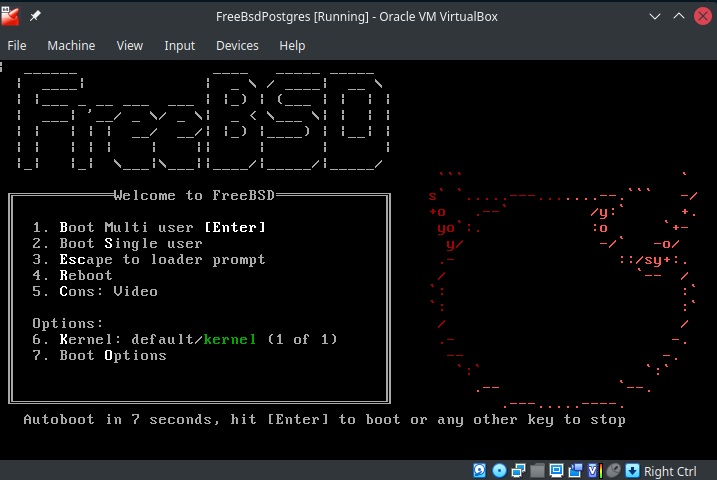
Make sure that the ISO you booted off is not anymore attached to the VMs optical drive. FreeBSD should come up quite fast:
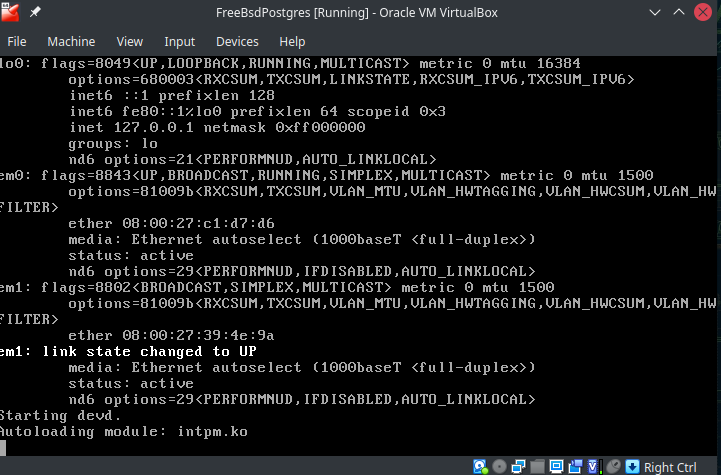
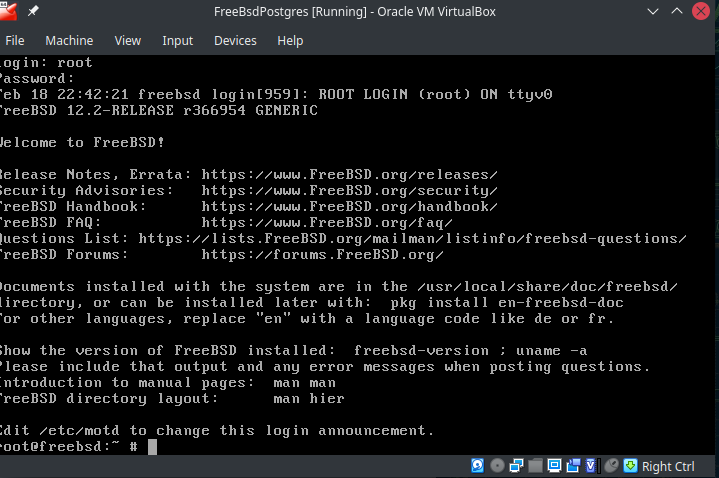
That’s it for today. FreeBSD is up and running. In the next post we’ll configure the second network interface, update the system and install PostgreSQL from pre-build packages.
![Thumbnail [60x60]](https://www.dbi-services.com/blog/wp-content/uploads/2022/08/DWE_web-min-scaled.jpg)
![Thumbnail [90x90]](https://www.dbi-services.com/blog/wp-content/uploads/2023/01/APY_web-scaled.jpg)
![Thumbnail [90x90]](https://www.dbi-services.com/blog/wp-content/uploads/2022/08/FRJ_web-min-scaled.jpg)