Today I had a look at PostgreSQL in Amazon RDS. Once you have an Amazon AWS account (this requires a valid credit card for verification) setup bringing up a PostgreSQL instance is pretty easy. The first 12 months are free but be sure to read about the restrictions and what is terminated by default and what is not.
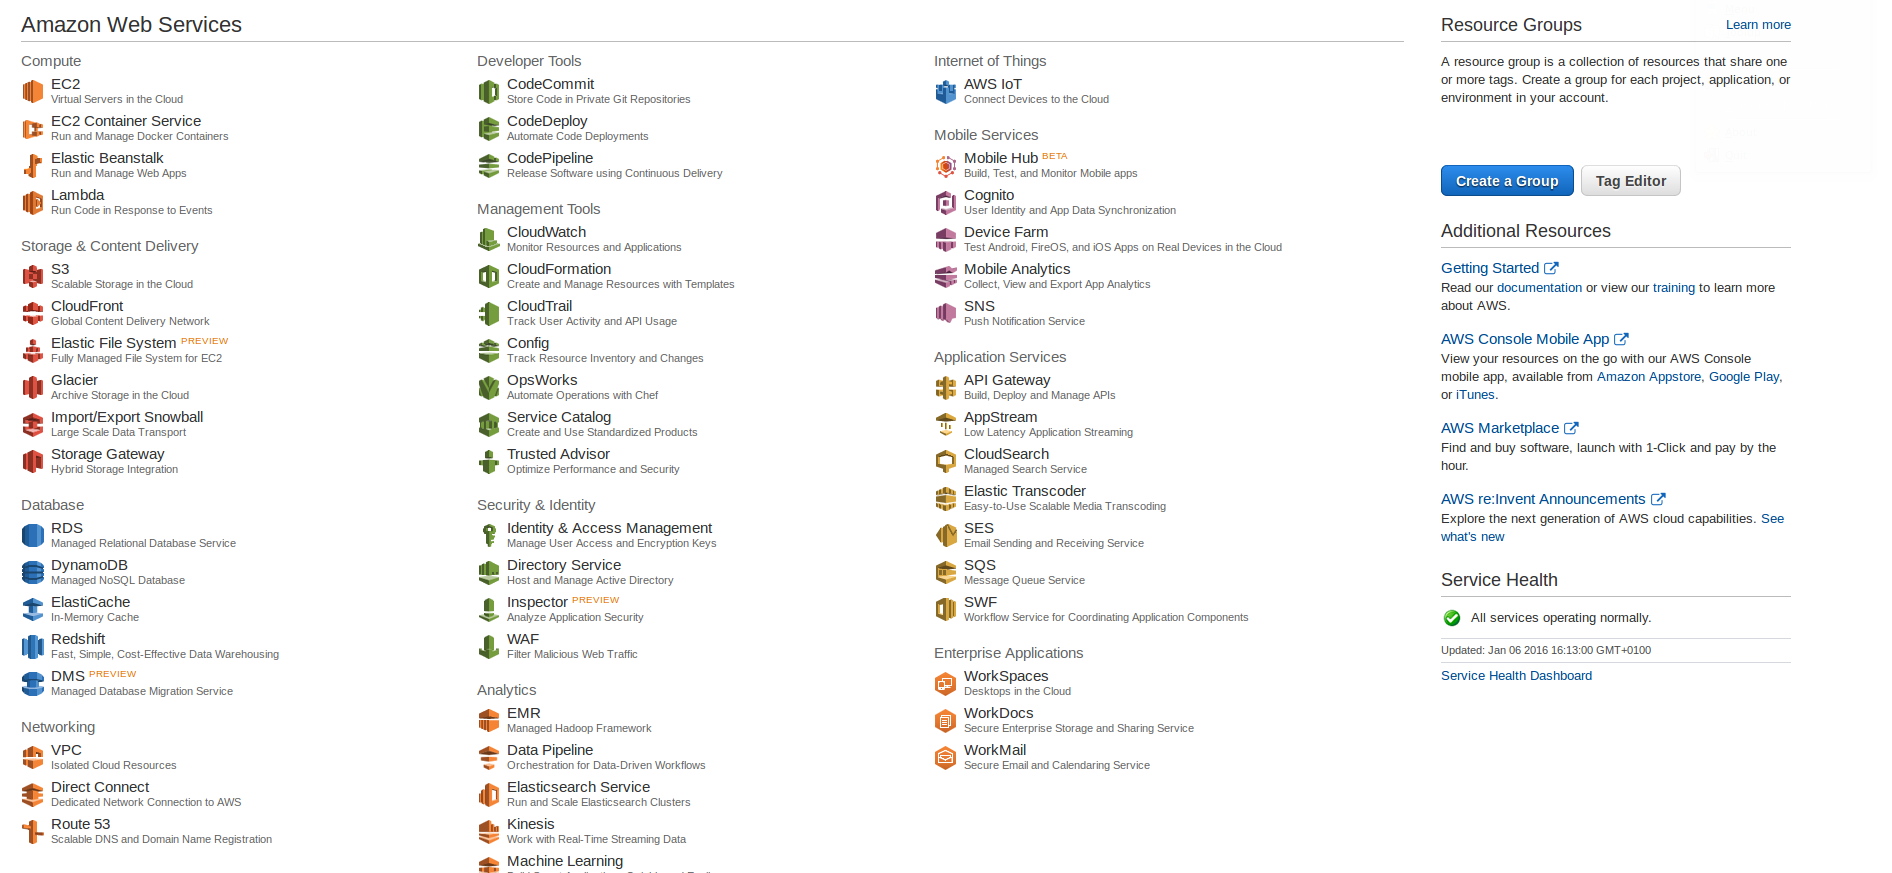
Once your AWS account is ready you can login to the management console which lists all the services amazon offers:
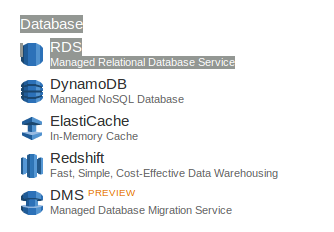
The service I am interested in is RDS (Relational database service):
Once selected the “Instances” menu on the left brings up the instance management page:

Of course I have to click on the “Launch DB Instance” button to bring up a new instance:
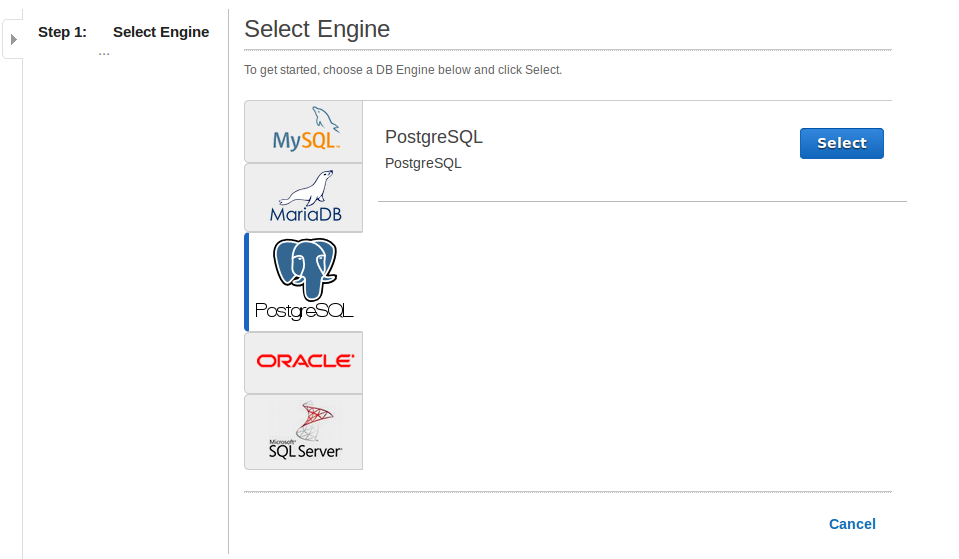
Once PostgreSQL is selected take care on the next screen:
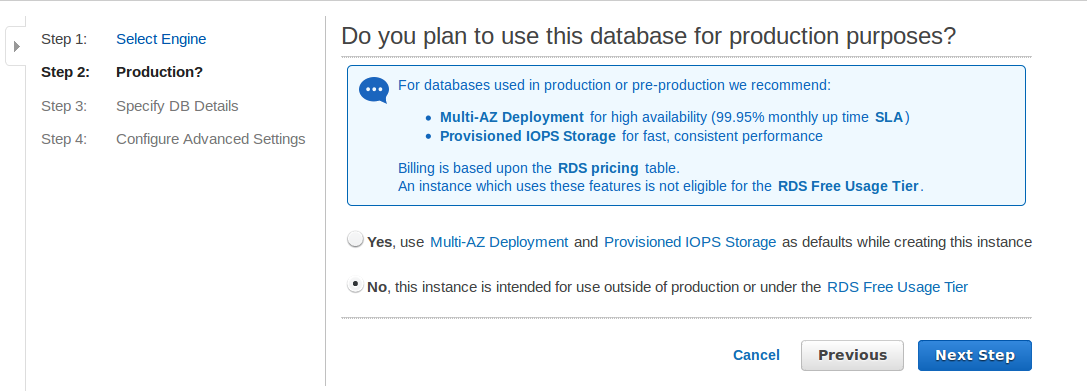
Be sure you take the “free” option. Quite a few PostgreSQL versions are available:
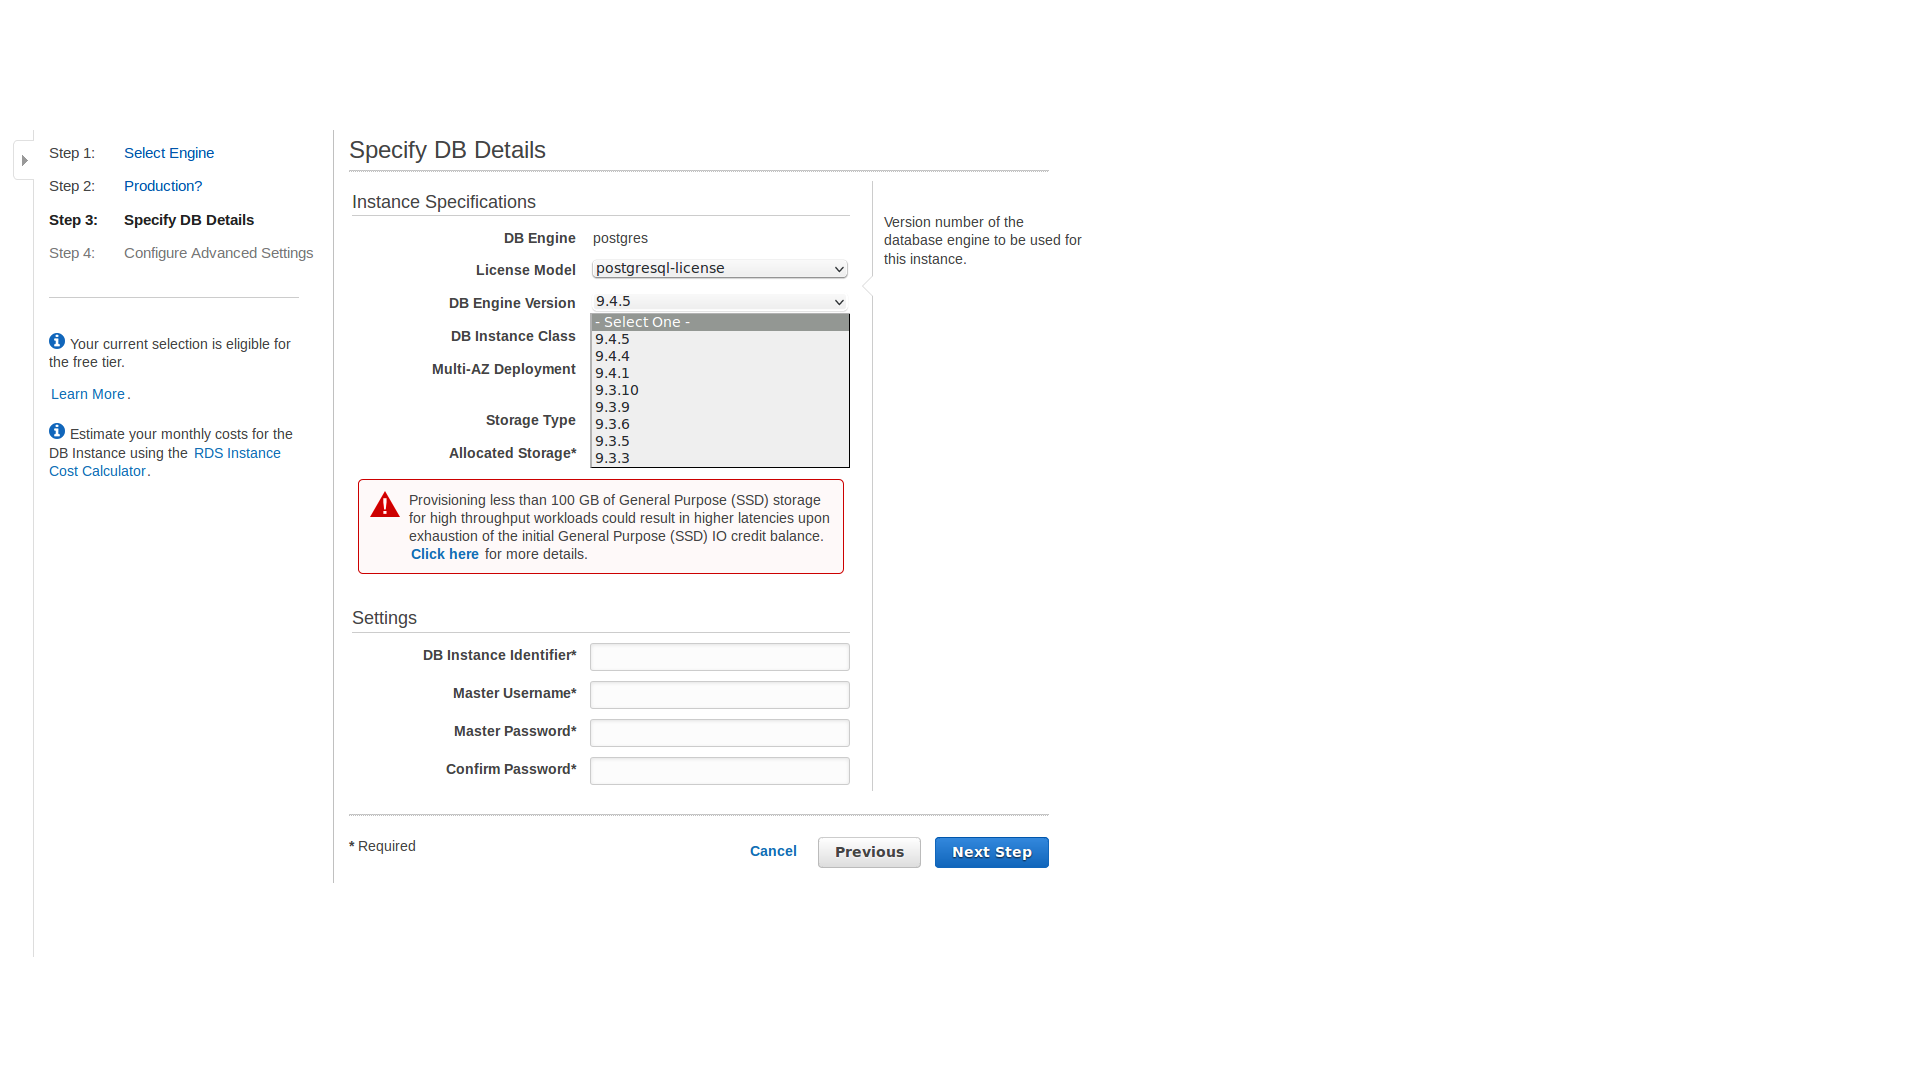
Of course we’ll use the latest one and specify the other details (don’t worry about my username. When this post is published the instance will already be deleted 🙂 ):
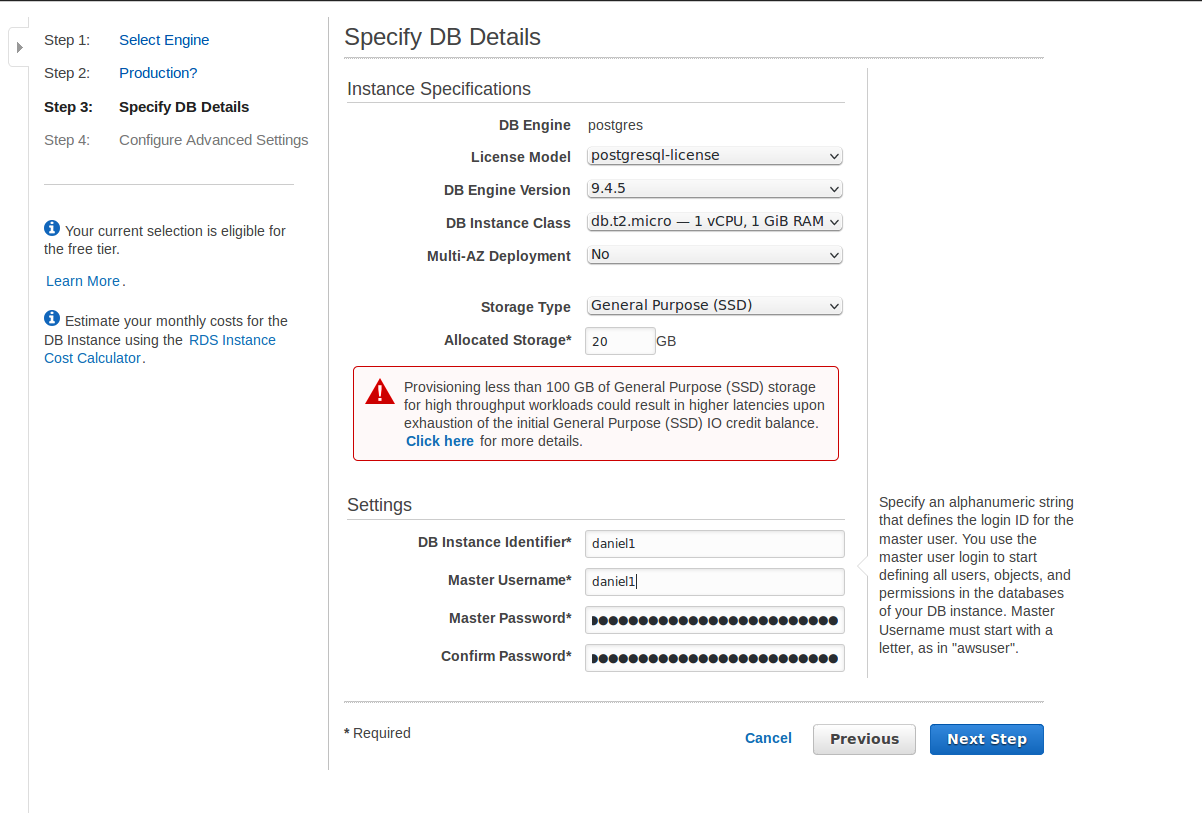
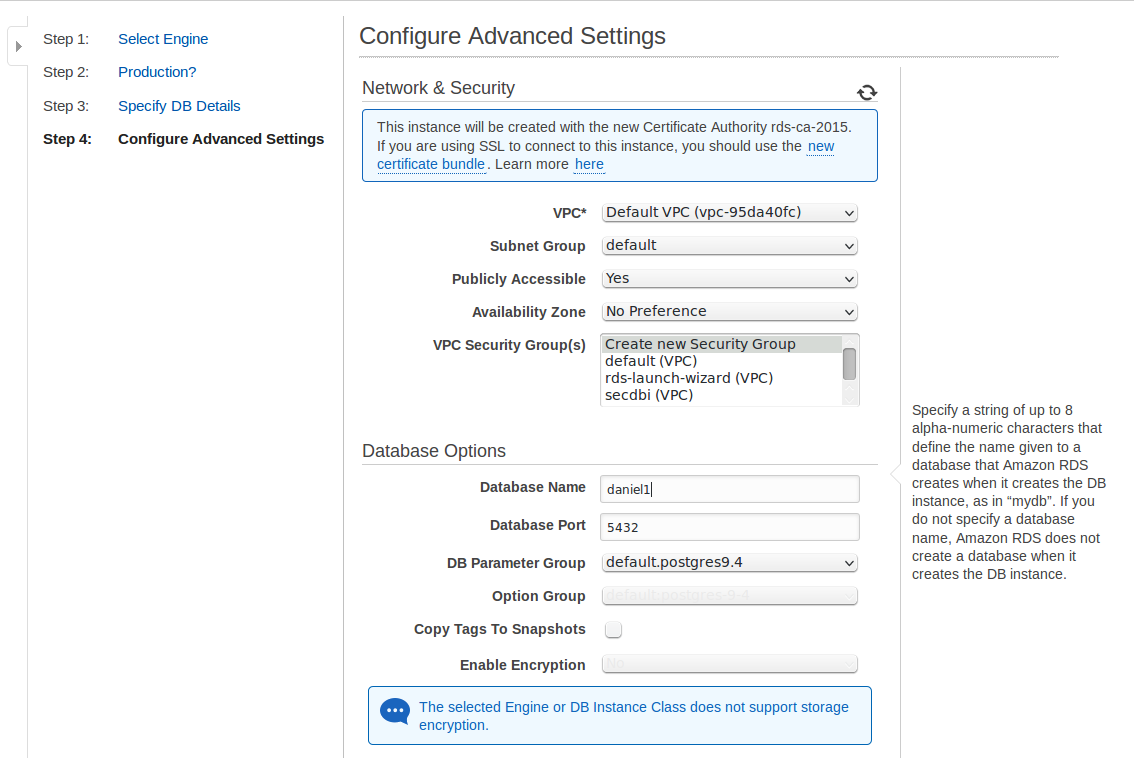
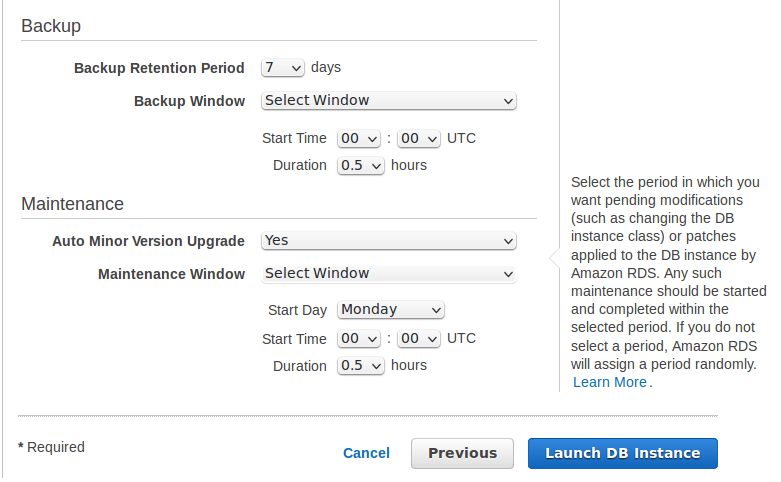
Make sure that you always see the “Your current selection is eligible for the free tier.” message on the left side of the screen. If you do not see this you selected an option that prevents you from creation a free instance. Backups and maintenance details can be specified in the next screens:
And launch…ups:
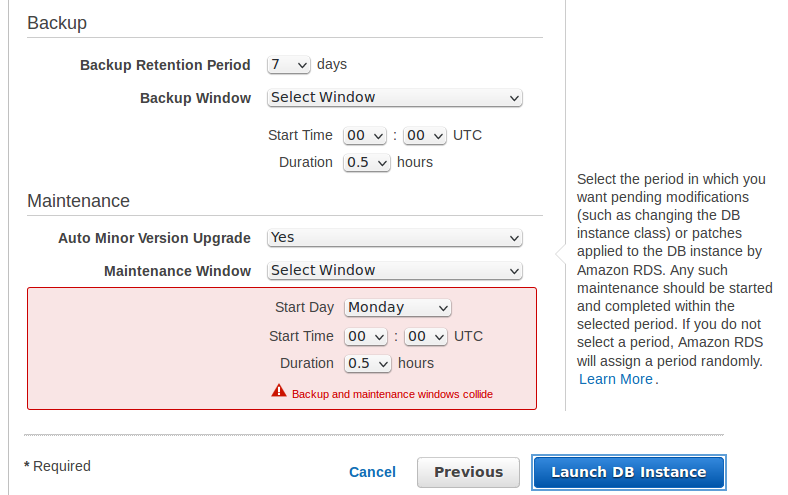
Not so bad 🙂 Lets correct this and launch again:
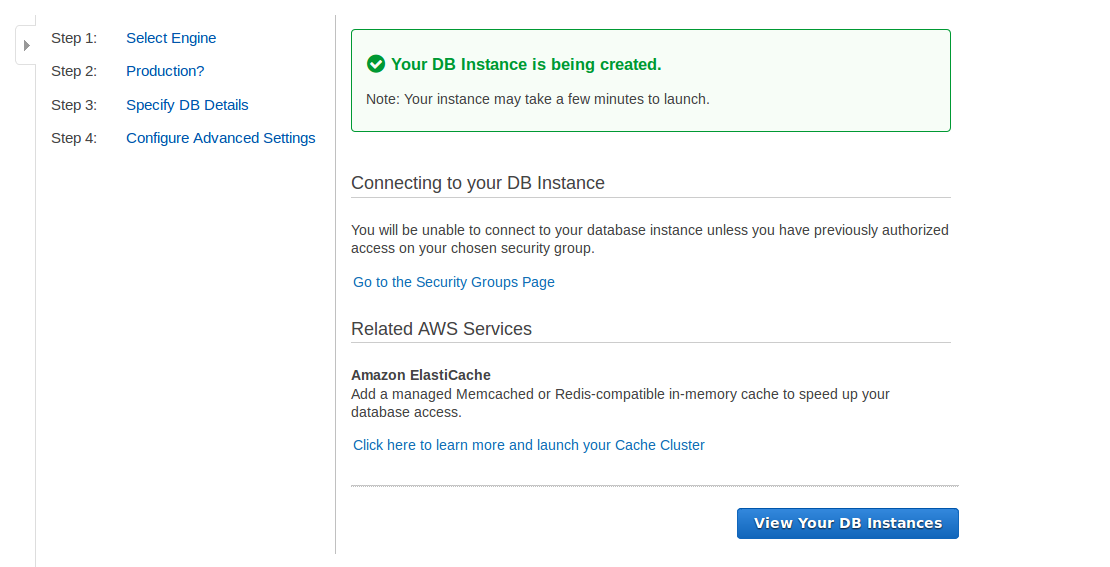

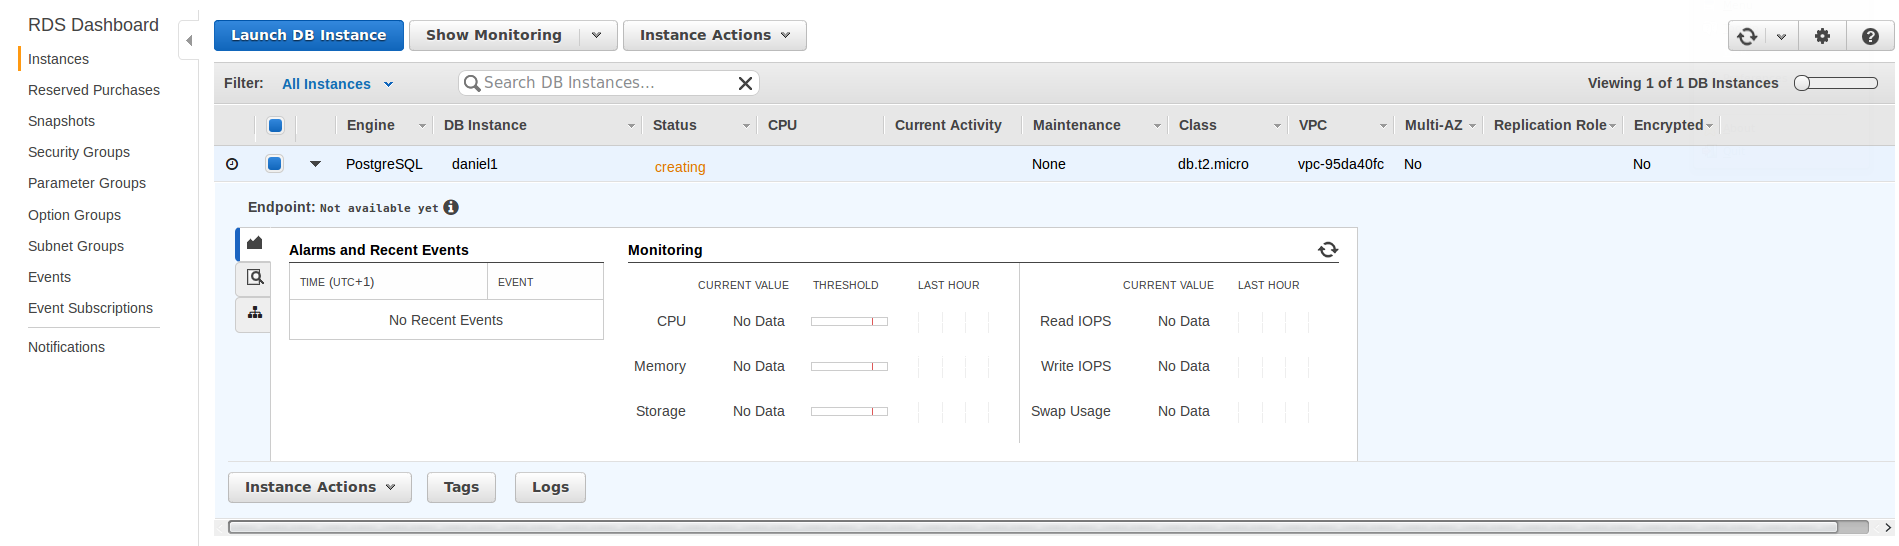
A few minutes later the instance is ready:

For sure the first thing I want to do is to connect. How do I do this? Let’s try to connect to the “endpoint” from my local machine:
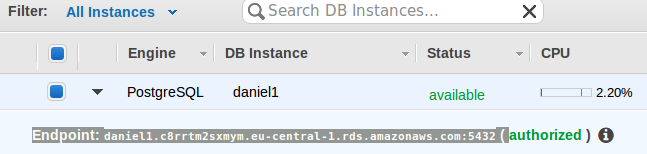
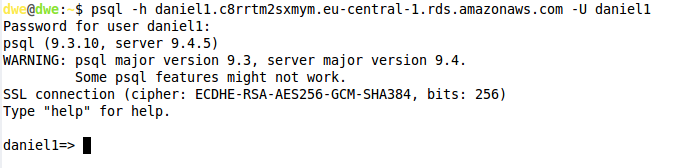
… and I am in. So far for the setup. In the next post I’ll look at how to restrict access to this instance to specific IP-addresses to strengthen security.
![Thumbnail [60x60]](https://www.dbi-services.com/blog/wp-content/uploads/2022/08/DWE_web-min-scaled.jpg)
![Thumbnail [90x90]](https://www.dbi-services.com/blog/wp-content/uploads/2023/01/APY_web-scaled.jpg)
![Thumbnail [90x90]](https://www.dbi-services.com/blog/wp-content/uploads/2022/08/FRJ_web-min-scaled.jpg)