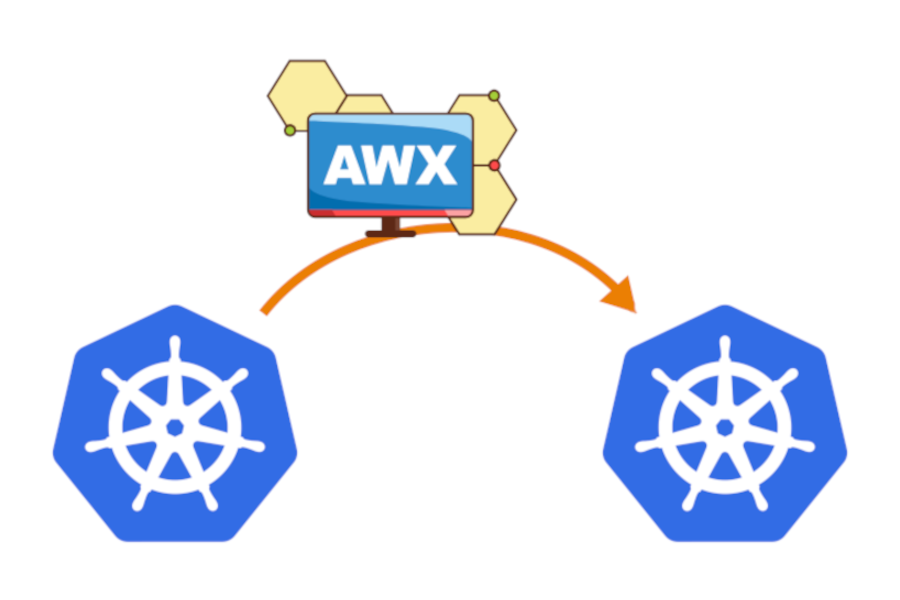
In this guide, we’ll walk through migrating an AWX instance from one Kubernetes infrastructure to another, with two important considerations. First, both AWX instances are on completely different networks, meaning there’s no direct connectivity between them. Second, we aim to replicate the credentials (including passwords) stored in AWX, which requires careful handling. This approach differs from the official documentation due to these two specific constraints.

Step 1: Backup AWX on the old infrastructure
To back up AWX on the old infrastructure, we’ll use the AWXBackup resource provided by the AWX Operator. This will capture all necessary configurations, including credentials, job templates, and database data.
- Create the AWXBackup resource
apiVersion: awx.ansible.com/v1beta1
kind: AWXBackup
metadata:
  name: awx-backup
  namespace: <namespace-awx>
spec:
  deployment_name: <awx-instance-name>
- Apply the backup configuration
kubectl apply -f awxbackup.yaml
- Verify the backup
Check the status of the AWXBackup resource to ensure the backup is complete
kubectl get awxbackup -n <namespace-awx>
- Access the backup data
AWXBackup creates a PVC to store the backup data. We need to retrieve it.
kubectl get pvc -n <namespace-awx>
- Mount the backup PVC
Create a temporary pod to access the backup files
apiVersion: v1
kind: Pod
metadata:
  name: awx-backup-access
  namespace: <namespace-awx>
spec:
  containers:
  - name: backup-container
    image: busybox:latest
    command: ["/bin/sh", "-c", "sleep 3600"]
    volumeMounts:
    - mountPath: /backup-data
      name: awx-backup-pvc
  volumes:
  - name: awx-backup-pvc
    persistentVolumeClaim:
      claimName: <awx-backup-pvc>
- Compress the backup
Once inside the pod, go to the backup directory and archive the latest directory
kubectl exec -it awx-backup-access -n <namespace-awx> -- /bin/sh
cd /backup-data
ls -l
## Find the latest directory
tar -czvf /awx_backup.tar.gz <latest-directory>
- Copy the archive locally
Usekubectl cpto copy the archive from the pod to your local machine
kubectl cp <namespace-awx>/awx-backup-access:/backup-data/awx_backup.tar.gz ./awx_backup.tar.gz
- Clean up the temporary pod
Once the backup is copied, delete the temporary pod
kubectl delete pod awx-backup-access -n <namespace-awx>
- Recover the decryption key for secret keys
kubectl get secrets -n <namespace-awx> <awx-instance-name>-secret-key -o jsonpath='{.data.secret_key}' && echo;
Save the base 64 encrypted key, we will need it for during the restoring step.
Step 2: Setup the new AWX instance
On the new infrastructure, we first need to install AWX via the AWX Operator.
- Install the AWX Operator
For this step follow the official documentation of AWX Operator
Maybe you will need to deploy AWX using a local repository, you can read my other article: Deploy awx-operator with Helm using images from a local registry
- Verify the AWX deployment
Check that the new AWX instance is up and running
kubectl get awx -n <new-namespace-awx>
Step 3: Backup AWX on the new infrastructure
Next, we need to create an AWXBackup on the new infrastructure.
- Create an AWXBackup for the backup data
Create theawxbackup.yamlfile:
apiVersion: awx.ansible.com/v1beta1
kind: AWXBackup
metadata:
  name: awx-backup-migration
  namespace: <namespace-awx>
spec:
  deployment_name: <awx-instance-name>
- Apply the backup configuration
kubectl apply -f awxbackup.yaml
- Verify the backup
Check the status of the AWXBackup resource to ensure the backup is complete
kubectl get awxbackup -n <namespace-awx>
- Identify the backup PVC
kubectl get pvc -n <namespace-awx>
Step 4: Transfer and restore the backup on the new infrastructure
Now that the new AWX is set up, we’ll transfer the backup data and restore it.
- Transfer the backup archive
Copy theawx_backup.tar.gzfile to the new infrastructure by uploading it to the new backup PVC using a temporary pod
- Create a temporary pod to restore data
Create the awx-restore-access.yaml file
apiVersion: v1
kind: Pod
metadata:
  name: awx-backup-restore
  namespace: <new-namespace-awx>
spec:
  containers:
  - name: restore-container
    image: busybox:latest
    command: ["/bin/sh", "-c", "sleep 3600"]
    volumeMounts:
    - mountPath: /backup-data
      name: awx-backup-pvc
  volumes:
  - name: awx-backup-pvc
    persistentVolumeClaim:
      claimName: <pvc-for-awx-backup>
kubectl apply -f awx-restore-access.yaml
- Use
kubectl cpto upload the archive to the pod
kubectl cp ./awx-backup-migration.tar.gz <namespace-awx>/awx-restore-access:/awx_backup.tar.gz
- Replace the data from archive
Inside the pod, extract the archive
kubectl exec -it awx-backup-restore -n <new-namespace-awx> -- /bin/sh
cd /backup-data
ls -l
## Find the latest directory

rm -rf /backup-data/<latest-backup-directory>/{tower.db,awx-objects}
cd
tar -xzvf /awx_backup.tar.gz

cp backup-data/<backup-directory-from-tar.gz>/tower.db /backup-data/<latest-backup-directory>/.
cp backup-data/<backup-directory-from-tar.gz>/awx-objects /backup-data/<latest-backup-directory>/.

vi /backup-data/<latest-backup-directory>/secret.yml
## Replace the value of the variable
## secrets:
##   secretKeySecret:
##     data: {secret_key: ###insert here the base64 of the decryption key recover at the end of the Step 1### }
- Create the AWXRestore resource
Create anAWXRestoreresource to apply the backup
apiVersion: awx.ansible.com/v1beta1
kind: AWXRestore
metadata:
  name: awx-backup-restore
  namespace: <new-namespace-awx>
spec:
  deployment_name: <awx-instance-name>
  backup_name: awx-backup-migration
  no_log: false
  force_drop_db: true
- Apply the AWXRestore
kubectl apply -f awxrestore.yaml
- Monitor the restoration
Ensure the restoration completes successfully
kubectl get awxrestore -n <new-namespace-awx>
Step 5: Log in to the new infrastructure AWX
- You can log in as admin (the password will be that of the old infrastructure)
- Explore the various AWX resources and check that everything has been migrated correctly
- Run a template job to validate correct operation
Conclusion
By following this procedure, we’ve successfully migrated an AWX instance across two isolated Kubernetes clusters while maintaining full fidelity of the AWX credentials and configurations.
![Thumbnail [60x60]](https://www.dbi-services.com/blog/wp-content/uploads/2022/08/DWI_web-min-scaled.jpg)
![Thumbnail [90x90]](https://www.dbi-services.com/blog/wp-content/uploads/2022/08/ADE_WEB-min-scaled.jpg)
![Thumbnail [90x90]](https://www.dbi-services.com/blog/wp-content/uploads/2022/08/NME_web-min-scaled.jpg)
![Thumbnail [90x90]](https://www.dbi-services.com/blog/wp-content/uploads/2022/08/GRE_web-min-scaled.jpg)