On a previous blog post, we saw how to create an account on the Oracle OCI using the Oracle Cloud Free Tier offer and then how to instal MySQL Server on the Compute instance.
Some weeks later, the new MySQL Database Service (MDS) was out and I can show you now how to install and configure it.
We are talking about the MySQL 8.0 Enterprise Edition on the on Oracle Generation 2 Cloud Infrastructure. For the moment it’s only available on some of the data regions (Frankfurt and London for the EMEA zone), but normally others will be activated beginning of 2021 (Zurich for example). Most of these regions have 3 Availability Domains (physical buildings), each of them composed by three Fault Domains (a group of separated hardware and infrastructure).
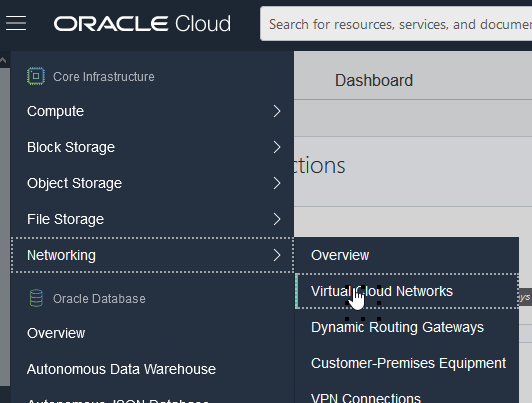
When we connect to the OCI console, the first step is to create a Virtual Cloud Network (VCN) in order to have our own private cloud network on OCI. This will be created in our Compartment, the main container that will contain our resources (elisapriv in my case).
We click on Networking > Virtual Cloud Network:
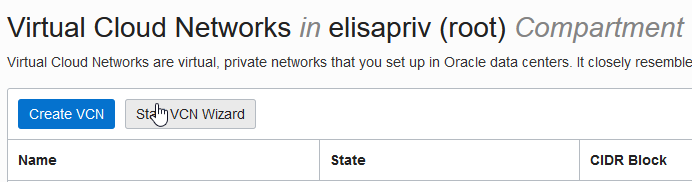
We can start then the VCN Wizard:
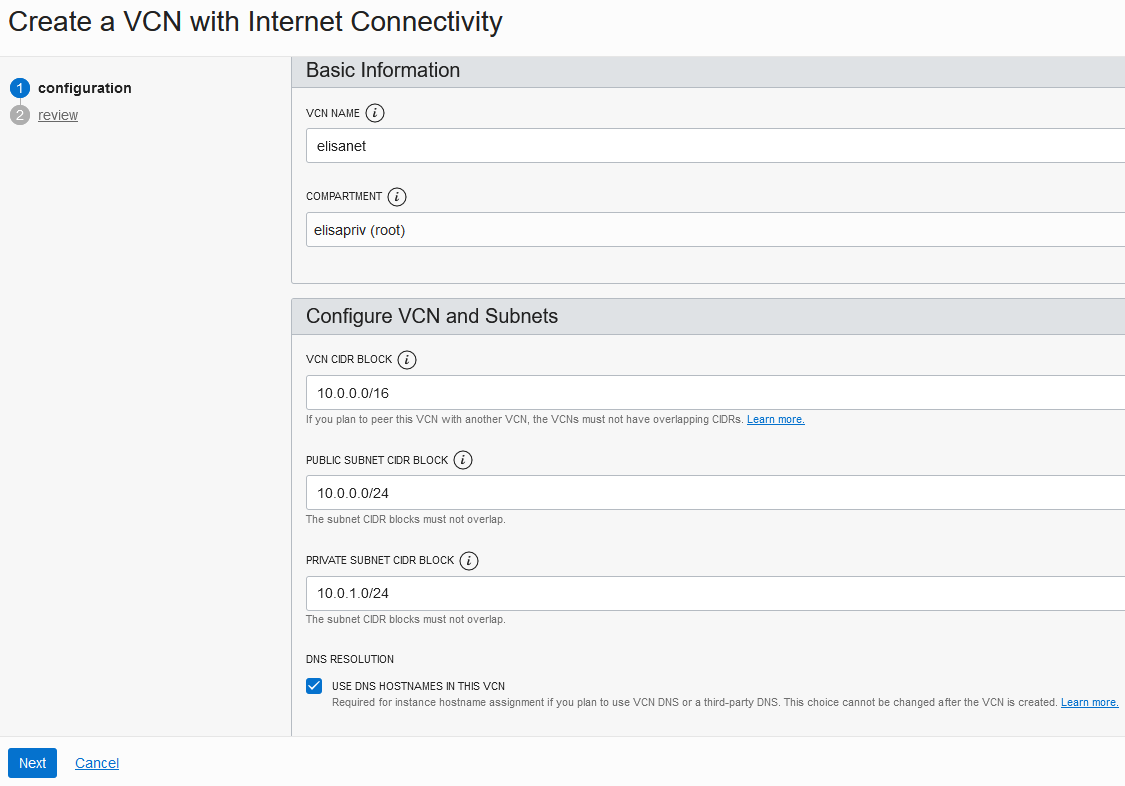
and define our VCN name and subnet:
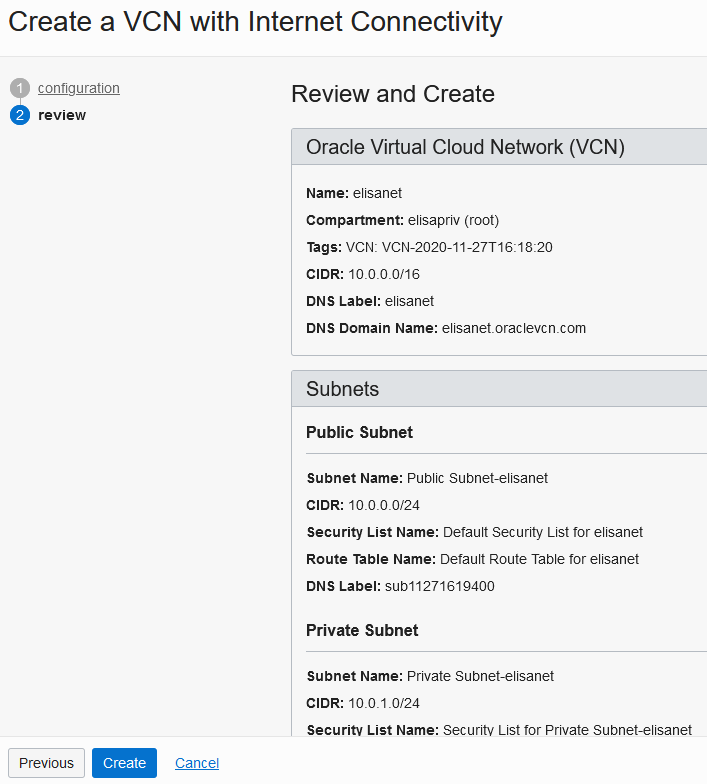
We click on Create to finalize the VCN creation:
When it’s done, we can create a compute instance, which means our host.
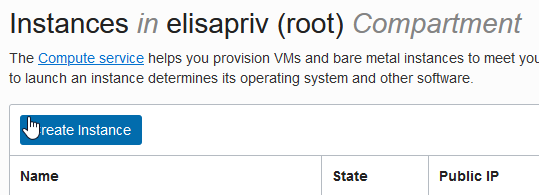
We click on Compute > Instances:

We click then on Create Instance:
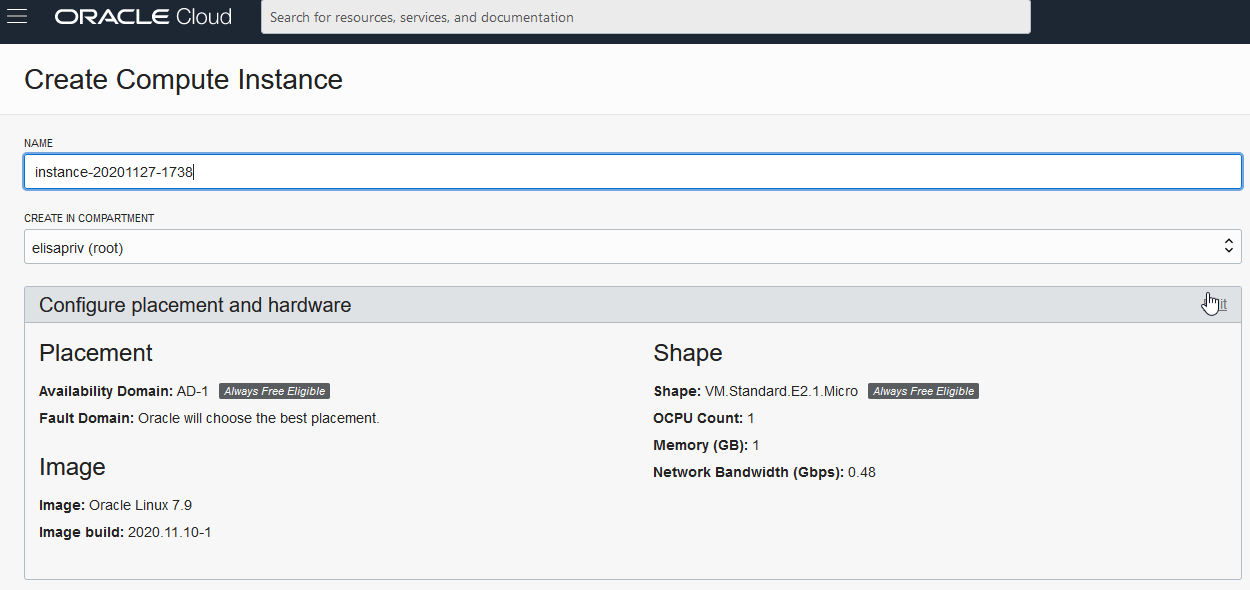
At this point we can adapt the compute instance configuration in terms of placement for the availability and fault domains, the resources and the OS images:
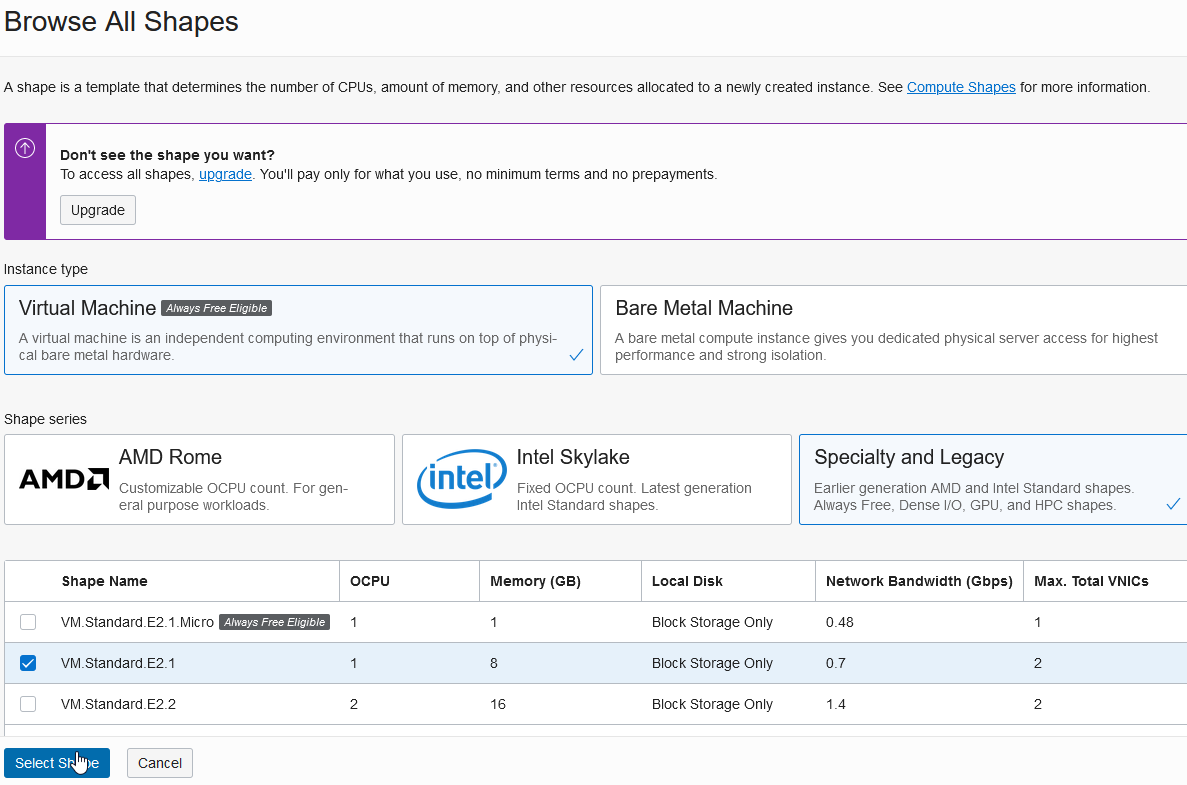
For example I decided to have 1 OCPU and 8GB of memory:
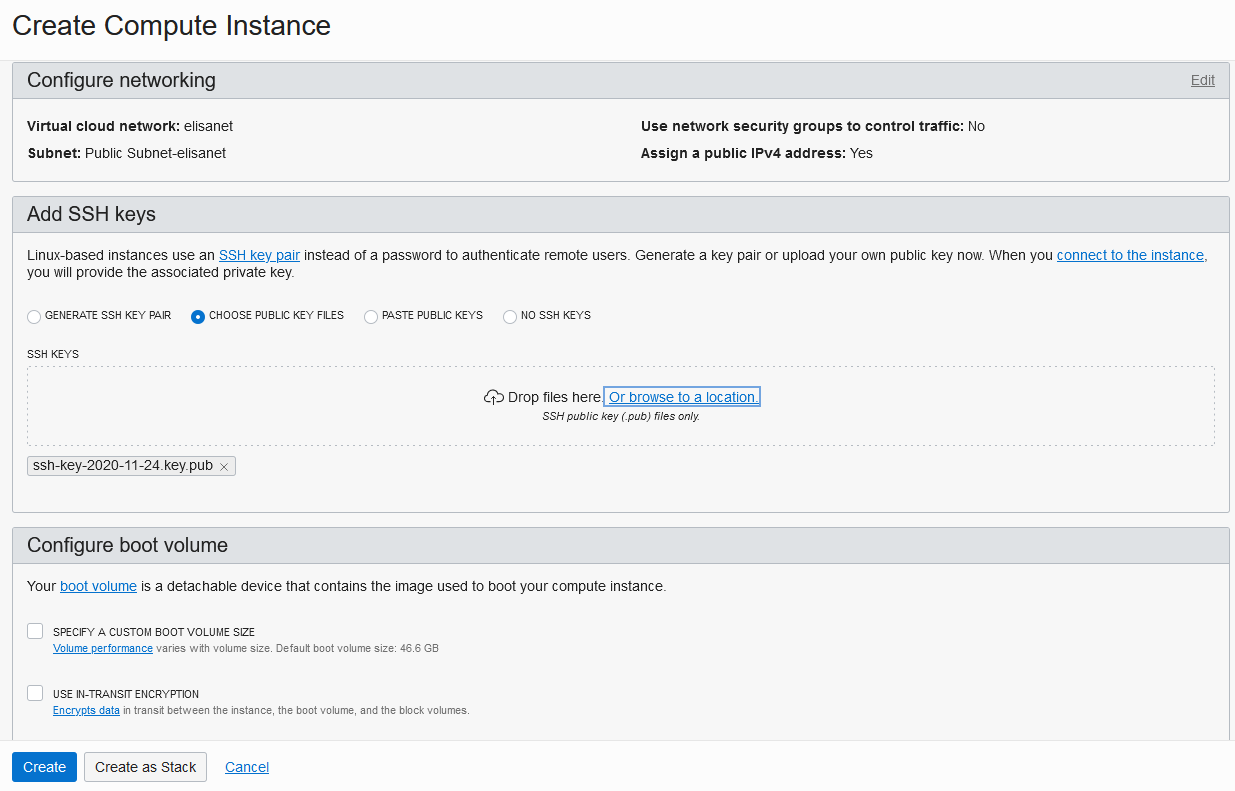
We need to upload our public key to connect then via ssh, and we can click on Create to create the compute instance:
We can get now the public IP address that we will use to connect then via ssh:
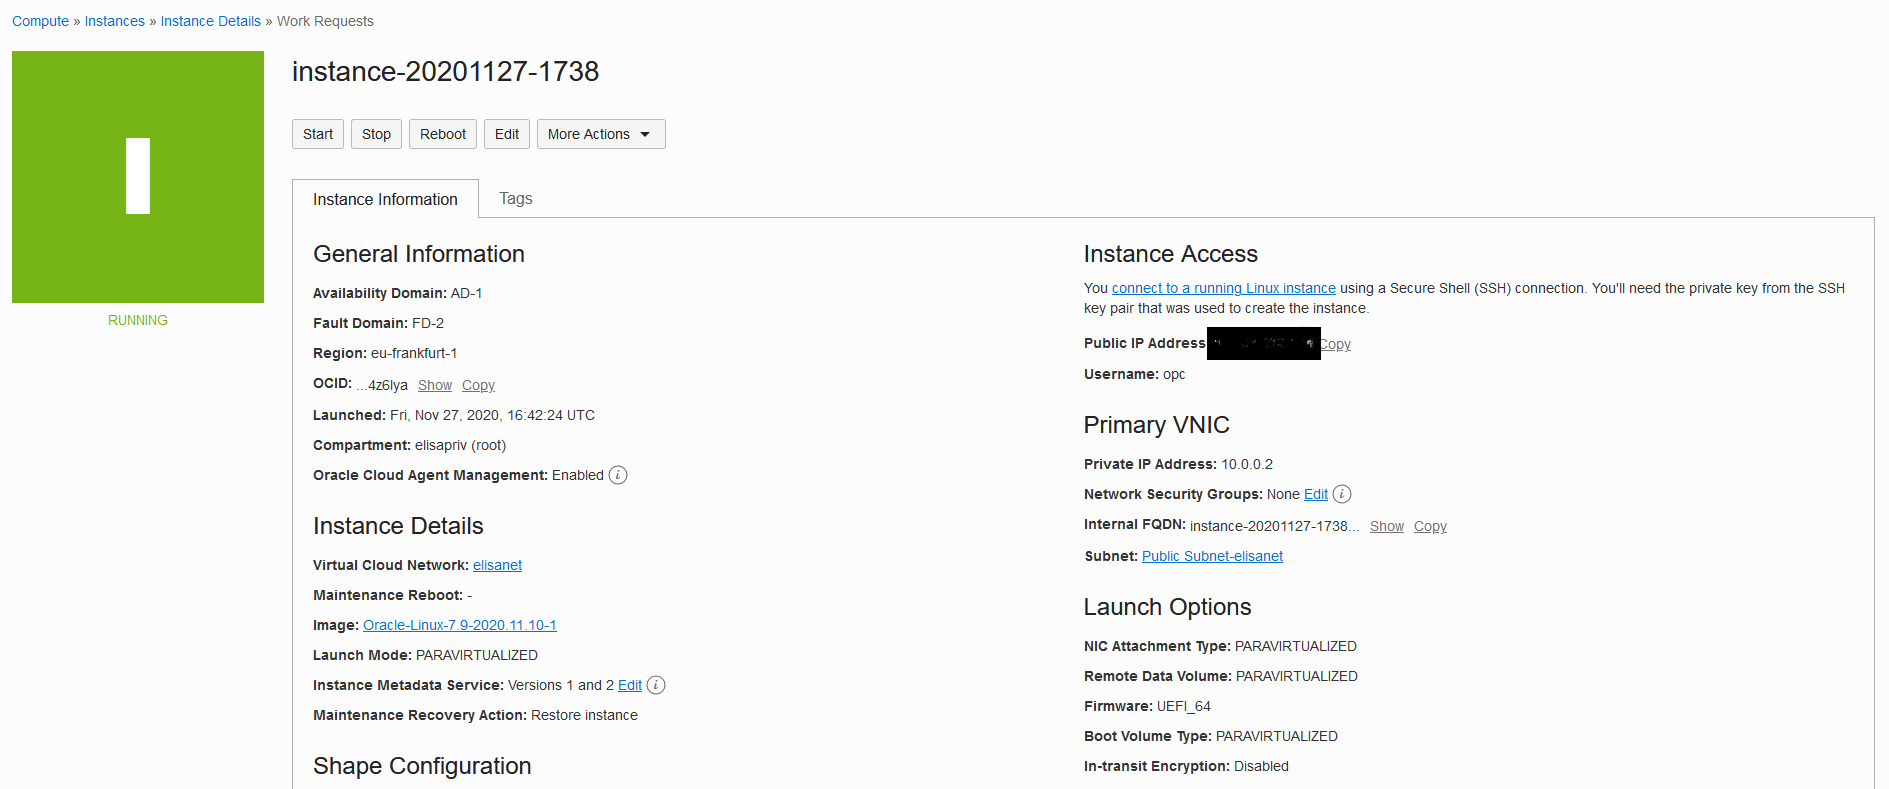
At this point, we can take care of the MySQL part.
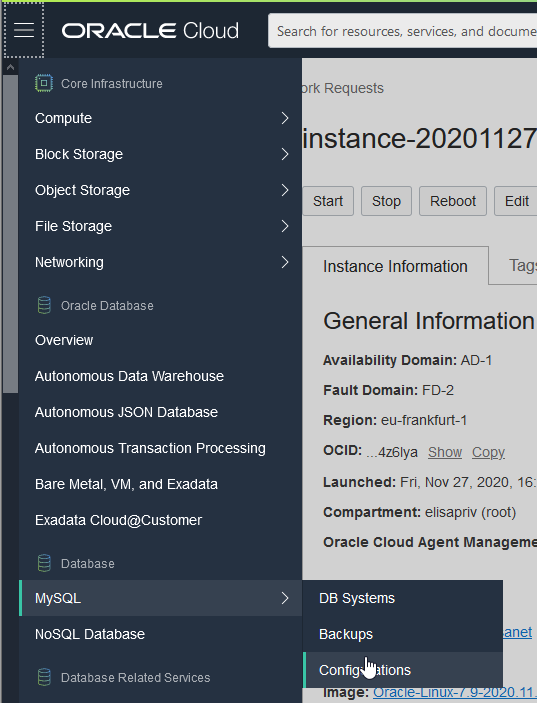
If we need to set a variable to a value other than the default one, before creating our MySQL Server we have to create a new ad-hoc configuration, clicking on MySQL > Configurations:
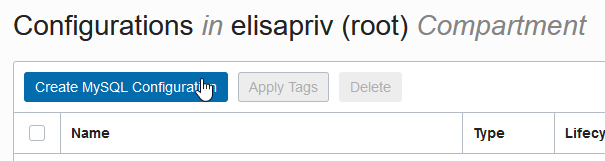
and then clicking on Create MySQL Configuration:
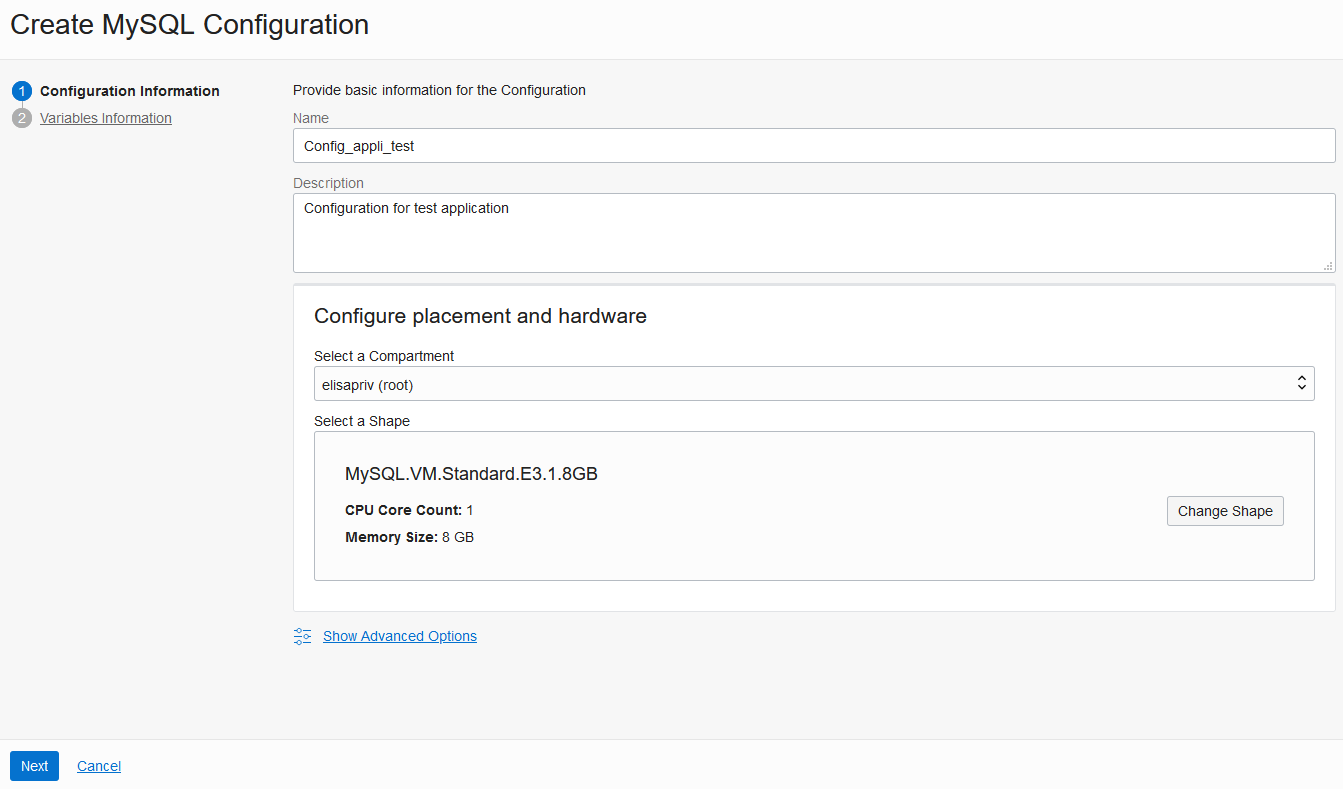
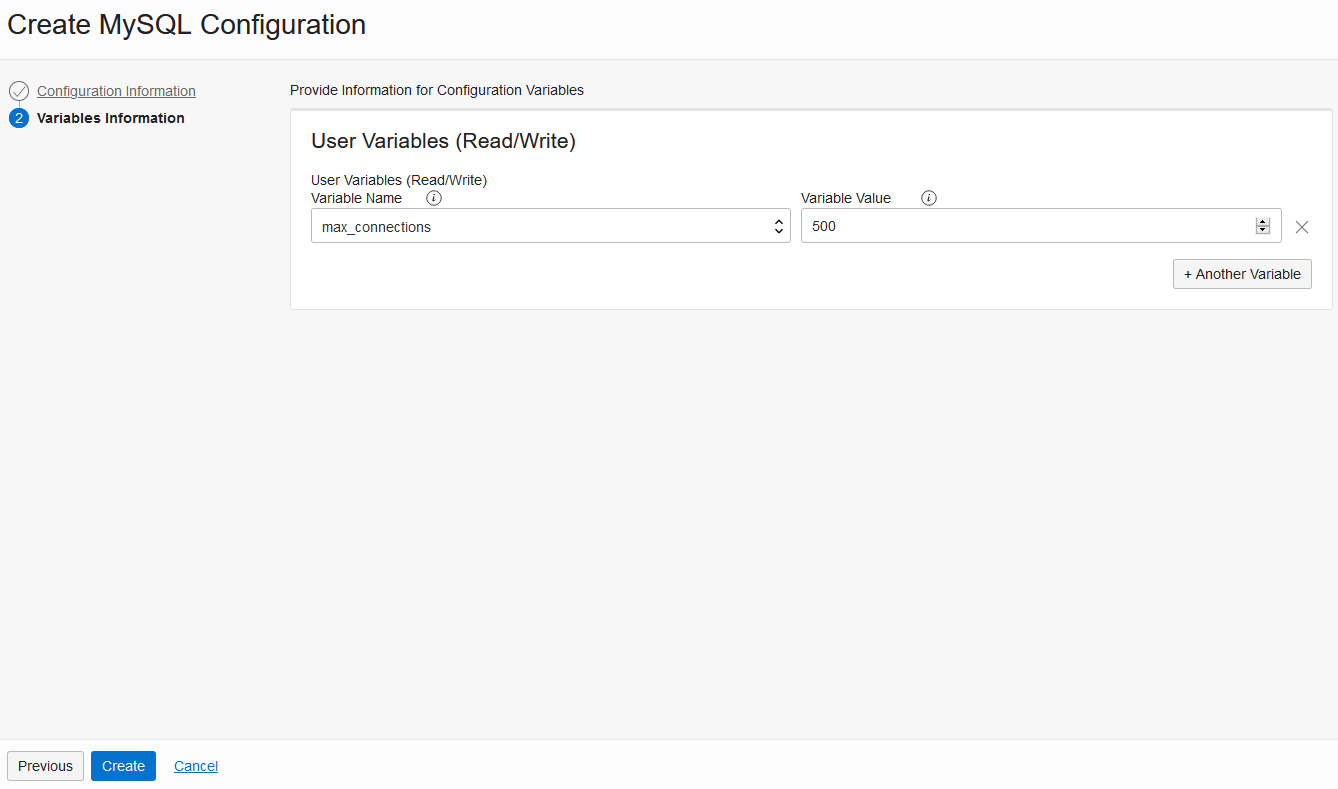
We can now name our configuration and provide the variable value for the variable that we want to adapt. In my case, for example, I increased the maximum number of connections to 500:
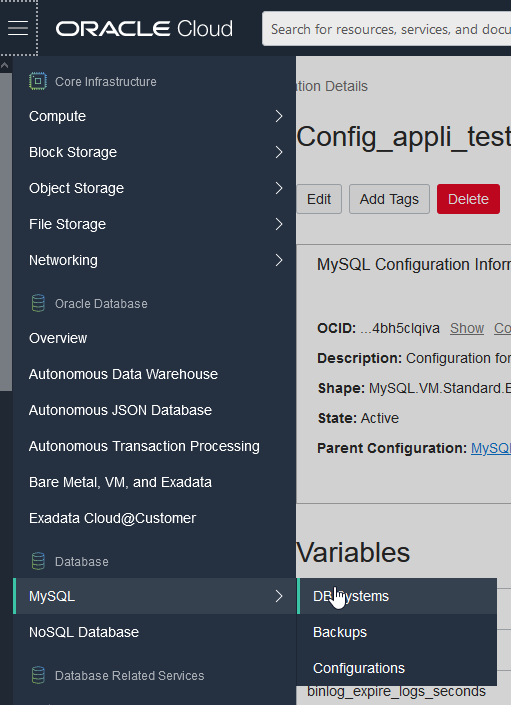
It’s time to create our MySQL Server, clicking on MySQL > DB Systems:
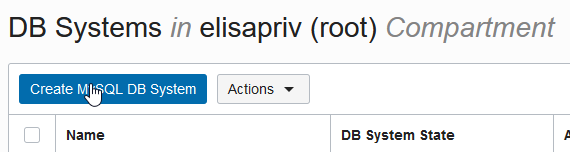
and then clicking on Create MySQL DB System:
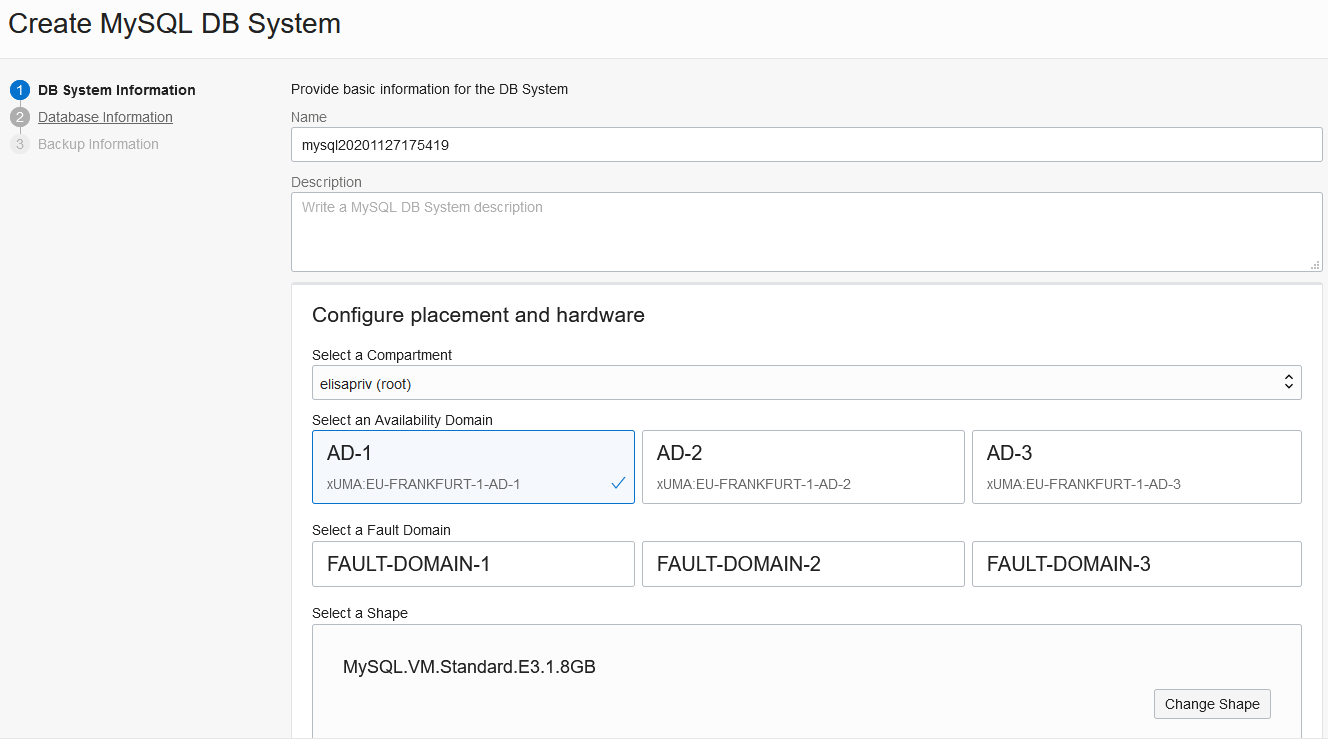
We can now name our MySQL DB System, and decide which kind of placement and hardware to use:
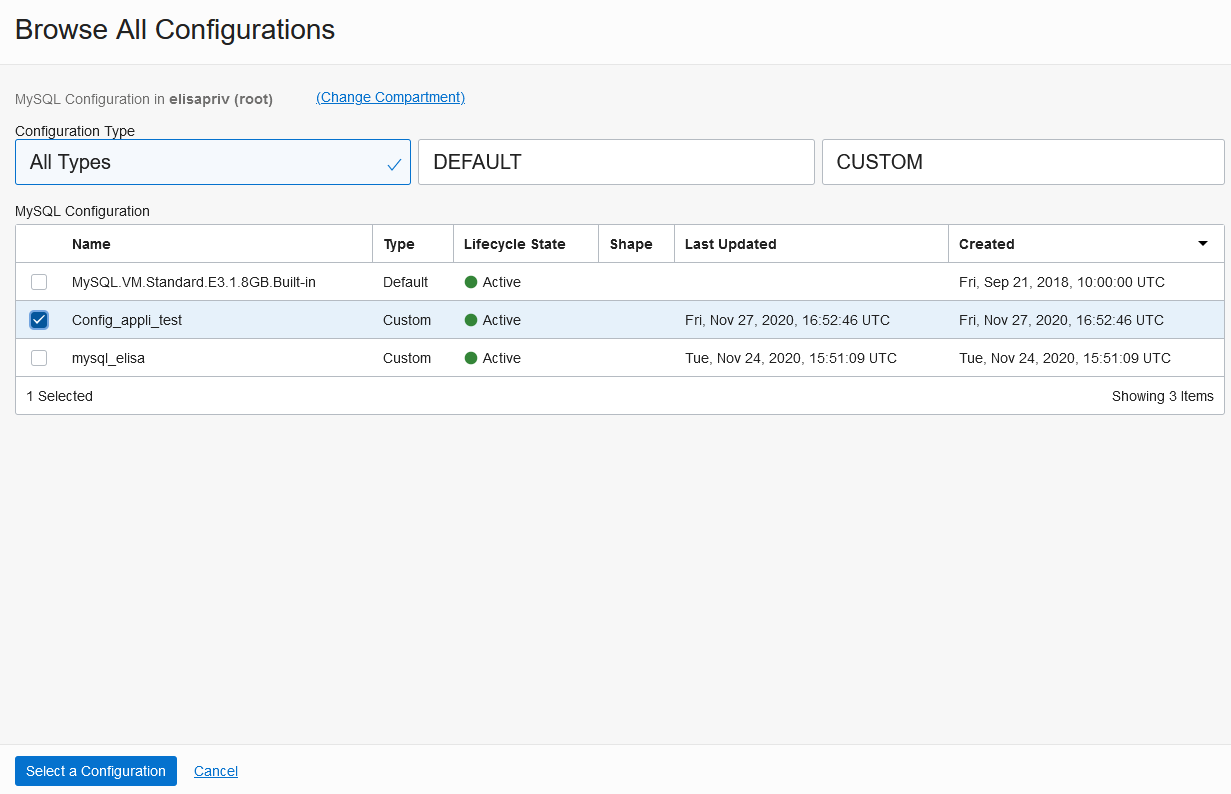
If we want to use the ad-hoc configuration that we defined just before, we have to click on Change Configuration:

and then select the right one:
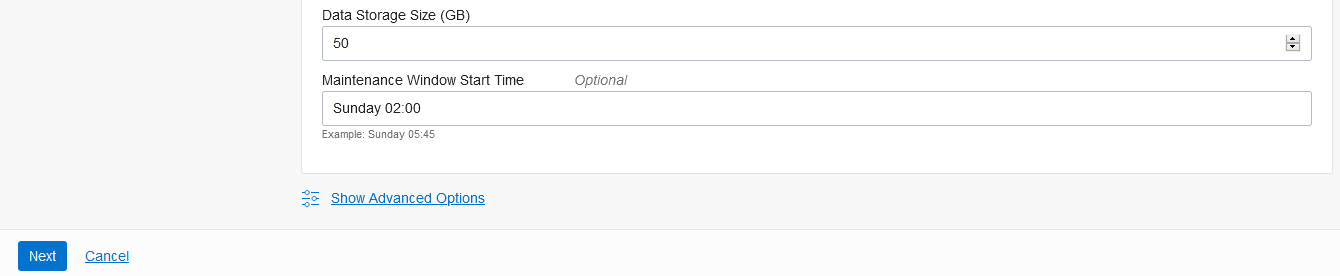
We can choose the storage size for InnoDB and binary log data and the maintenance window (and I suggest to specify a convenient time for you, because otherwise one will be chosen at your place):
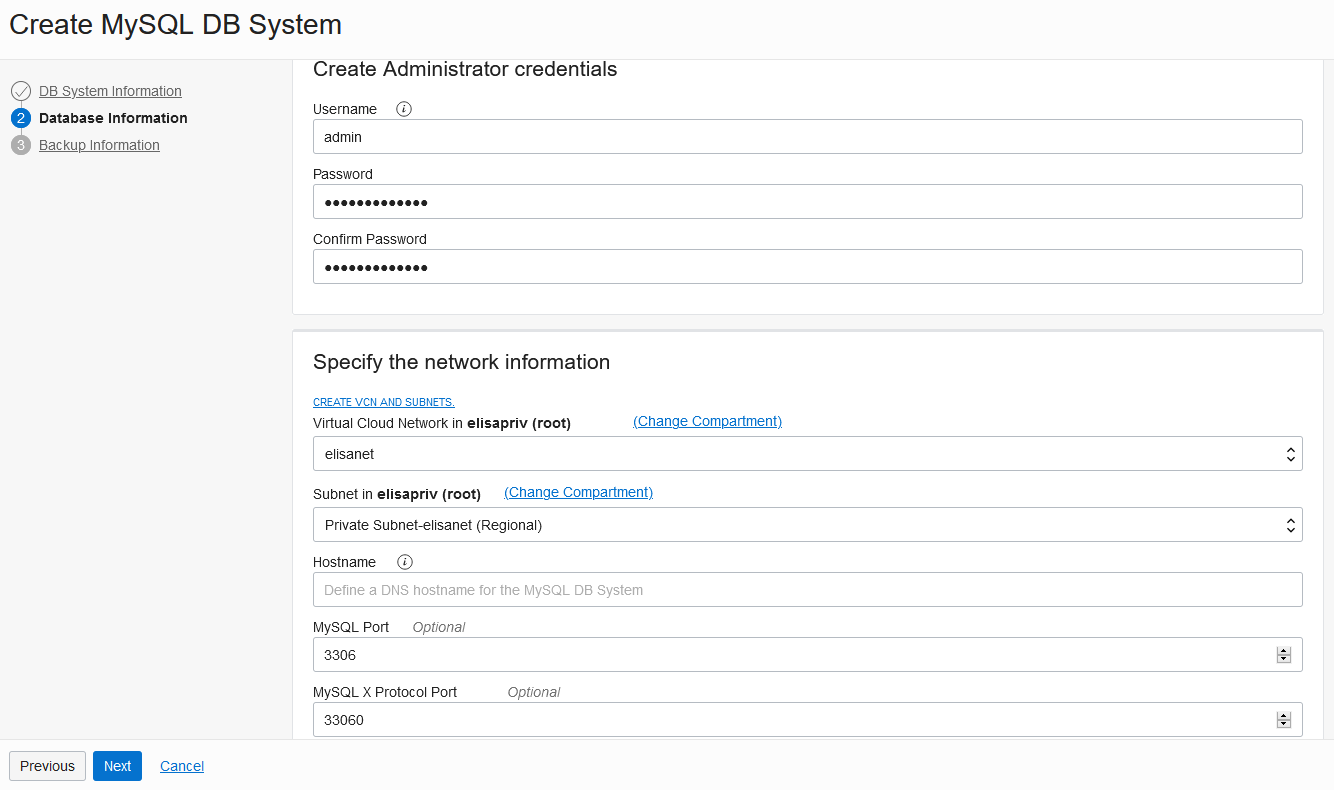
Still some information to fill, such as the administration user (which has to be different from root) and his password, networks details (VCN, the subnet, the port):
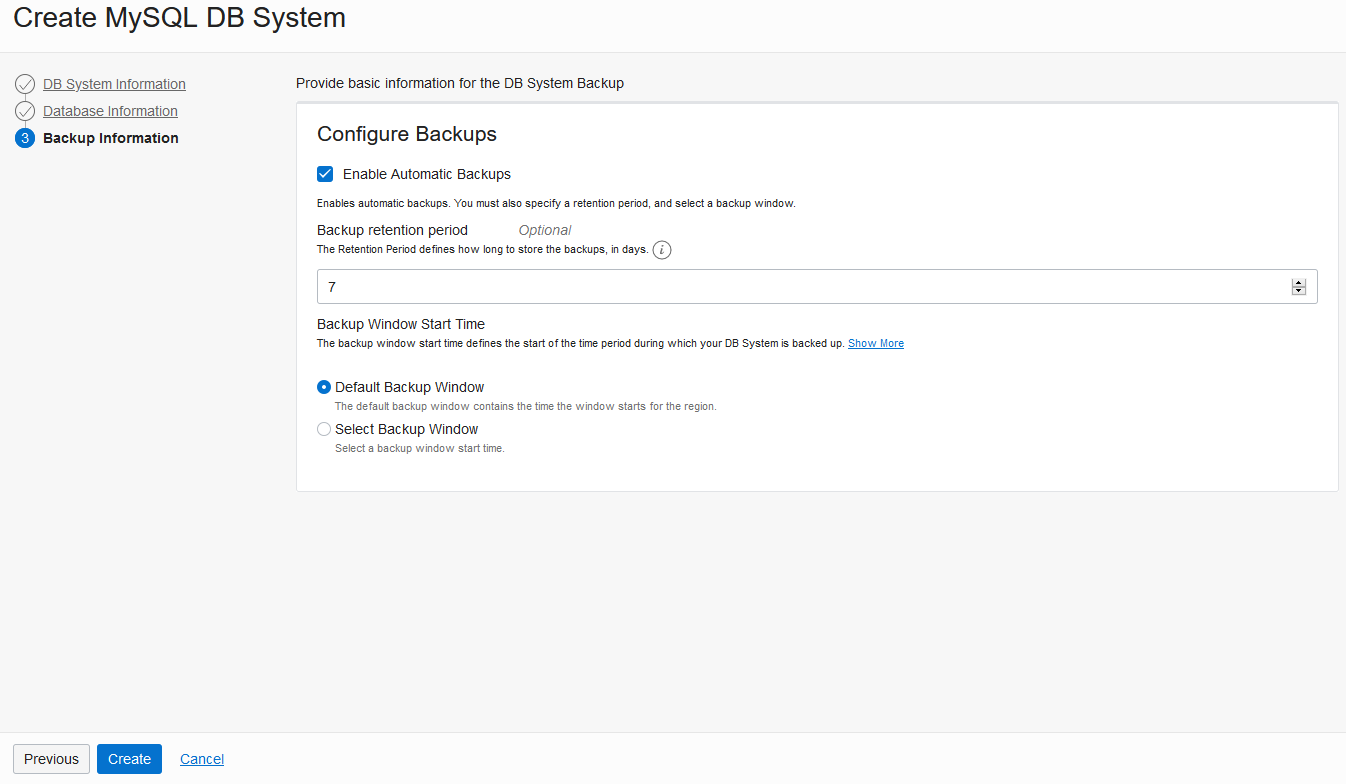
and the backup configuration (the backups will be executed through snapshots):
This creation operation will take some minutes, and then our MySQL DB System will be up and running.
One more thing to do before connecting to it: enable the network traffic to reach our MySQL Server.
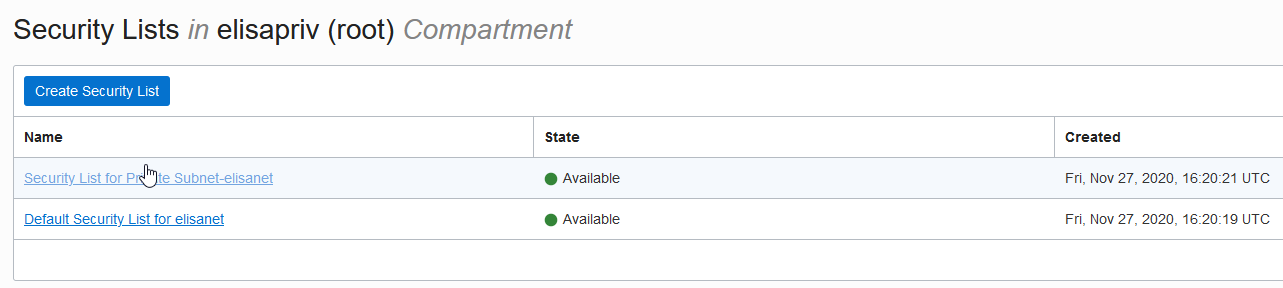
On the VCN page, we have to click on Security Lists and to select the subnet:
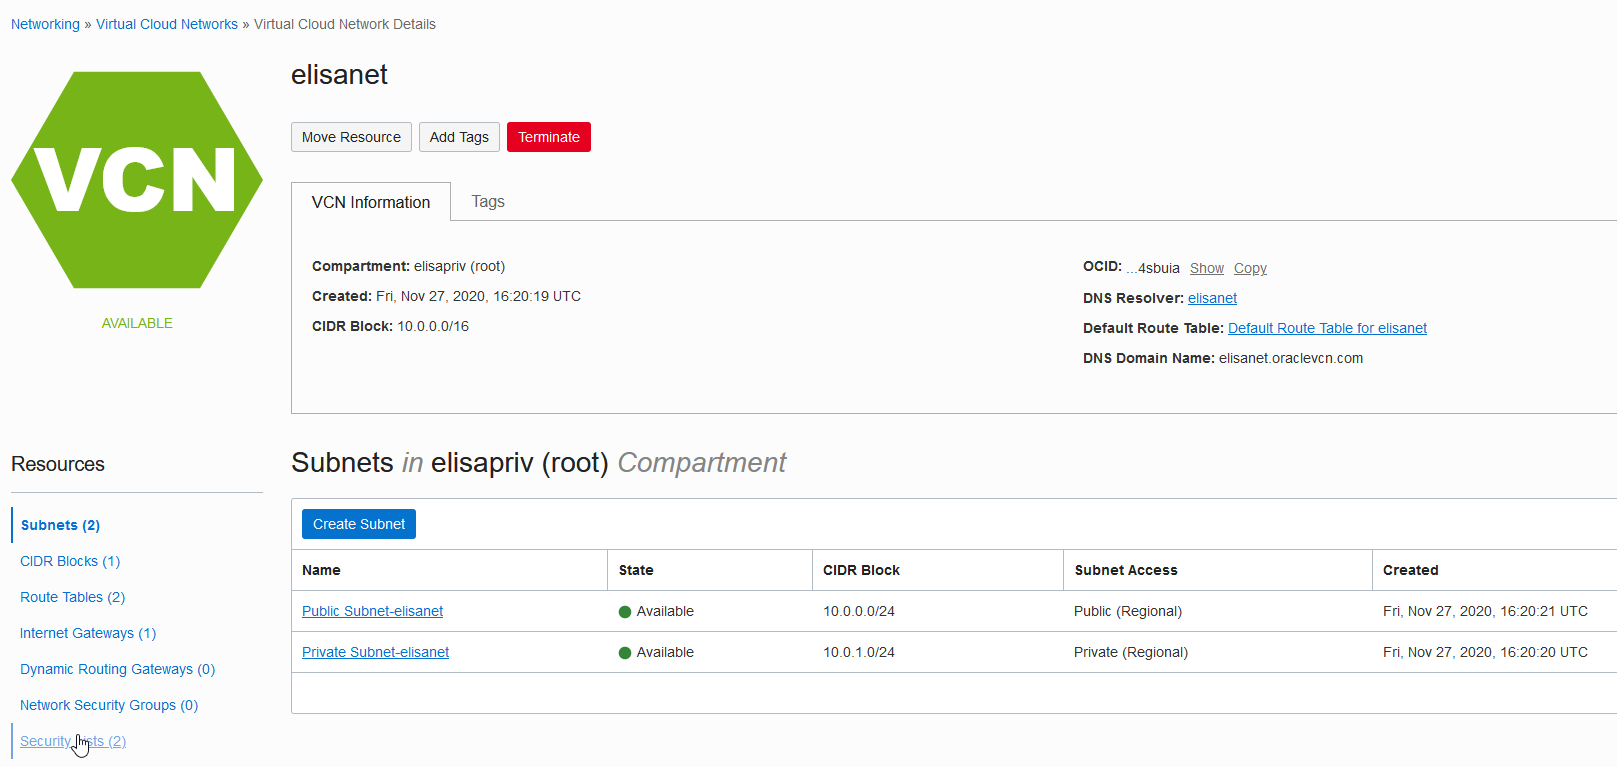
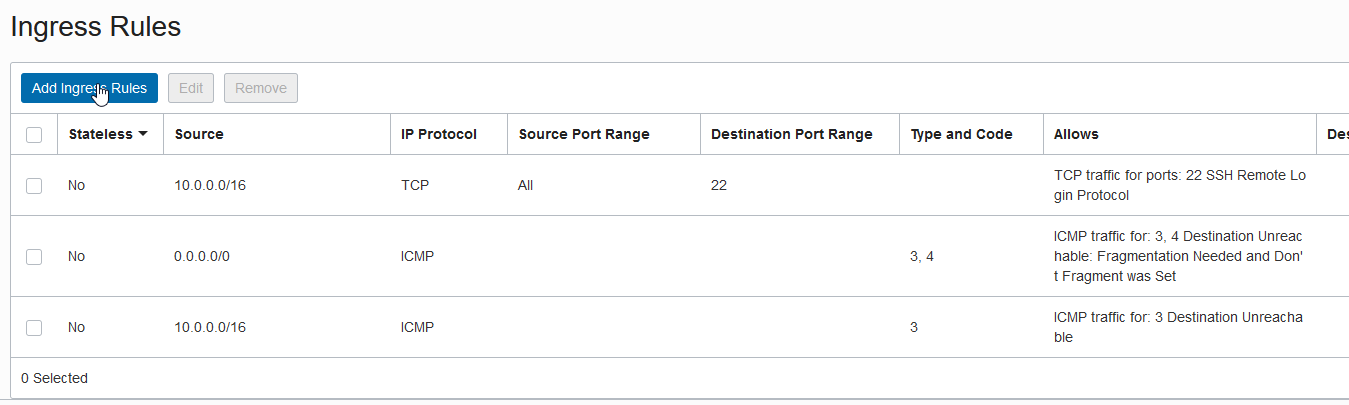
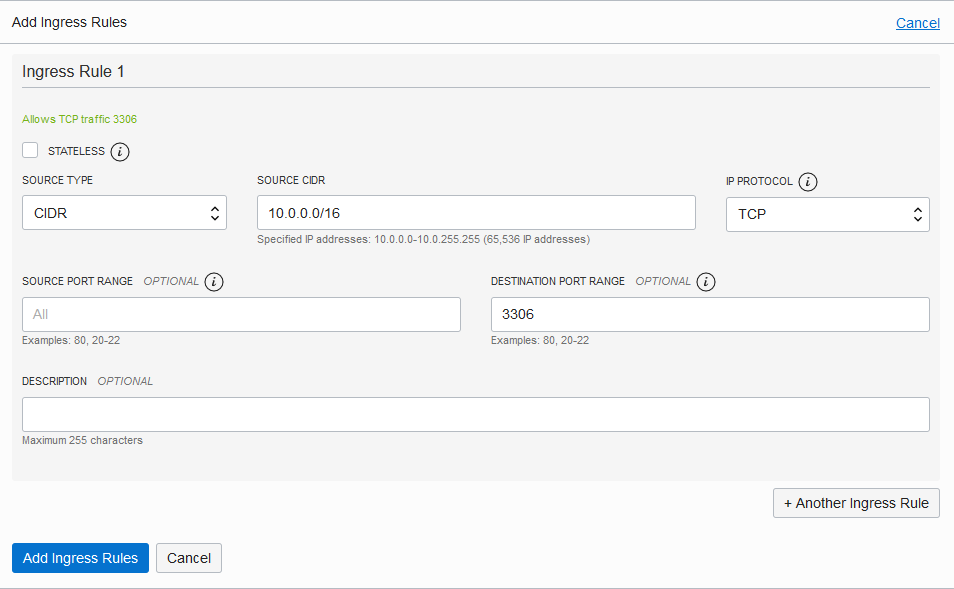
We click on “Add Ingress Rules” and we can add the 3306 as destination port:
We can connect now to our compute instance and install the MySQL Shell:
ssh -i C:\MySQL\Cloud\ssh-key-2020-11-24.key [email protected]
[opc@instance-20201127-1738 ~]$ sudo yum install https://dev.mysql.com/get/mysql80-community-release-el7-3.noarch.rpm
[opc@instance-20201127-1738 ~]$ sudo yum install mysql-shell
and then connect to the MySQL DB System using MySQL Shell:
[opc@instance-20201127-1738 ~]$ mysqlsh --sql [email protected]
Please provide the password for '[email protected]': *************
MySQL Shell 8.0.22

Copyright (c) 2016, 2020, Oracle and/or its affiliates.
Oracle is a registered trademark of Oracle Corporation and/or its affiliates.
Other names may be trademarks of their respective owners.

Type '\help' or '\?' for help; '\quit' to exit.
Creating a session to '[email protected]'
Fetching schema names for autocompletion... Press ^C to stop.
Your MySQL connection id is 33
Server version: 8.0.22-u2-cloud MySQL Enterprise - Cloud
No default schema selected; type \use  to set one.
 MySQL  10.0.1.3:3306 ssl  SQL >
Great, no?
And this is not everything. I think that news concerning analytics for MySQL data will come next weeks.
So stay tuned! 😉
![Thumbnail [60x60]](https://www.dbi-services.com/blog/wp-content/uploads/2022/10/ELU_web-min-1-scaled.jpg)
![Thumbnail [90x90]](https://www.dbi-services.com/blog/wp-content/uploads/2023/01/APY_web-scaled.jpg)
![Thumbnail [90x90]](https://www.dbi-services.com/blog/wp-content/uploads/2022/08/FRJ_web-min-scaled.jpg)