Azure SQL Database is a relational database-as-a-service (DBaaS) which gives us the possibility to create application with a performant database without to take care of the relying infrastructure.
Azure SQL Database is based on the latest stable version of Microsoft SQL Server Database Engine.
We have the choose between 2 purchasing models: a vCore-based purchasing model and a DTU-based (Database Throughput Unit) purchasing model.
3 Deployment options possible:
- single database: has its own set of resources managed via SQL Database Server (similar to a contained databases in SQL Server)
- elastic pool: collection of databases with a shared set of resources managed via SQL Database Server
- Managed instances: collection of system and user databases with a shared set of resources (like an instance)
In this blog I will show you how to create a single Azure SQL Database and how to connect it via a SQL Server Management Studio located on-premise.
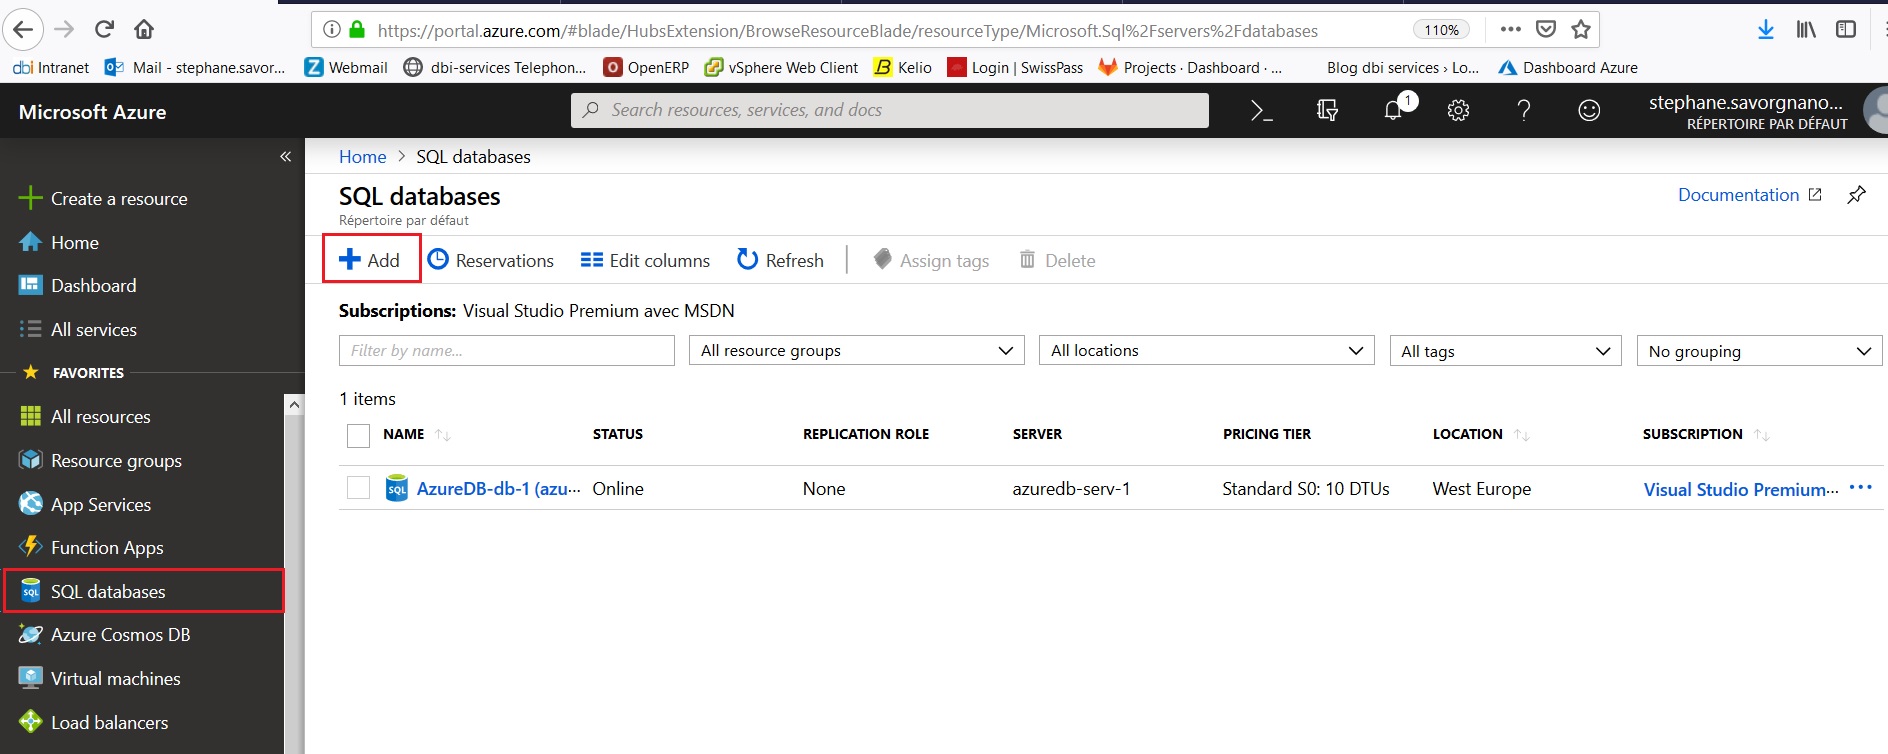
Once connected to the Azure portal, click on “SQL Database” and after to the “Add” button:
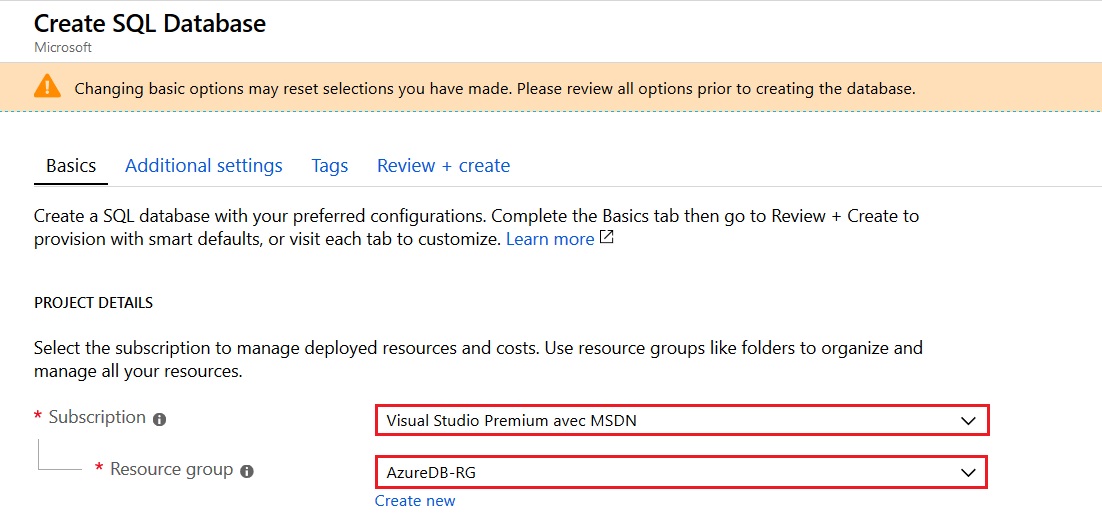
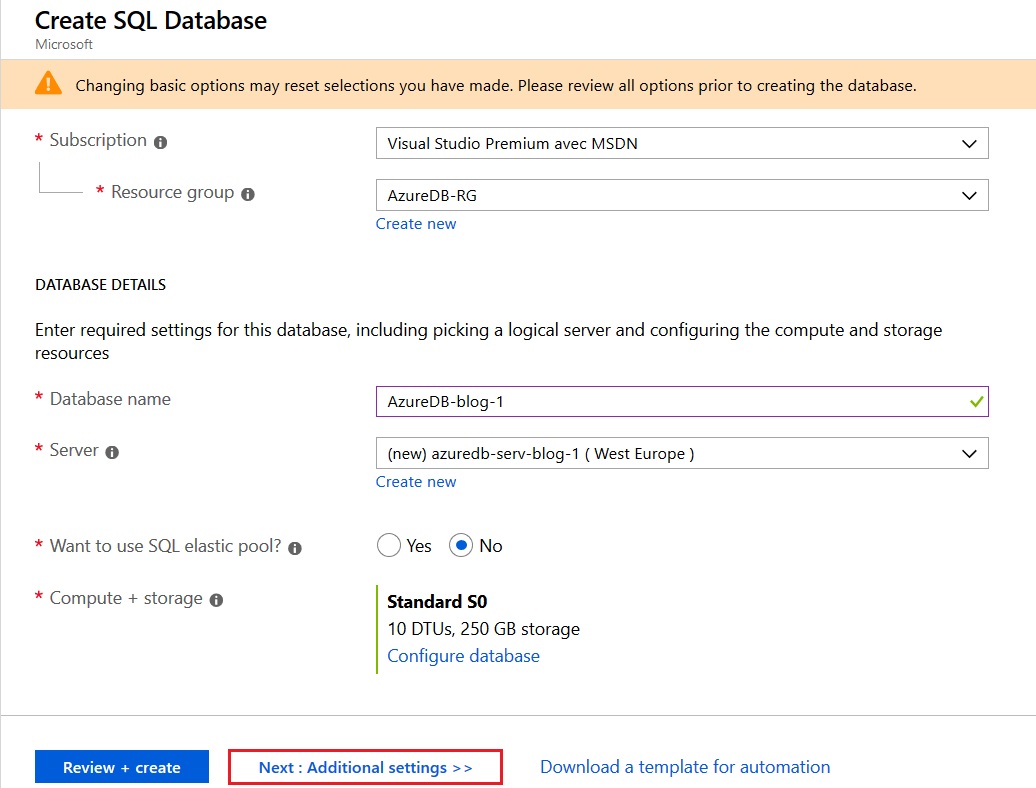
Once done we have first to select our subscription and create or select a resource group where our database will be created. A resource group is a collection of resource that share the same life cycle, permissions and policies.
Here I will use an existing one:
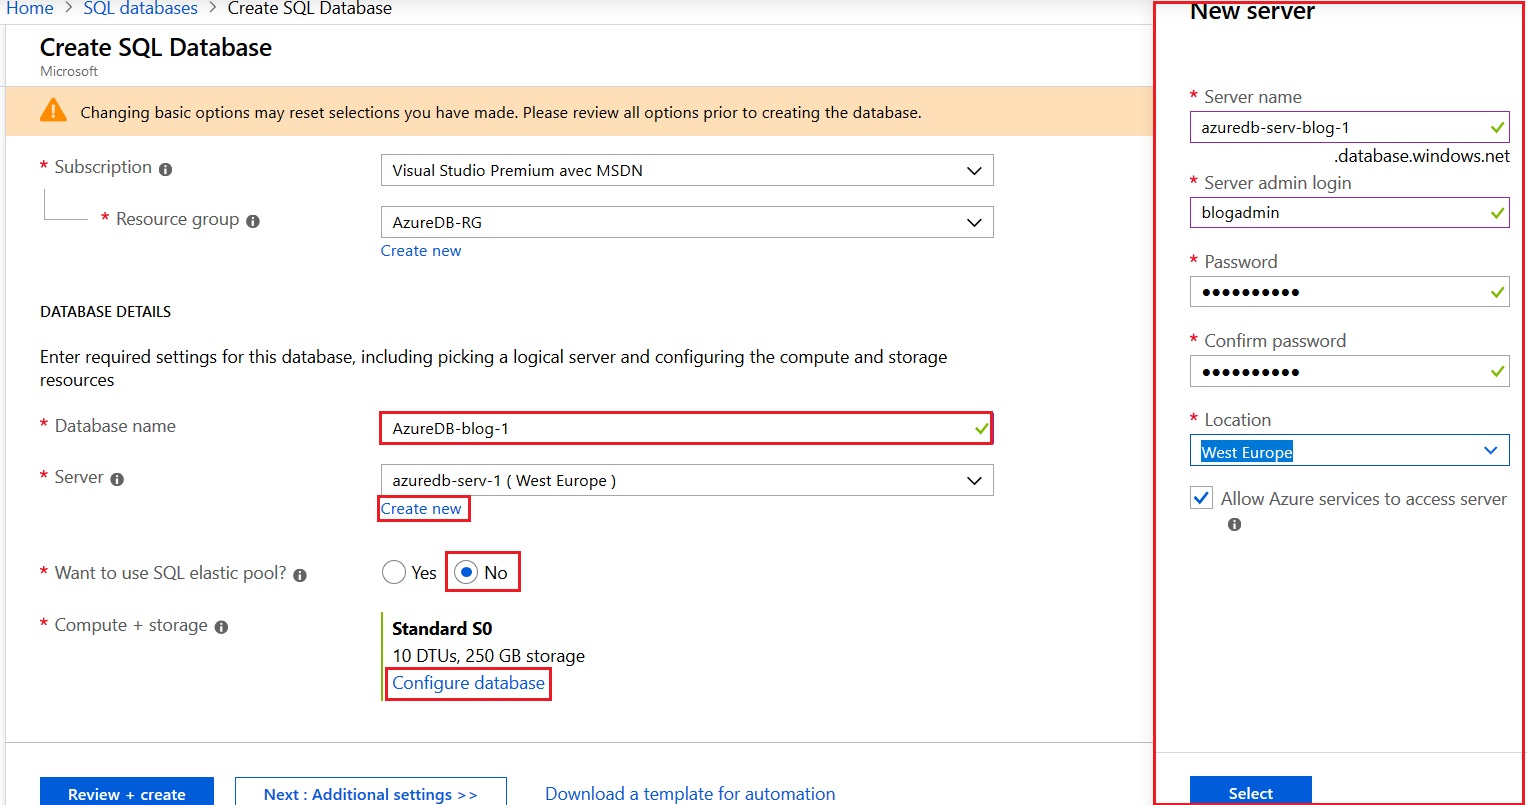
Now, we give a name to our Azure Database and to store the database we will create a new server. For the new server a name is necessary, also an admin login and the location where we want to have our server, here West Europe.
We don’t select the option to use an Elastic pool and for the Compute and Storage options we will click on the “Configure Database” link:
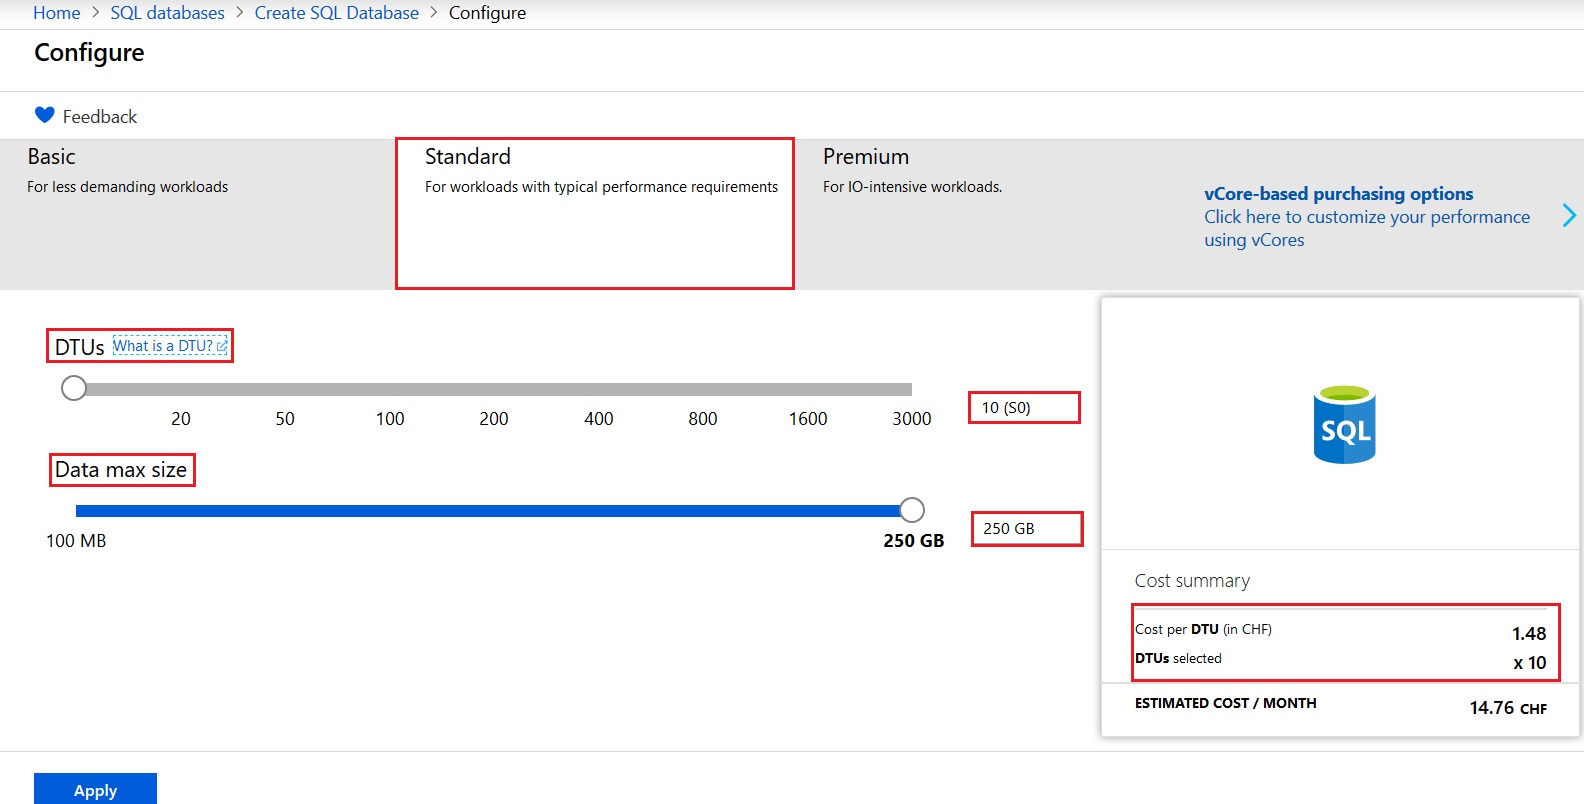
By default, our database belongs to the Standard DTU-based purchasing model with 10 DTUs and a database maximum size of 250MB. The cost is directly linked to the number of DTUs selected so in fact linked to the level of “power” (compute sizes, storage, backup retention… see here for more information about DTUs) we need for our database.
Other options appear if we select the Premium service tier like read scale-out or zone redundant, but I let you discover that as the vCore purchasing model by yourself.
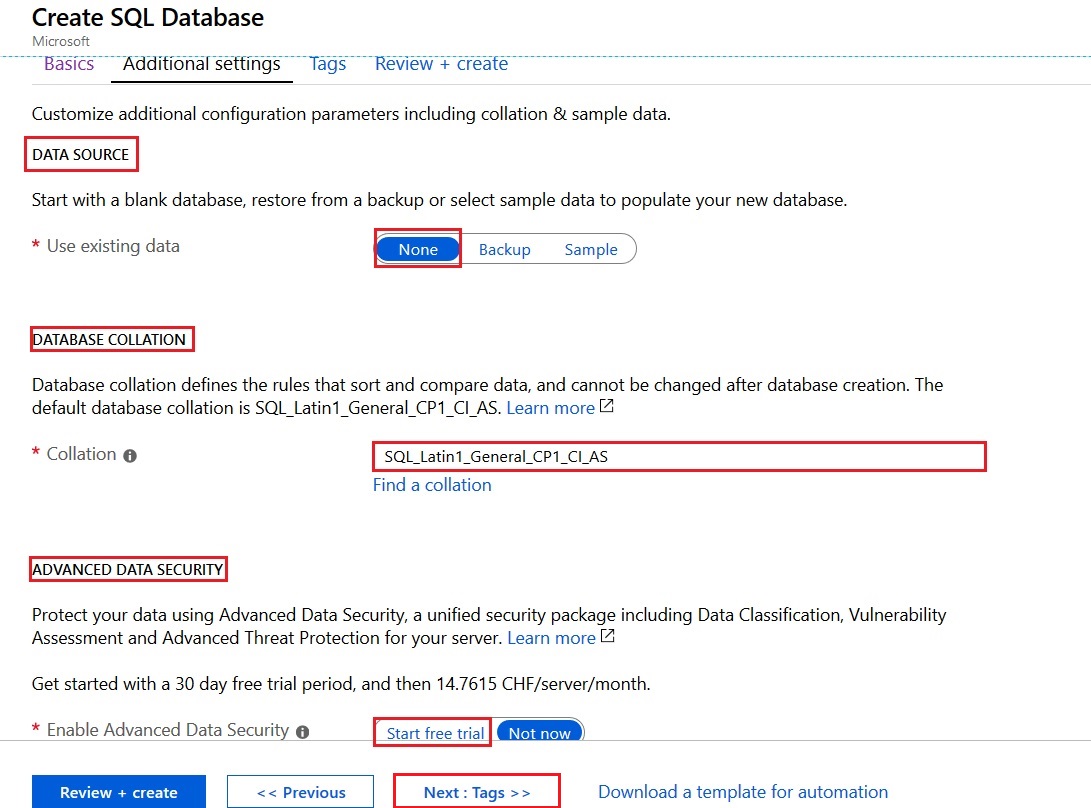
Once done, we go to the next additional settings:
Our database could be created with a backup of a database located in the subscription, from the AdventureWorksLT sample database or without any tables, schemas… so empty.
The database collation could be changed depending on your need.
An Advanced Data Security Package can be tested for free during 30 days. It will provide provides a set of advanced SQL security capabilities, including data discovery & classification, vulnerability assessment, and Advanced Threat Protection.
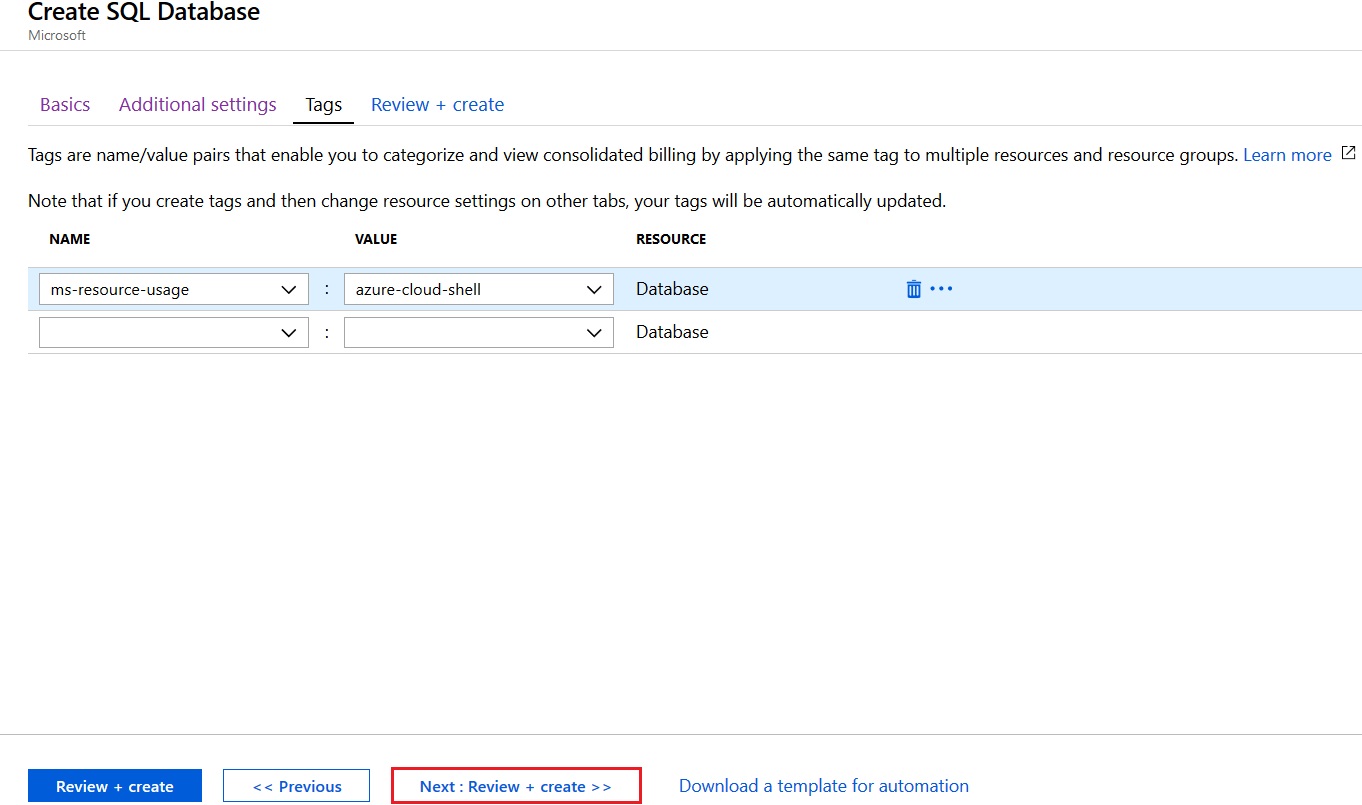
Create Tags to categorize and consolidate billings information:
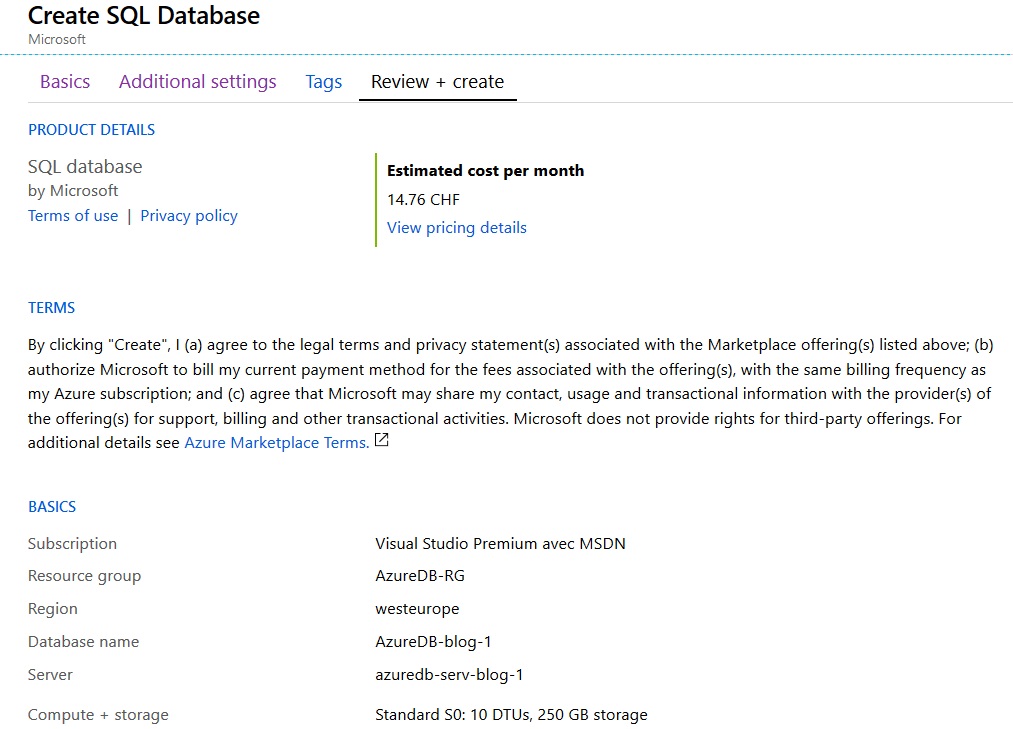
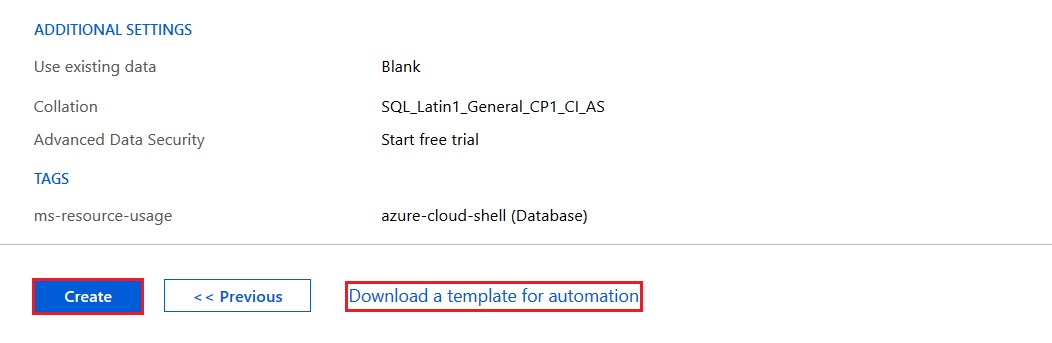
Review the information selected previously and launch the deployment of your Azure SQL Database.
There is also a possibility to download a template to automate another database deployment:
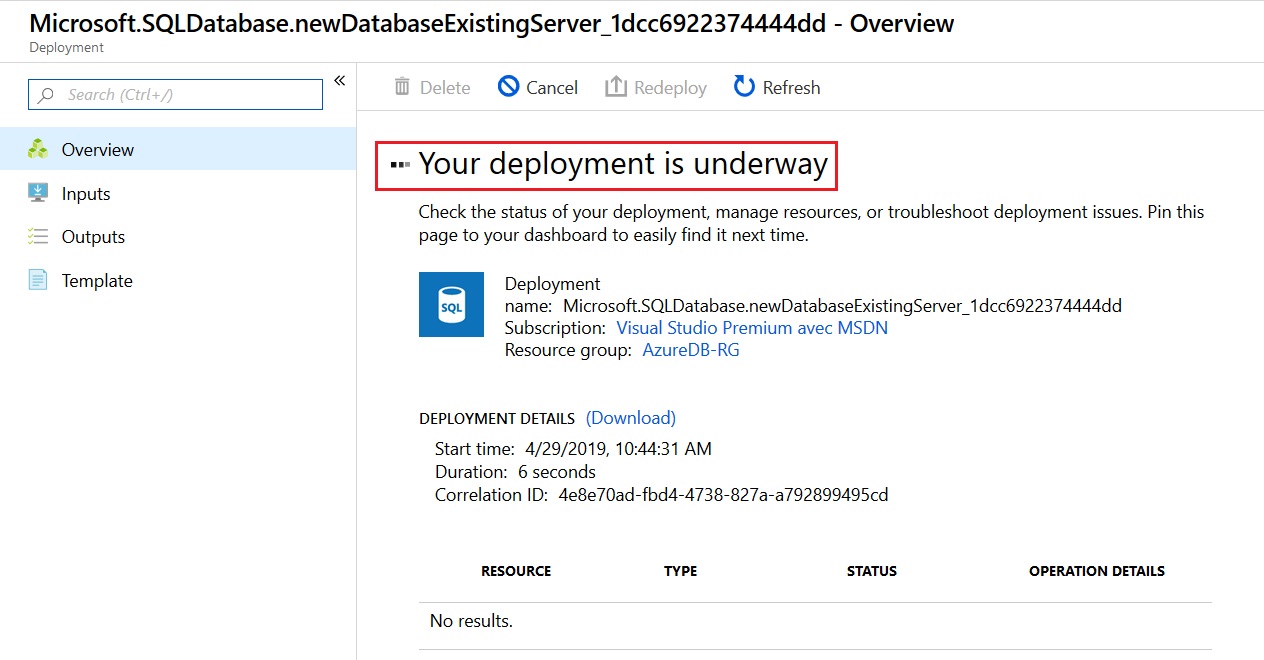
The deployment is running:
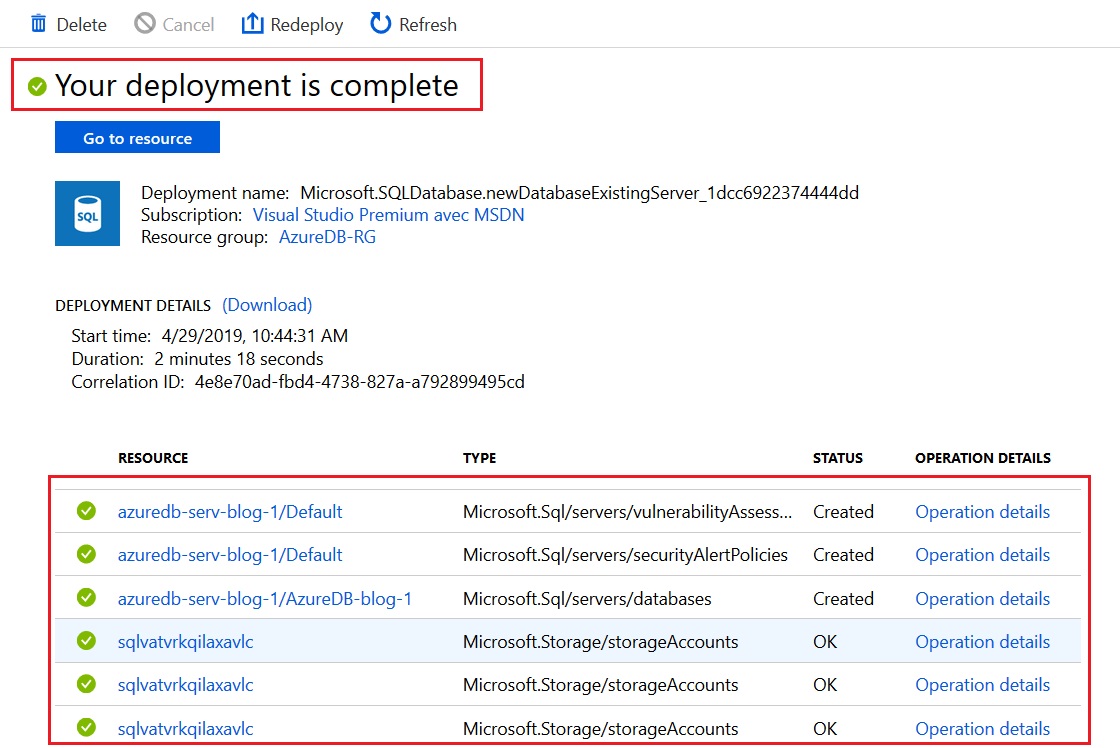
Once done, the Azure SQL Database has been created:
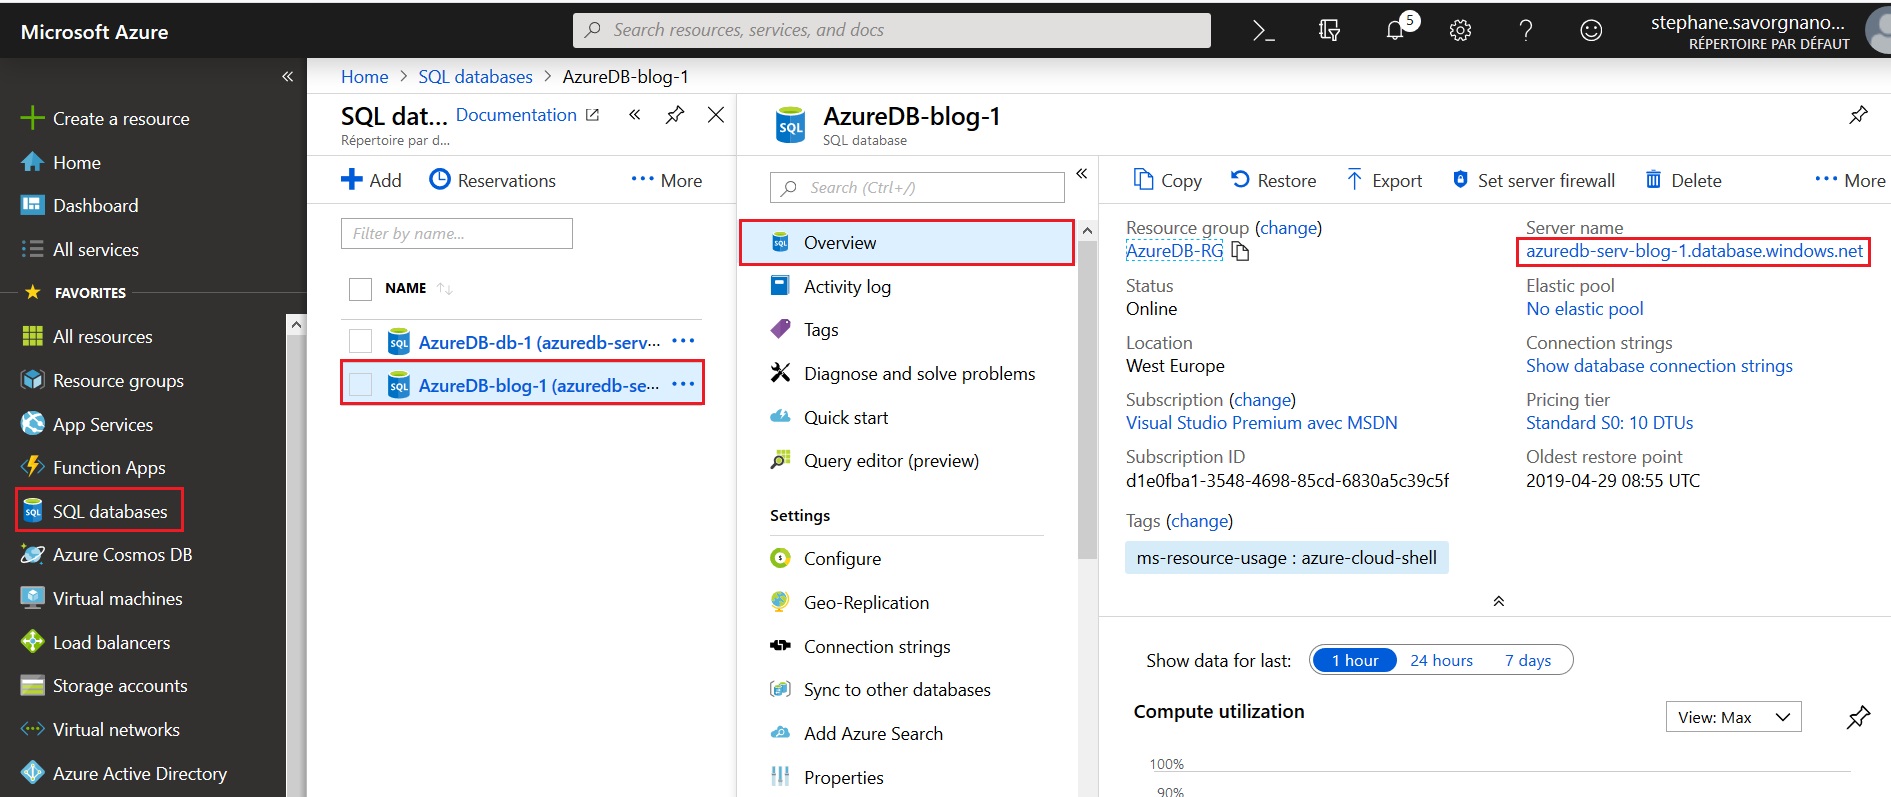
Go back to the SQL Databases and select our new Azure database named AzureDB-blog-1.
In the overview menu we can find the Server name, we will try to use it on SSMS:
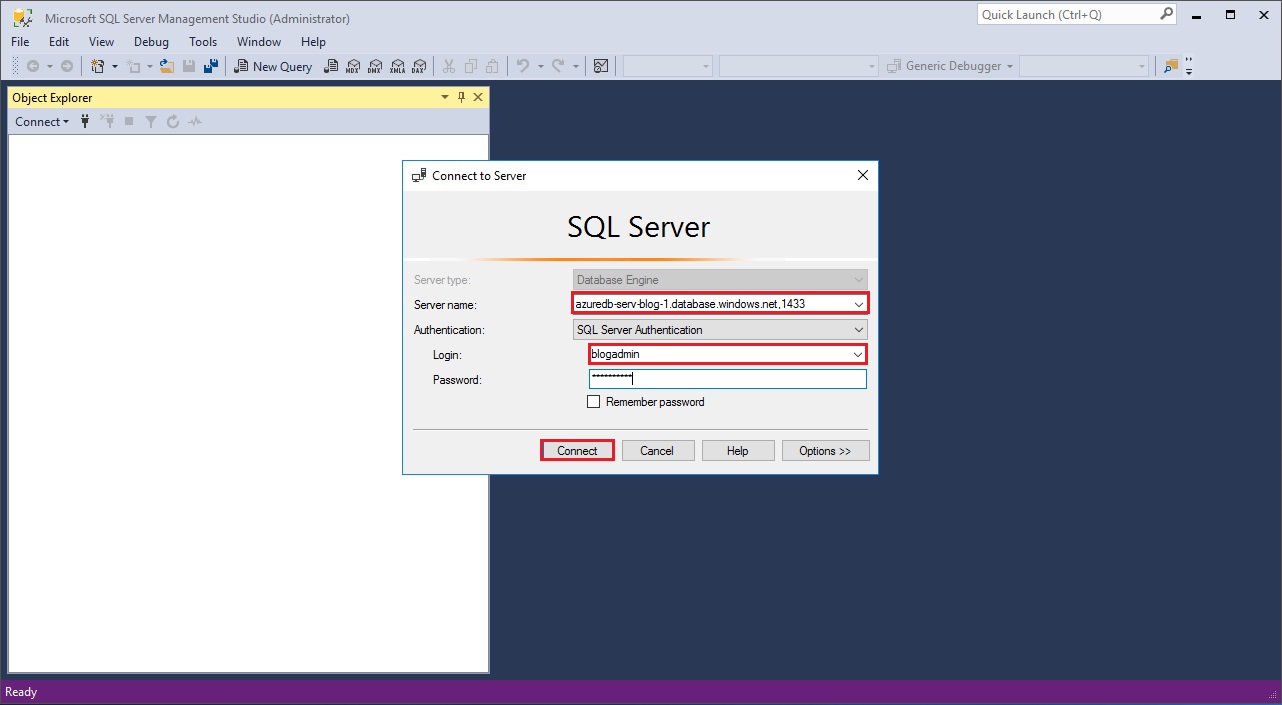
I open a Management Studio located in my VMs environment on-premise. I try to connect to my Azure database with the server name found previously on port 1433 and my server admin login:
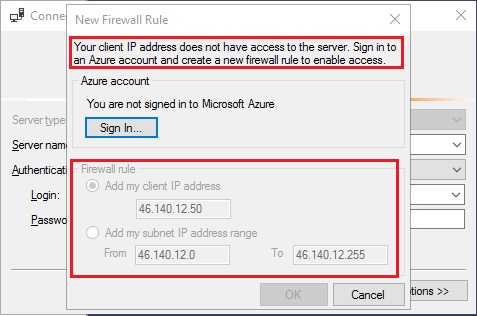
It fails as my Azure database is protected under a firewall. I will need to open my IP address or a range of IP Addresses to be able to connect. Address that must be opened is mentioned directly in the error message😉
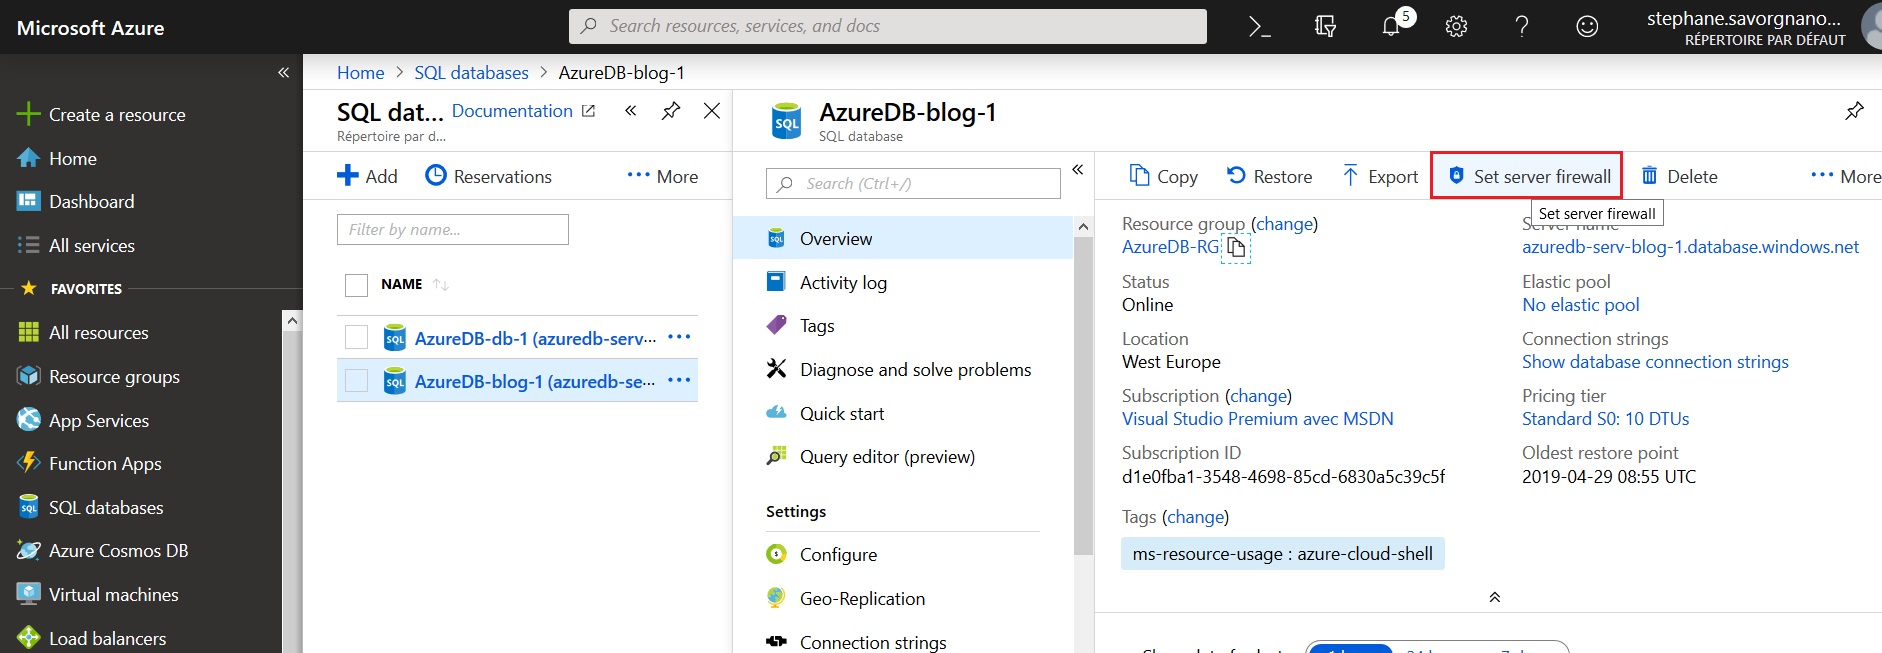
To configure the firewall, go back to the overview screen of the Azure Database and select “Set server firewall”:
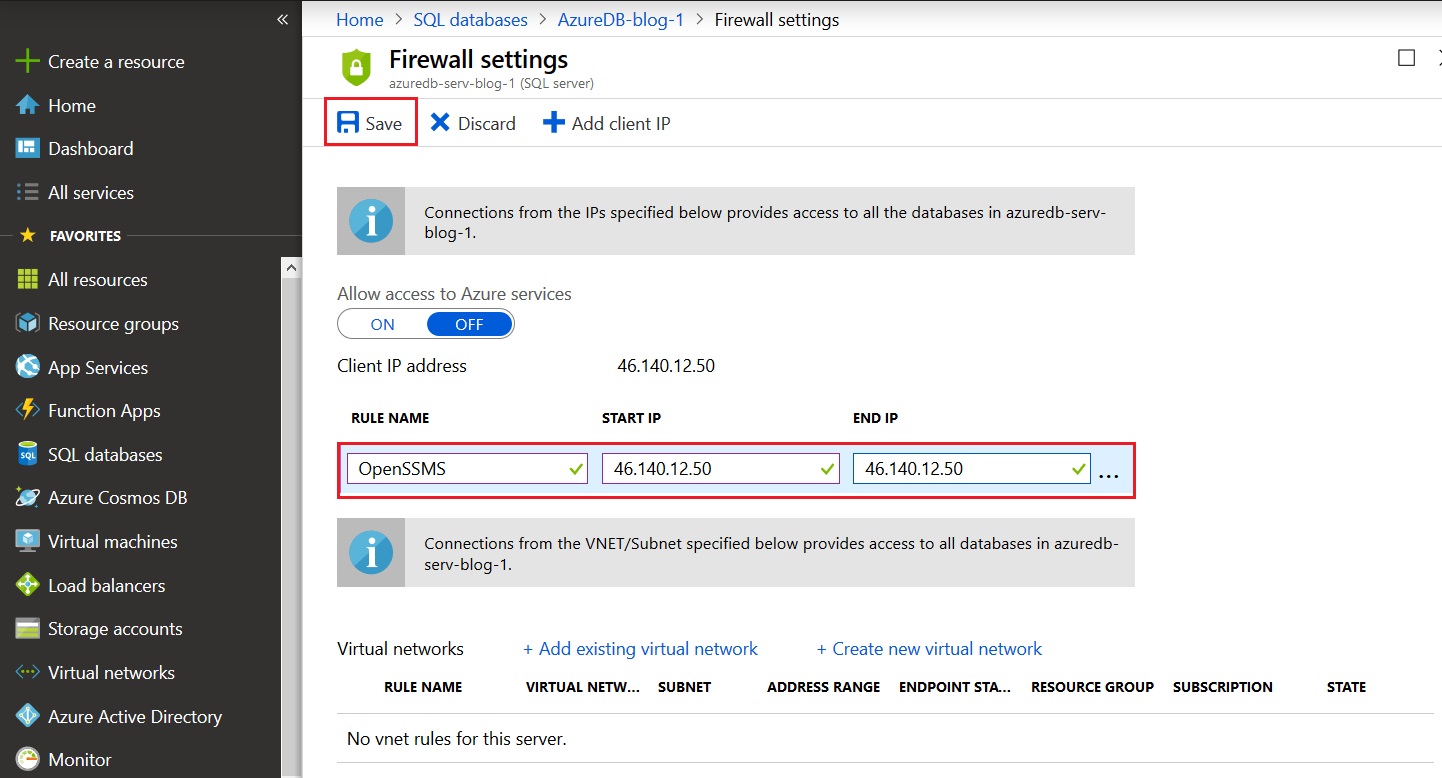
Enter a rule name and the desired IP Addresses or range and click Save:
Once done the connection to our Azure SQL Database is possible:
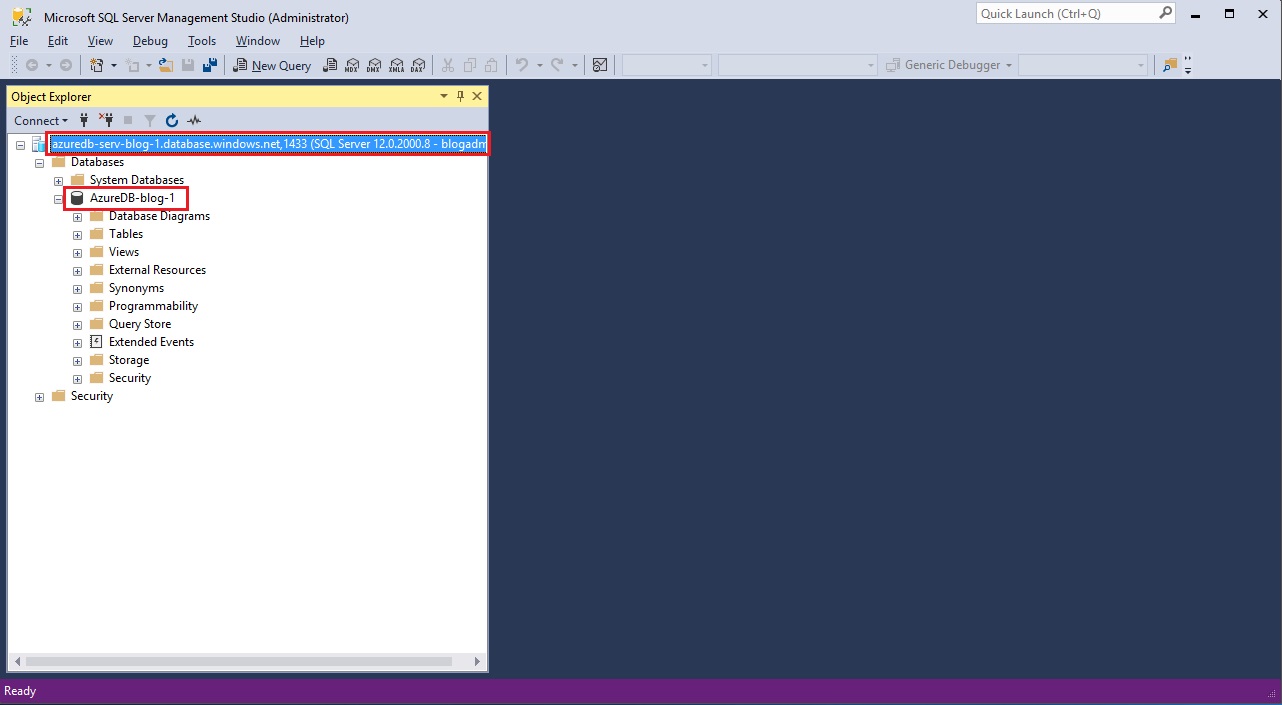
Not so complicated isn’t it?
Next time I will show you how to migrate an on-premise database to an Azure SQL database.
![Thumbnail [60x60]](https://www.dbi-services.com/blog/wp-content/uploads/2022/10/STS_web-min-scaled.jpg)
![Thumbnail [90x90]](https://www.dbi-services.com/blog/wp-content/uploads/2022/08/STH_web-min-scaled.jpg)
![Thumbnail [90x90]](https://www.dbi-services.com/blog/wp-content/uploads/2022/11/TBR-web-min-scaled.jpg)
![Thumbnail [90x90]](https://www.dbi-services.com/blog/wp-content/uploads/2025/11/LTO_WEB.jpg)
![Thumbnail [90x90]](https://www.dbi-services.com/blog/wp-content/uploads/2023/01/APY_web-scaled.jpg)