In this blog post, I’ll go through the steps to create an Azure SQL Database using Azure PowerShell.
Introduction to Azure SQL Database
The SQL database services provided by Microsoft on the cloud are now grouped under the name of Azure SQL.
The Azure SQL family contains services that I will briefly summarize;
- Azure SQL Database – DBaaS (Database-as-a-Service)
- Azure SQL Managed Instance – PaaS (Platform-as-a-Service)
- SQL Server on Azure VMs – IaaS (Infrastructure-as-a-Service)
In this blog post, I will use Azure SQL Database.
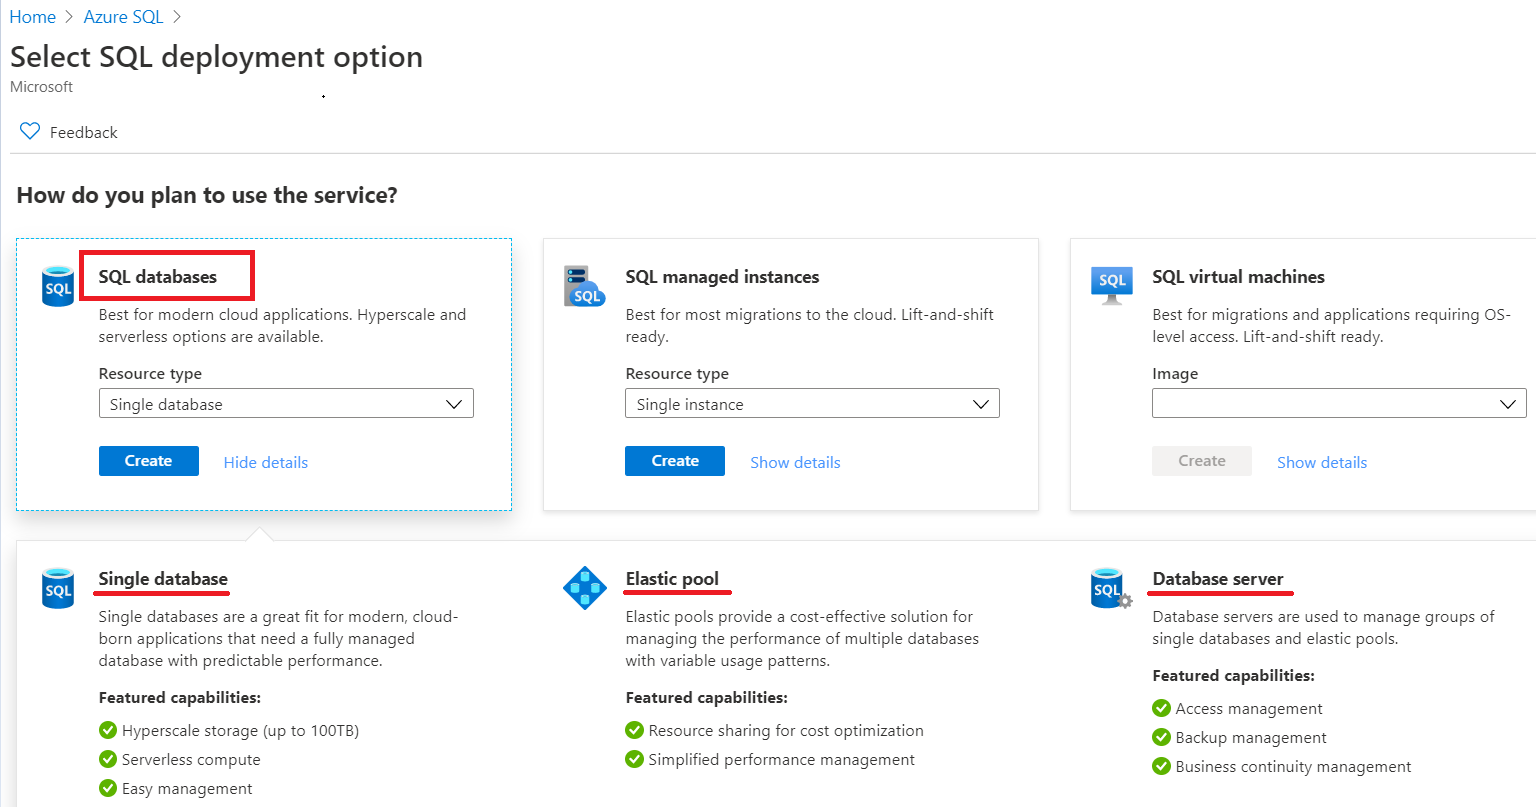
Azure SQL Database offers the following deployment options:
- Single database – a fully-managed, isolated database
- Elastic pool – a collection of single databases with a shared set of resources
I will not describe in detail this service but basically, it is a fully managed SQL database similar to a contained database in SQL Server.
All the steps below can be done on the Azure Portal. For this blog post, I’ll only use Azure PowerShell which you can install on your operating system or use online with Azure Cloud Shell.
1) Install and Import Az module
First, we need to install Azure PowerShell which provides a set of commands to manage your Azure resources from your favorite operating system; Windows, macOS, and Linux.
|
1
2
3
4
5
6
7
8
|
PS C:\> Install-Module AzPS C:\> Get-InstalledModule -Name Az | select Name, VersionName Version---- -------Az 4.1.0PS C:\> Import-Module Az |
2) Sign in to Azure
Connect to your Tenant using your Tenant ID.
You can find your Tenant ID in the Azure Portal under “Azure Active Directory”.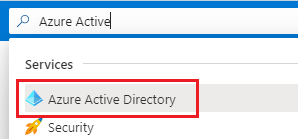
|
1
2
3
4
5
6
7
|
PS C:\> Connect-AzAccount -Tenant 'b9c70123-xxx-xxx-xxx-xxxx'Account SubscriptionName TenantId Environment------- ---------------- -------- -----------my@Email.com Visual Studio Ent b9c70978-xxx-xxx-xxx-xxxx AzureCloudPS C:\> |
Then, if you use multiple Azure subscriptions, select the one you want to work with.
|
1
|
PS C:\> Set-AzContext -SubscriptionId '891f5acc-xxx-xxx-xxx-xxxx' |
3) Create a Resource Group
Let’s start with creating a Resource Group. A resource group is a container that holds related resources for an Azure solution.
|
1
2
3
4
5
6
7
|
PS C:\> New-AzResourceGroup -Name 'SQLFailover-lab-rg' -Location 'France Central'ResourceGroupName : SQLFailover-lab-rgLocation : francecentralProvisioningState : SucceededTags :ResourceId : /subscriptions/891f5acc-xxx-xxx-xxx-xxxx/resourceGroups/SQLFailover-lab-rg |
To list all your Resource Groups use the Get-AzResourceGroup command:
|
1
|
Get-AzResourceGroup | select ResourceGroupName |
4) Create an SQL Server
Create a logical server with a unique server name to host our SQL databases.
|
1
2
3
4
|
New-AzSqlServer -ResourceGroupName 'SQLFailover-lab-rg' ` -ServerName 'snasqlsrv-lab-01' ` -Location 'France Central' ` -SqlAdministratorCredentials $(New-Object -TypeName System.Management.Automation.PSCredential -ArgumentList "LabSqlAdmin", $(ConvertTo-SecureString -String "MyPassword" -AsPlainText -Force)) |
The last parameter defines the credentials I will use to connect as an administrator to my SQL Database server.
Once the server is created you get the FQDN that will be used for connections.
|
1
2
3
4
5
|
PS C:\> Get-AzSqlServer | select FullyQualifiedDomainNameFullyQualifiedDomainName------------------------snasqlsrv-lab-01.database.windows.net |
5) Create a Server Firewall Rule
To access the server and all the databases from my client computer I need to create a server firewall rule.
Here I use a WebRequest to get my public IP into a variable and then create the server firewall rule.
|
1
2
3
4
|
$myIp = (Invoke-WebRequest ifconfig.me/ip).ContentNew-AzSqlServerFirewallRule -ResourceGroupName 'SQLFailover-lab-rg' ` -ServerName 'snasqlsrv-lab-01' ` -FirewallRuleName "AllowedIPs" -StartIpAddress $myIp -EndIpAddress $myIp |
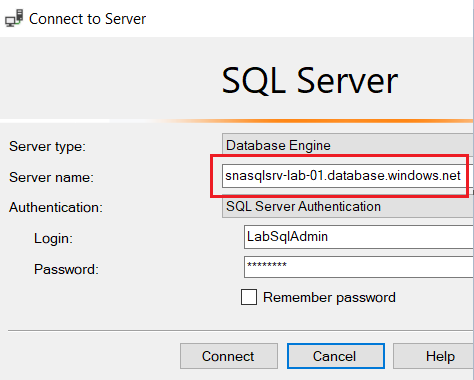
6) Connect to the SQL Server from SSMS
The SQL Server is now accessible from my computer client on port 1433. I can connect to it using SSMS.
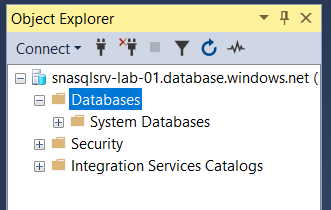
7) Create a database
The following command will create a database named “DB01” with an S0 performance level and using the sample schema “AventureWorksLT”.
|
1
2
3
4
5
|
New-AzSqlDatabase -ResourceGroupName 'SQLFailover-lab-rg' ` -ServerName 'snasqlsrv-lab-01' ` -DatabaseName 'DB01' ` -RequestedServiceObjectiveName "S0" ` -SampleName "AdventureWorksLT" |
This is it. We just a created an Azure SQL Database with a few commands. 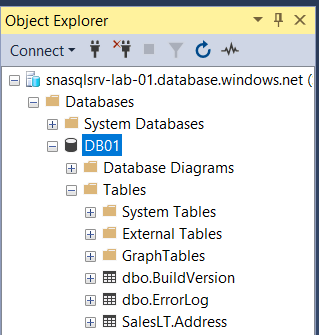
Bonus: Creating a Copy of the database
I just want to mention a nice T-SQL command with Azure SQL Database that doesn’t exist on-premise: “CREATE DATABASE AS A COPY”.
This command creates a copy of a database with a new name. This replace the backup/”restore with move” that we do sometimes on SQL Server.

Cleanup
When you’re done with your tests you can delete all resources in the resource group (firewall rules, server, databases) with a single command;
|
1
|
PS C:\> Remove-AzResourceGroup -ResourceGroupName 'SQLFailover-lab-rg' |
Written by Steven Naudet
![Thumbnail [60x60]](https://www.dbi-services.com/blog/wp-content/uploads/2022/12/microsoft-square.png)
![Thumbnail [90x90]](https://www.dbi-services.com/blog/wp-content/uploads/2022/08/STH_web-min-scaled.jpg)
![Thumbnail [90x90]](https://www.dbi-services.com/blog/wp-content/uploads/2022/11/TBR-web-min-scaled.jpg)
![Thumbnail [90x90]](https://www.dbi-services.com/blog/wp-content/uploads/2025/11/LTO_WEB.jpg)
![Thumbnail [90x90]](https://www.dbi-services.com/blog/wp-content/uploads/2023/01/APY_web-scaled.jpg)