Steps To Create A New Container Group Using Azure CLI
Before starting to create a container group, a MSDN account is needed to use the Azure platform, please refer to your manager for further information.
In this tutorial, the Azure CLI command-line tool will be install on Windows and we will deploy a website running the open source GHOST platform.
Choose the right operating system to install the command-line tool. The information can be found here.
When the installation is done, launch the command prompt and type az login to authenticate on the Azure platform (see below):

Wait until a browser is launched so that you can login (see below):
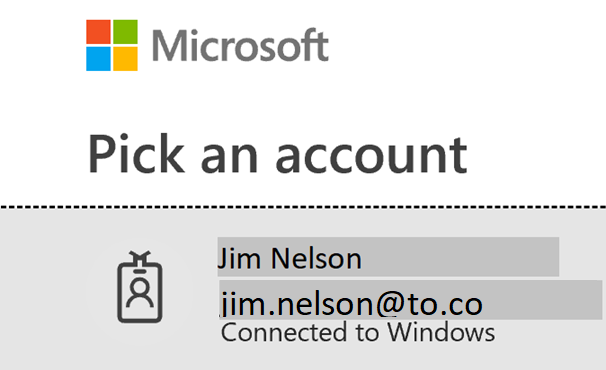
You have logged into Microsoft Azure!
To create a new container, the following command will be used:
- az group create
- az container create
- az container show
- az container logs
- az group delete
Open the command prompt and type powershell to start.
Define the variable resource group that will hold the container group:
- $resourceGroup = “TutoGhost” (hit enter)
Define the variable location:
- $location = “westeurope” (hit enter)
Create the resource group and the location:
- az group create -n $resourceGroup -l $location (hit enter)
The resource group and the location are now created.
Define the variable container group (only lowercase letters, numbers and dashes):
- $containerGroupName = “site1-ghost” (hit enter)
Create the container group:
- az container create -g $resourceGroup -n $containerGroupName `
- –image ghost `
- –ports 2368 `
- –ip-address public `
- –dns-name-label testtutoghost
The dns-name-label should be unique.
Hit enter to execute the commands.
During the execution process, use the following command-line to check the status of the container group:
- az container show `
- -g $resourceGroup -n $containerGroupName
The provisioningState variable display the three state of creation of the container group which is pending, creating and succeeded.
A public random ip address is assigned and a fully qualified domain name which is testtutoghost.westeurope.azurecontainer.io
To check if the container is up and running, open a browser and type the FQDN followed by colon 2368.
To check the container group logs, type the following command:
- az container logs `
- -n $containerGroupName -g $resourceGroup
The container group created is viewable from the Azure portal under Resource groups section.
Information related to the cost of resources used during the implementation of the container:
To get this information, use the following PowerShell commands:
The below command gives you the usage start and end date, the period, the instance name, the foretaste of the cost and the id of the resource (see below):
Get-AzConsumptionUsageDetail -BillingPeriodName 201902 -ResourceGroup TutoGhost

Please note that costs do not occur on a resource group but only on services that live within it.
Need further details, click here.
If you are in a test environment, to avoid paying extra cost, make sure to delete the resource group (command-line below) created if not used.
- az group delete -n $resourceGroup -y
![Thumbnail [60x60]](https://www.dbi-services.com/blog/wp-content/uploads/2022/12/microsoft-square.png)
![Thumbnail [90x90]](https://www.dbi-services.com/blog/wp-content/uploads/2024/03/AHI_web.jpg)
![Thumbnail [90x90]](https://www.dbi-services.com/blog/wp-content/uploads/2025/07/ALK_MIN.jpeg)
![Thumbnail [90x90]](https://www.dbi-services.com/blog/wp-content/uploads/2025/05/JDE_Web-1-scaled.jpg)
![Thumbnail [90x90]](https://www.dbi-services.com/blog/wp-content/uploads/2022/08/ADE_WEB-min-scaled.jpg)