After the deployment step with Terraform and the configuration/installation with Ansible, we will continue the installation of our Cloudera cluster with Cloudera Manager.
By following the below steps you will see how to install CDH on our hosts using Cloudera Manager.
Connection
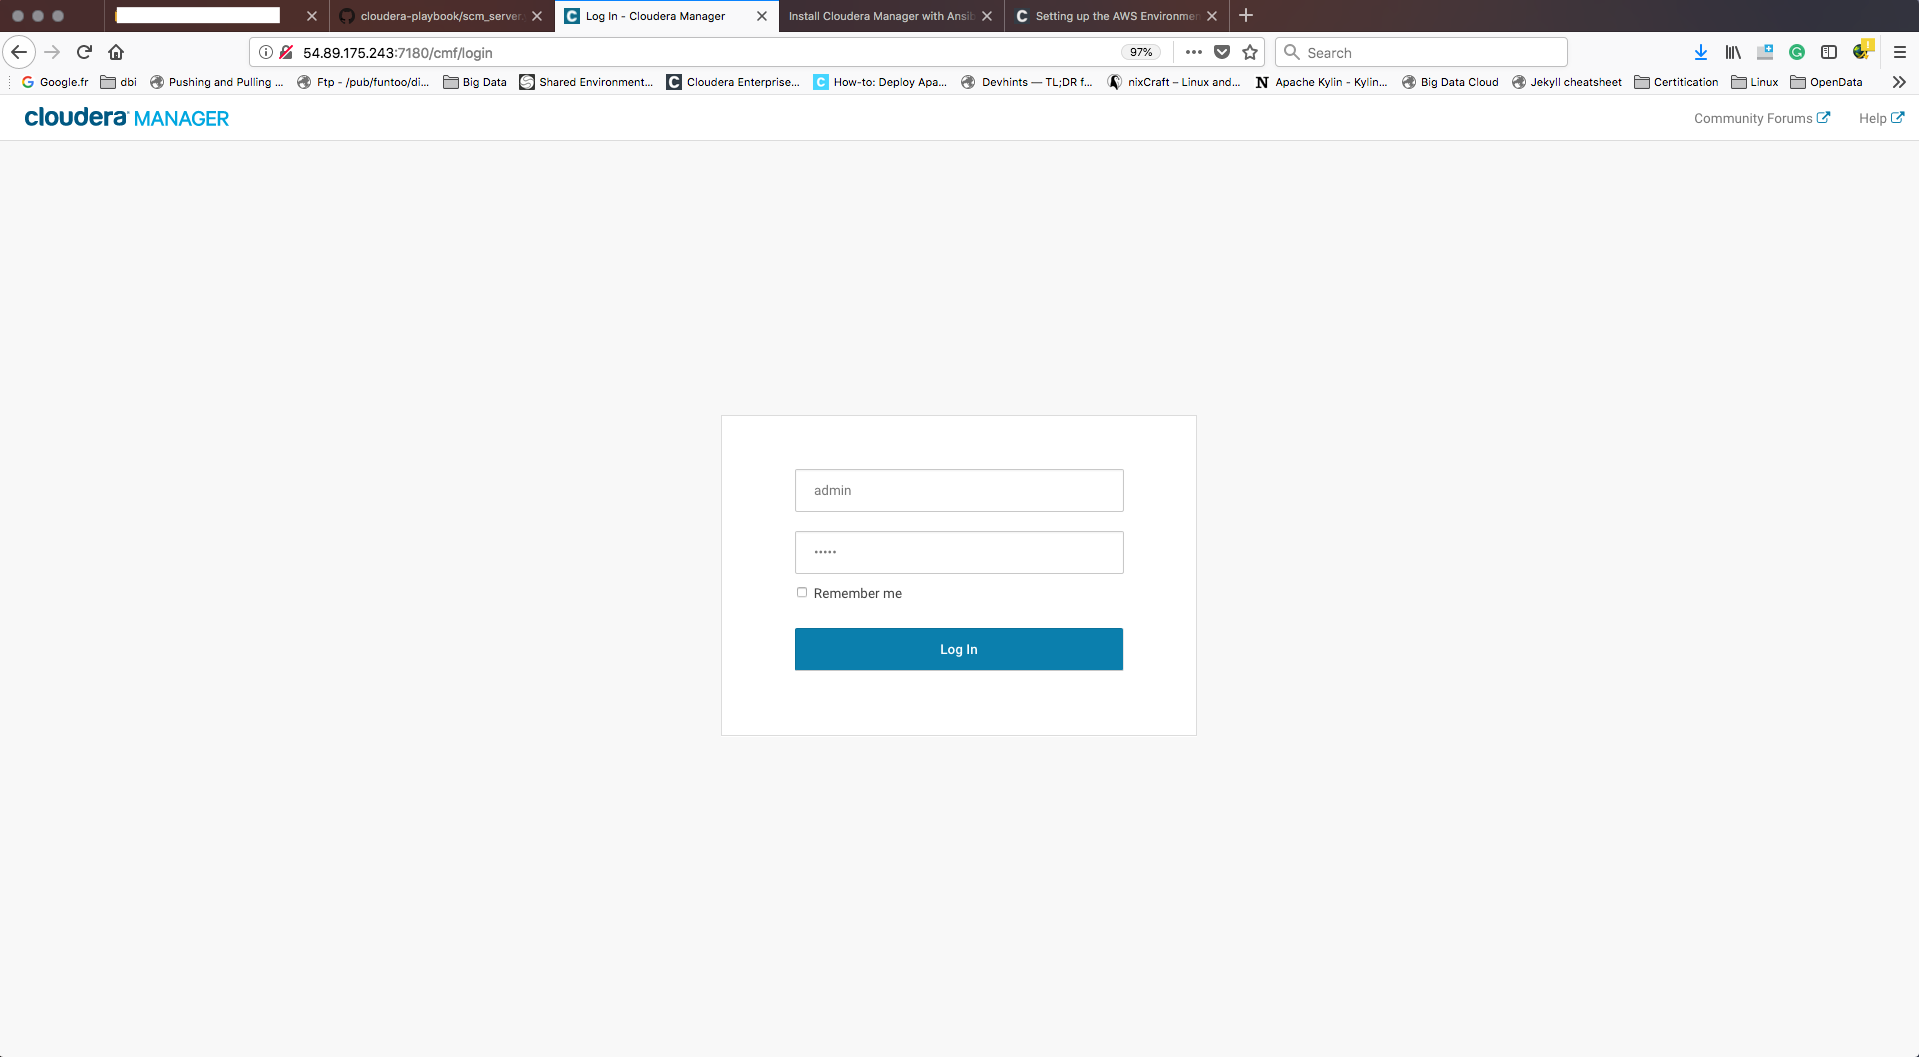
First, Login to Cloudera manager URL.
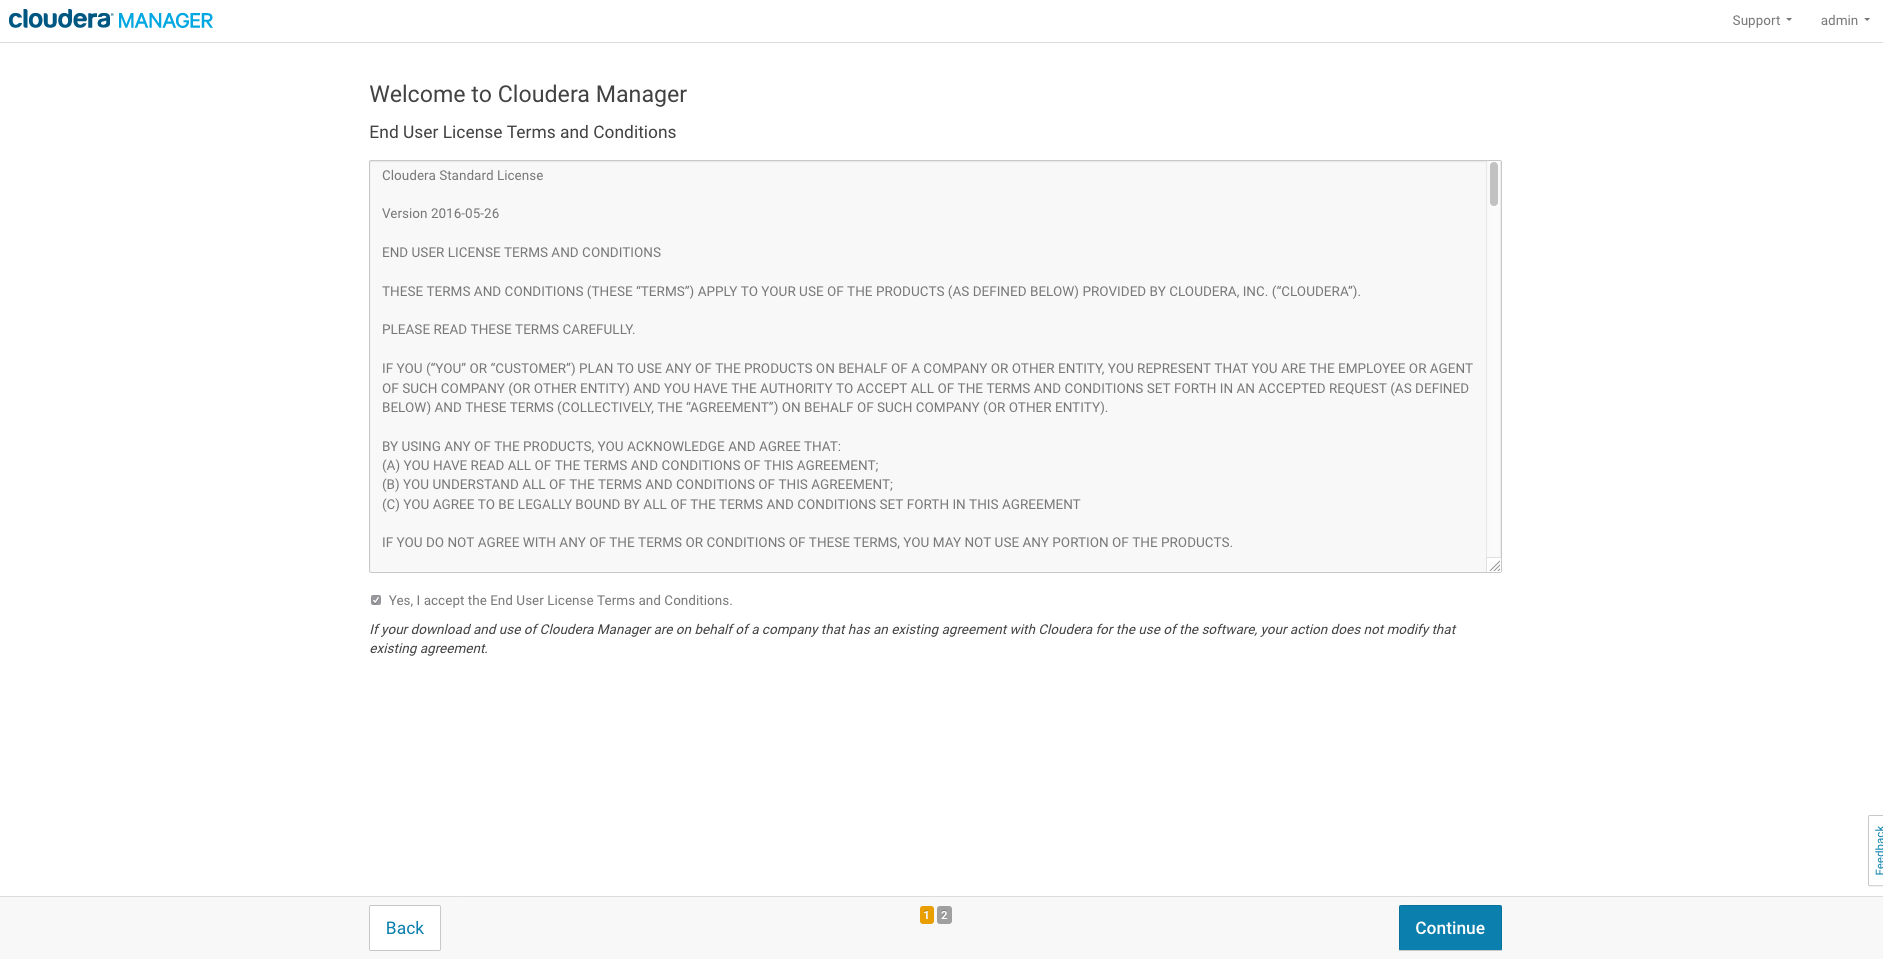
When you connect to C.M for the first time, you need to accept the Cloudera Terms and Conditions.
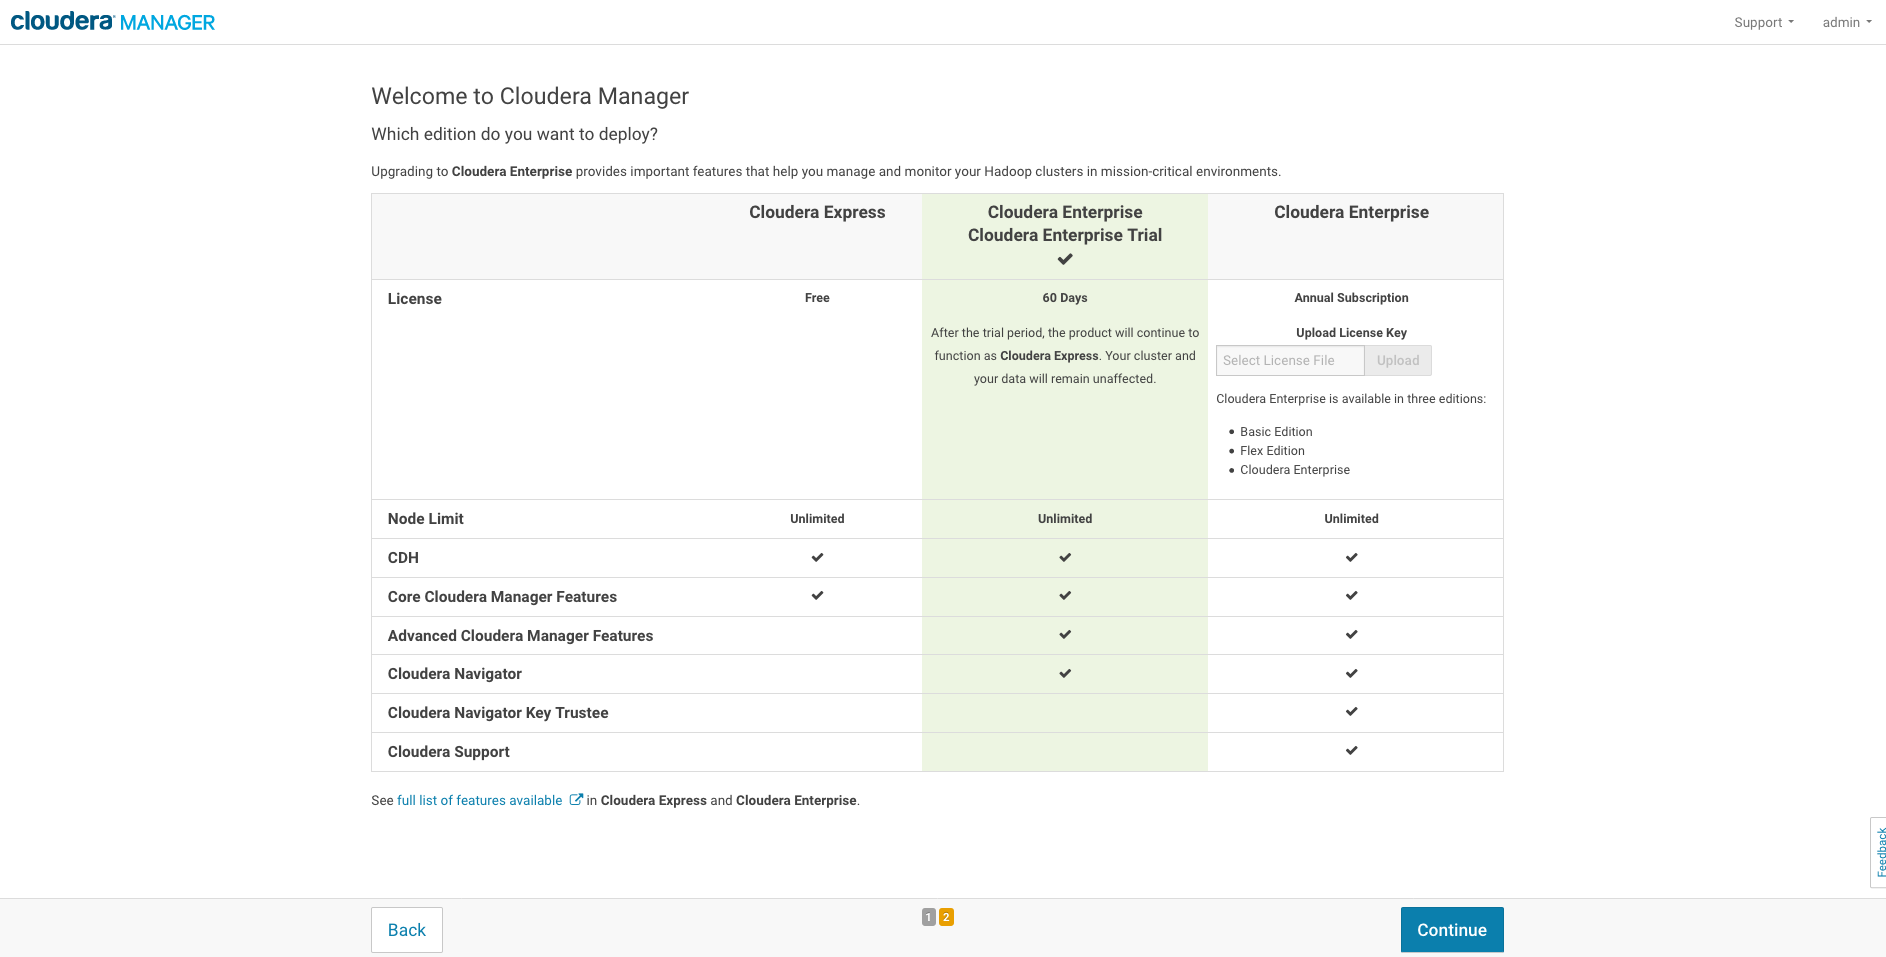
Then choose your desired edition of Cloudera. For this blog post, we will use the Data Hub trial edition (60 days trial).
Hosts discovery
In this step, provide the IP or hostname of all cluster machines you want to use. To complete this steps check if your /etc/hosts file of each cluster hosts is properly defined.
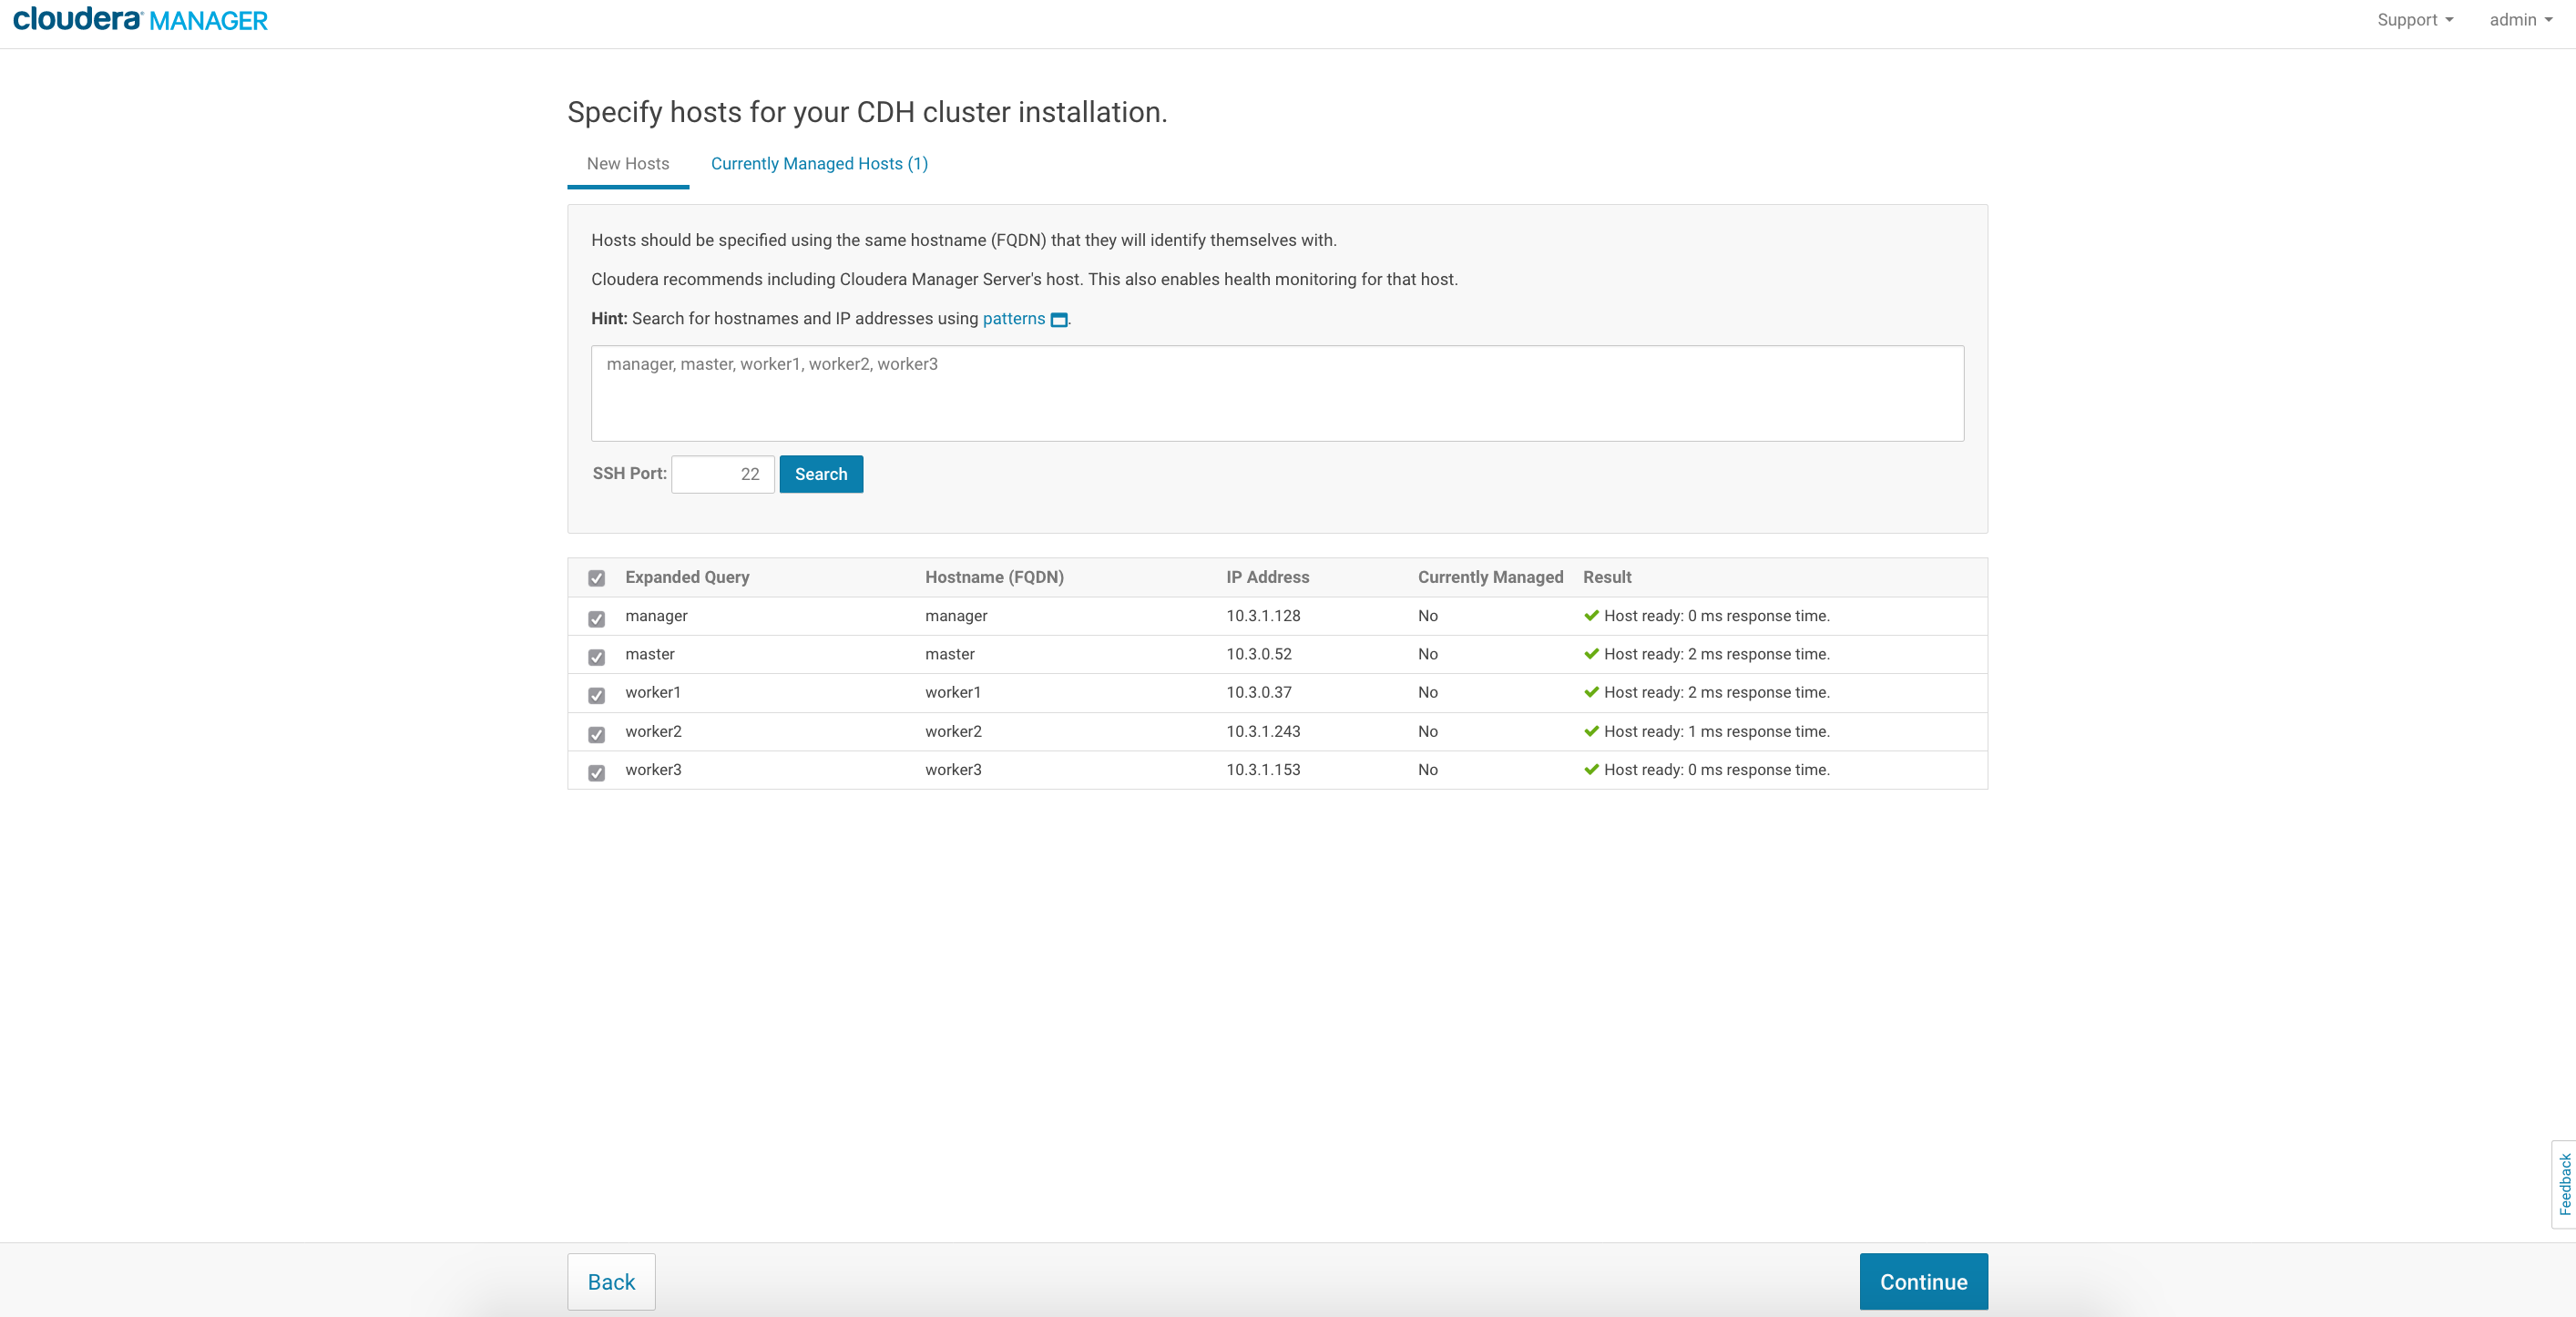
When all hosts are reachable by Cloudera Manager server,
CDH Installation
This step is about the version of CDH to install in your cluster.
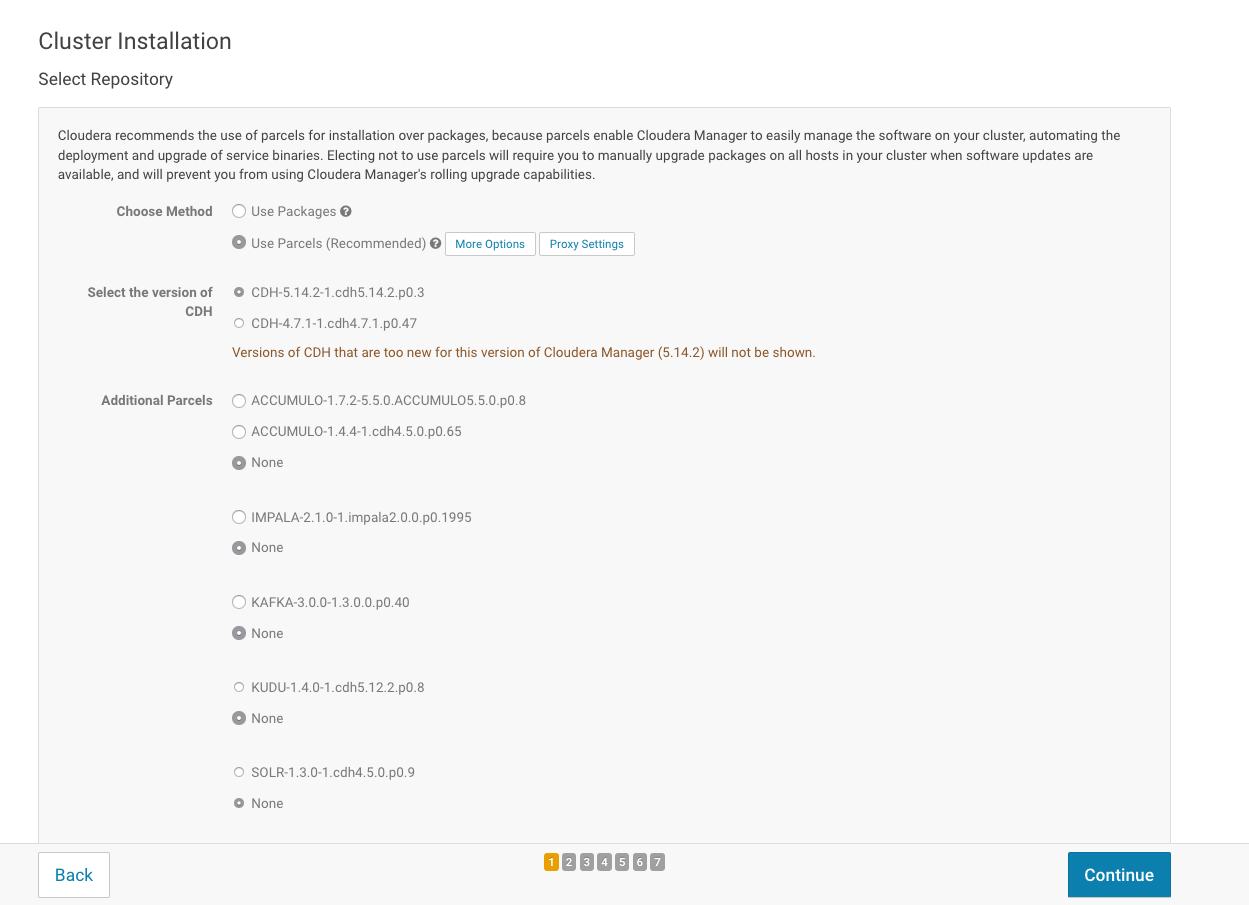
Use parcels installation.
By default, the parcel directory is /opt/cloudera/parcels. A best practice is to have a separate filesystem for /opt (at least 15GB), in order to separate the Cloudera installation to the /root filesystem.
If you don’t have a specific filesystem for /opt, you will have some performance impact on your server.
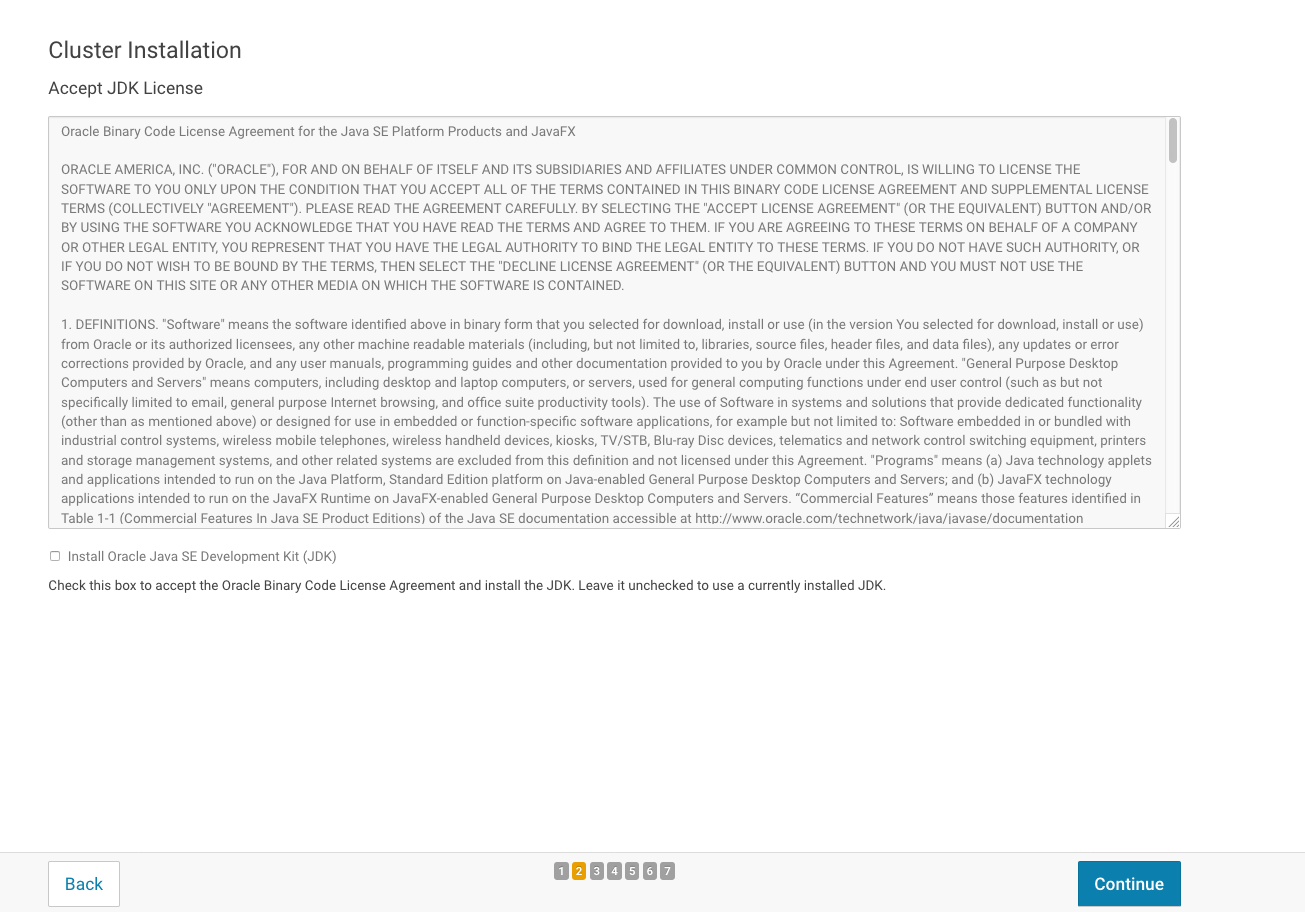
Java automatic installation
Since we install Java JDK automatically and properly with Ansible, we don’t need to check the box for java installation. Please skip this step.
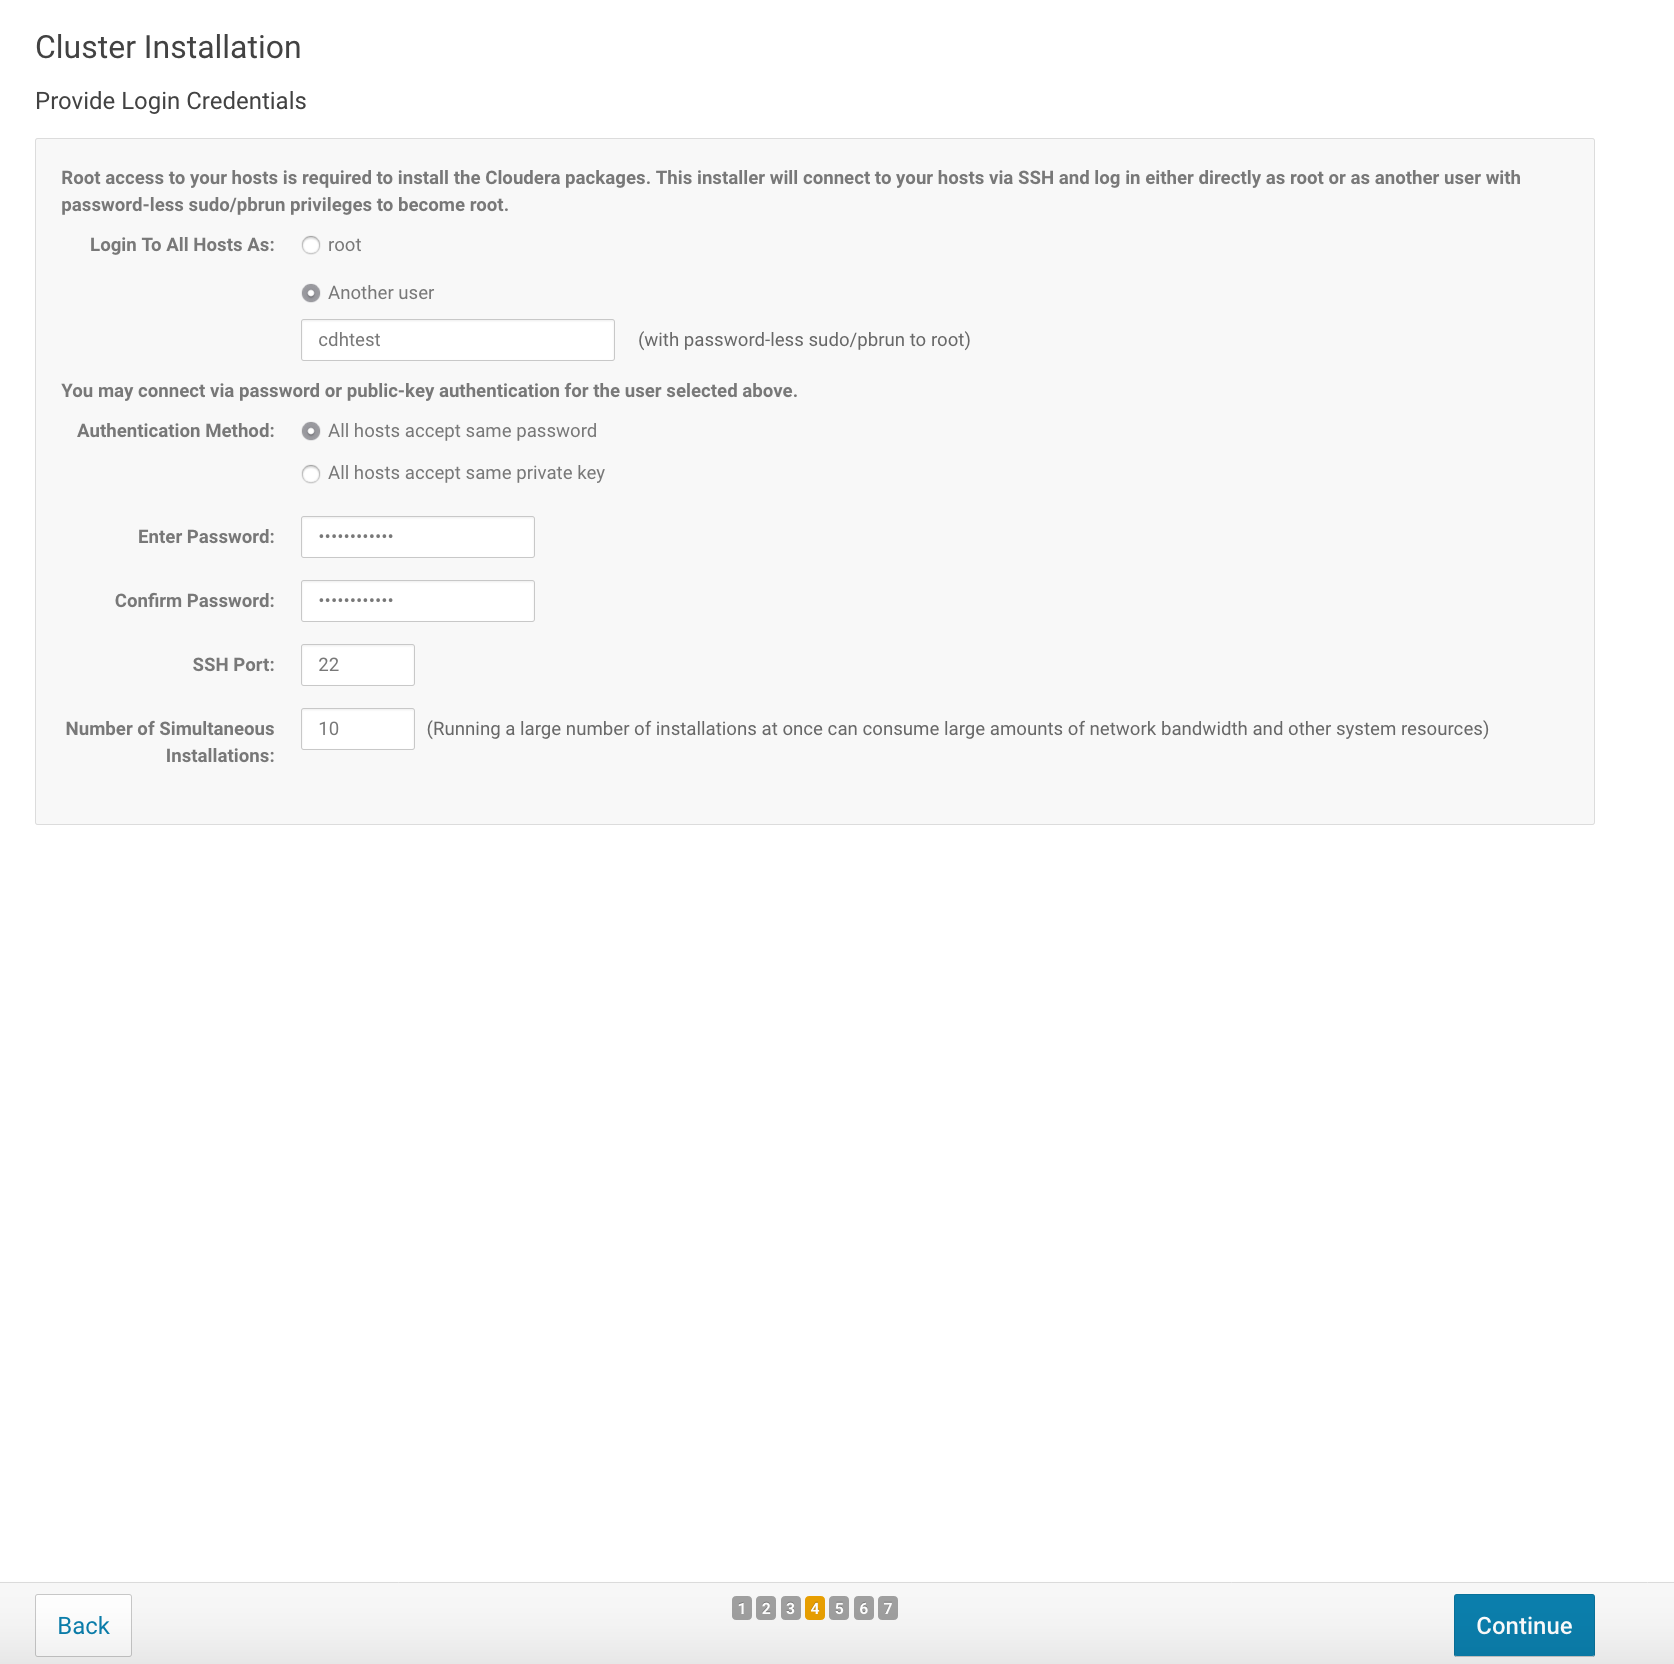
Account details
In this step, we will provide the user account information to Cloudera Manager in order to install all components needed in all cluster hosts.
It’s not recommended to give the root access to Cloudera Manager but a dedicated user with sudo access. For our example we will use the user created during the installation part: dbi, with it associated password.
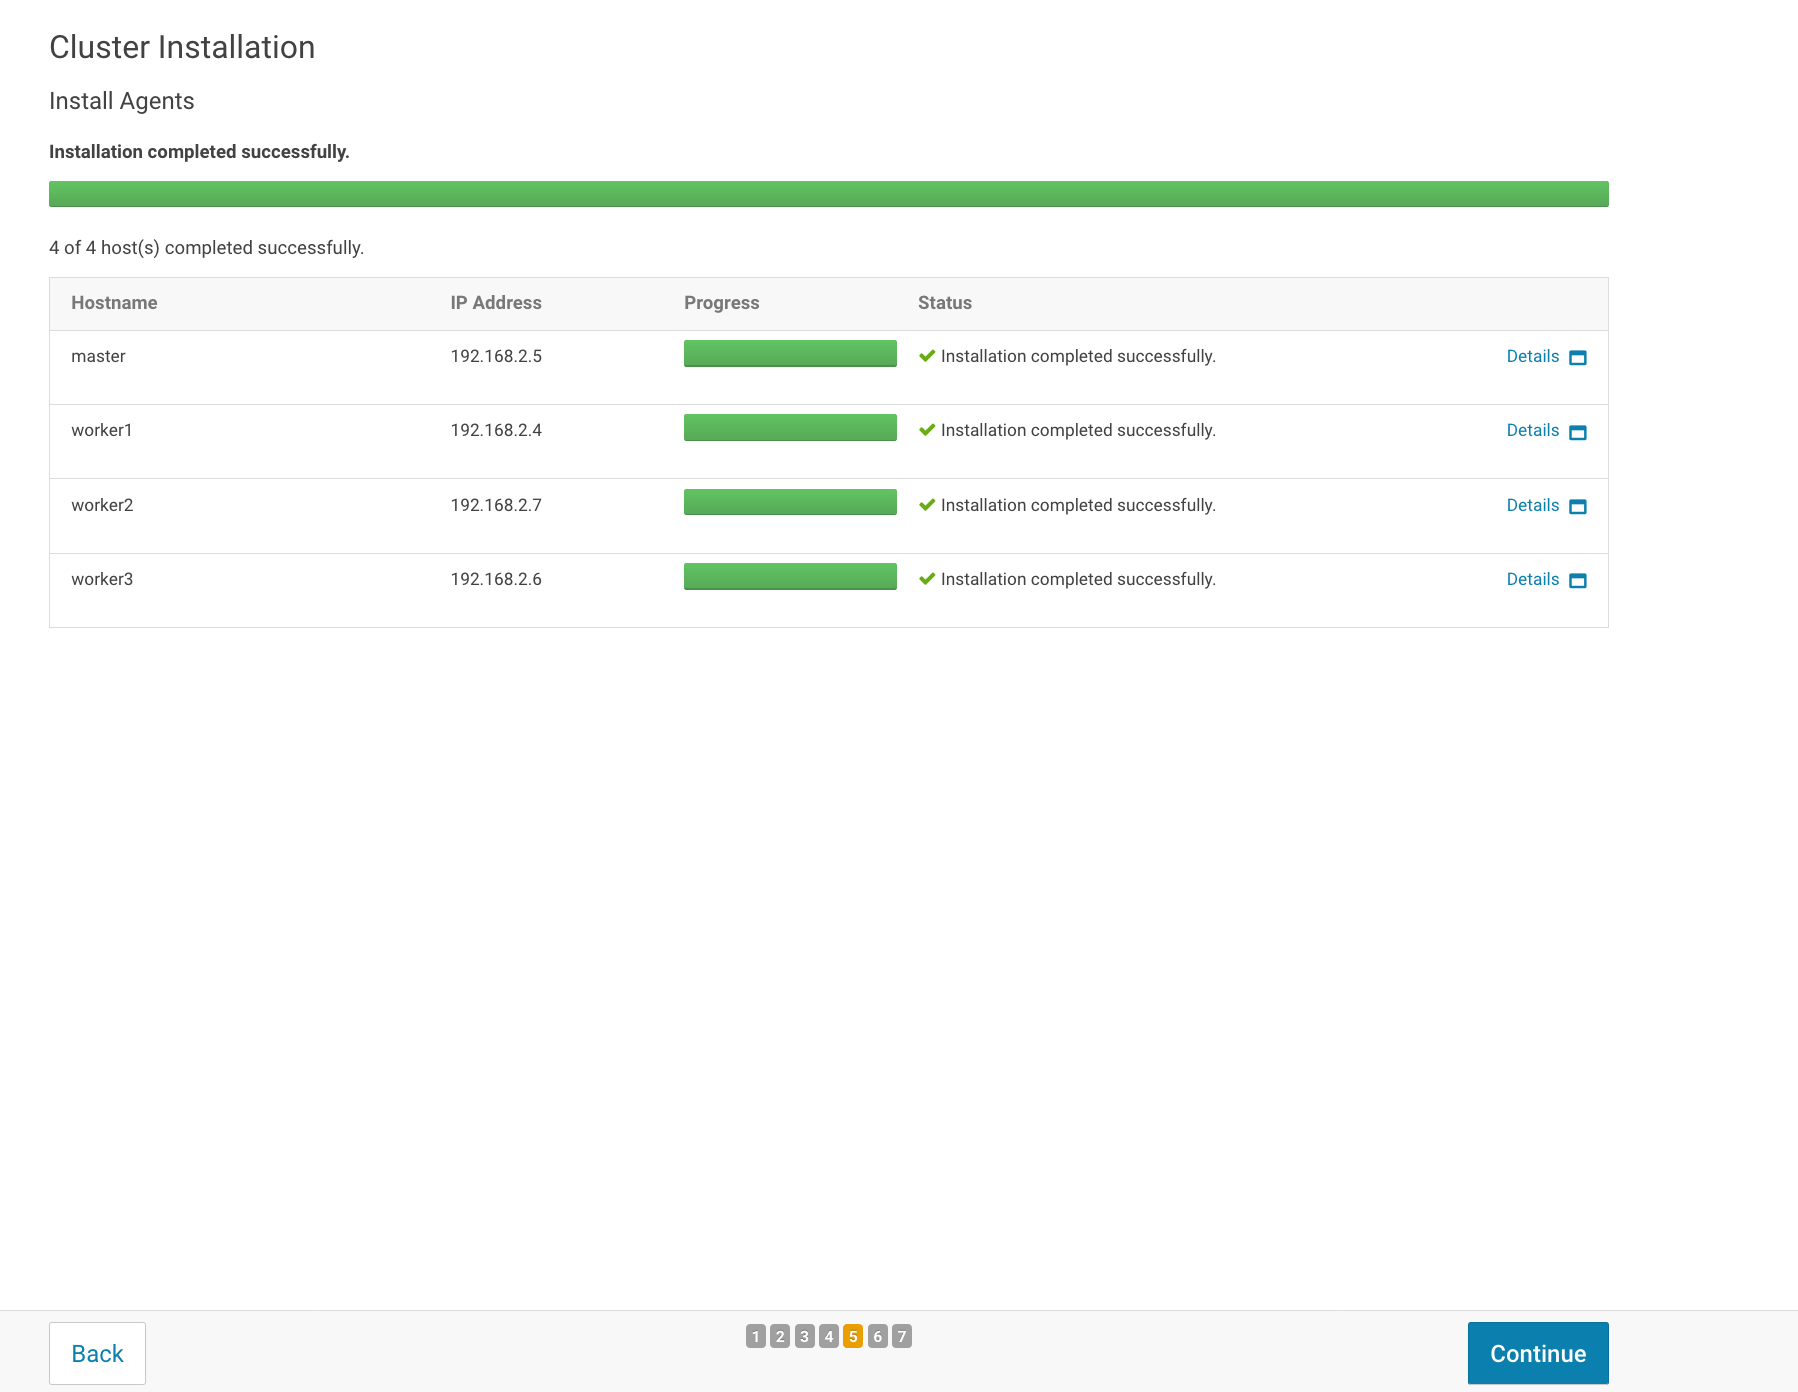
Cloudera Installation – Install Agents
In this steps, Cloudera Manager will install and configure cloudera-scm-agent in all cluster hosts.
Cloudera Installation – Parcels installation
After cloudera-scm-agent installation and configuration, Cloudera Manager will install the CDH Parcel and additional parcels on all cluster hosts.

Cloudera Installation – Hosts Inspector
In this step, the host’s inspector will check all cluster hosts requirement and notify you if you have any problem.
Note that, you can go through all validation section to understand all pre-requisites for Cloudera installation. You will get to know the complete checklists items Cloudera use to validate your host’s cluster.
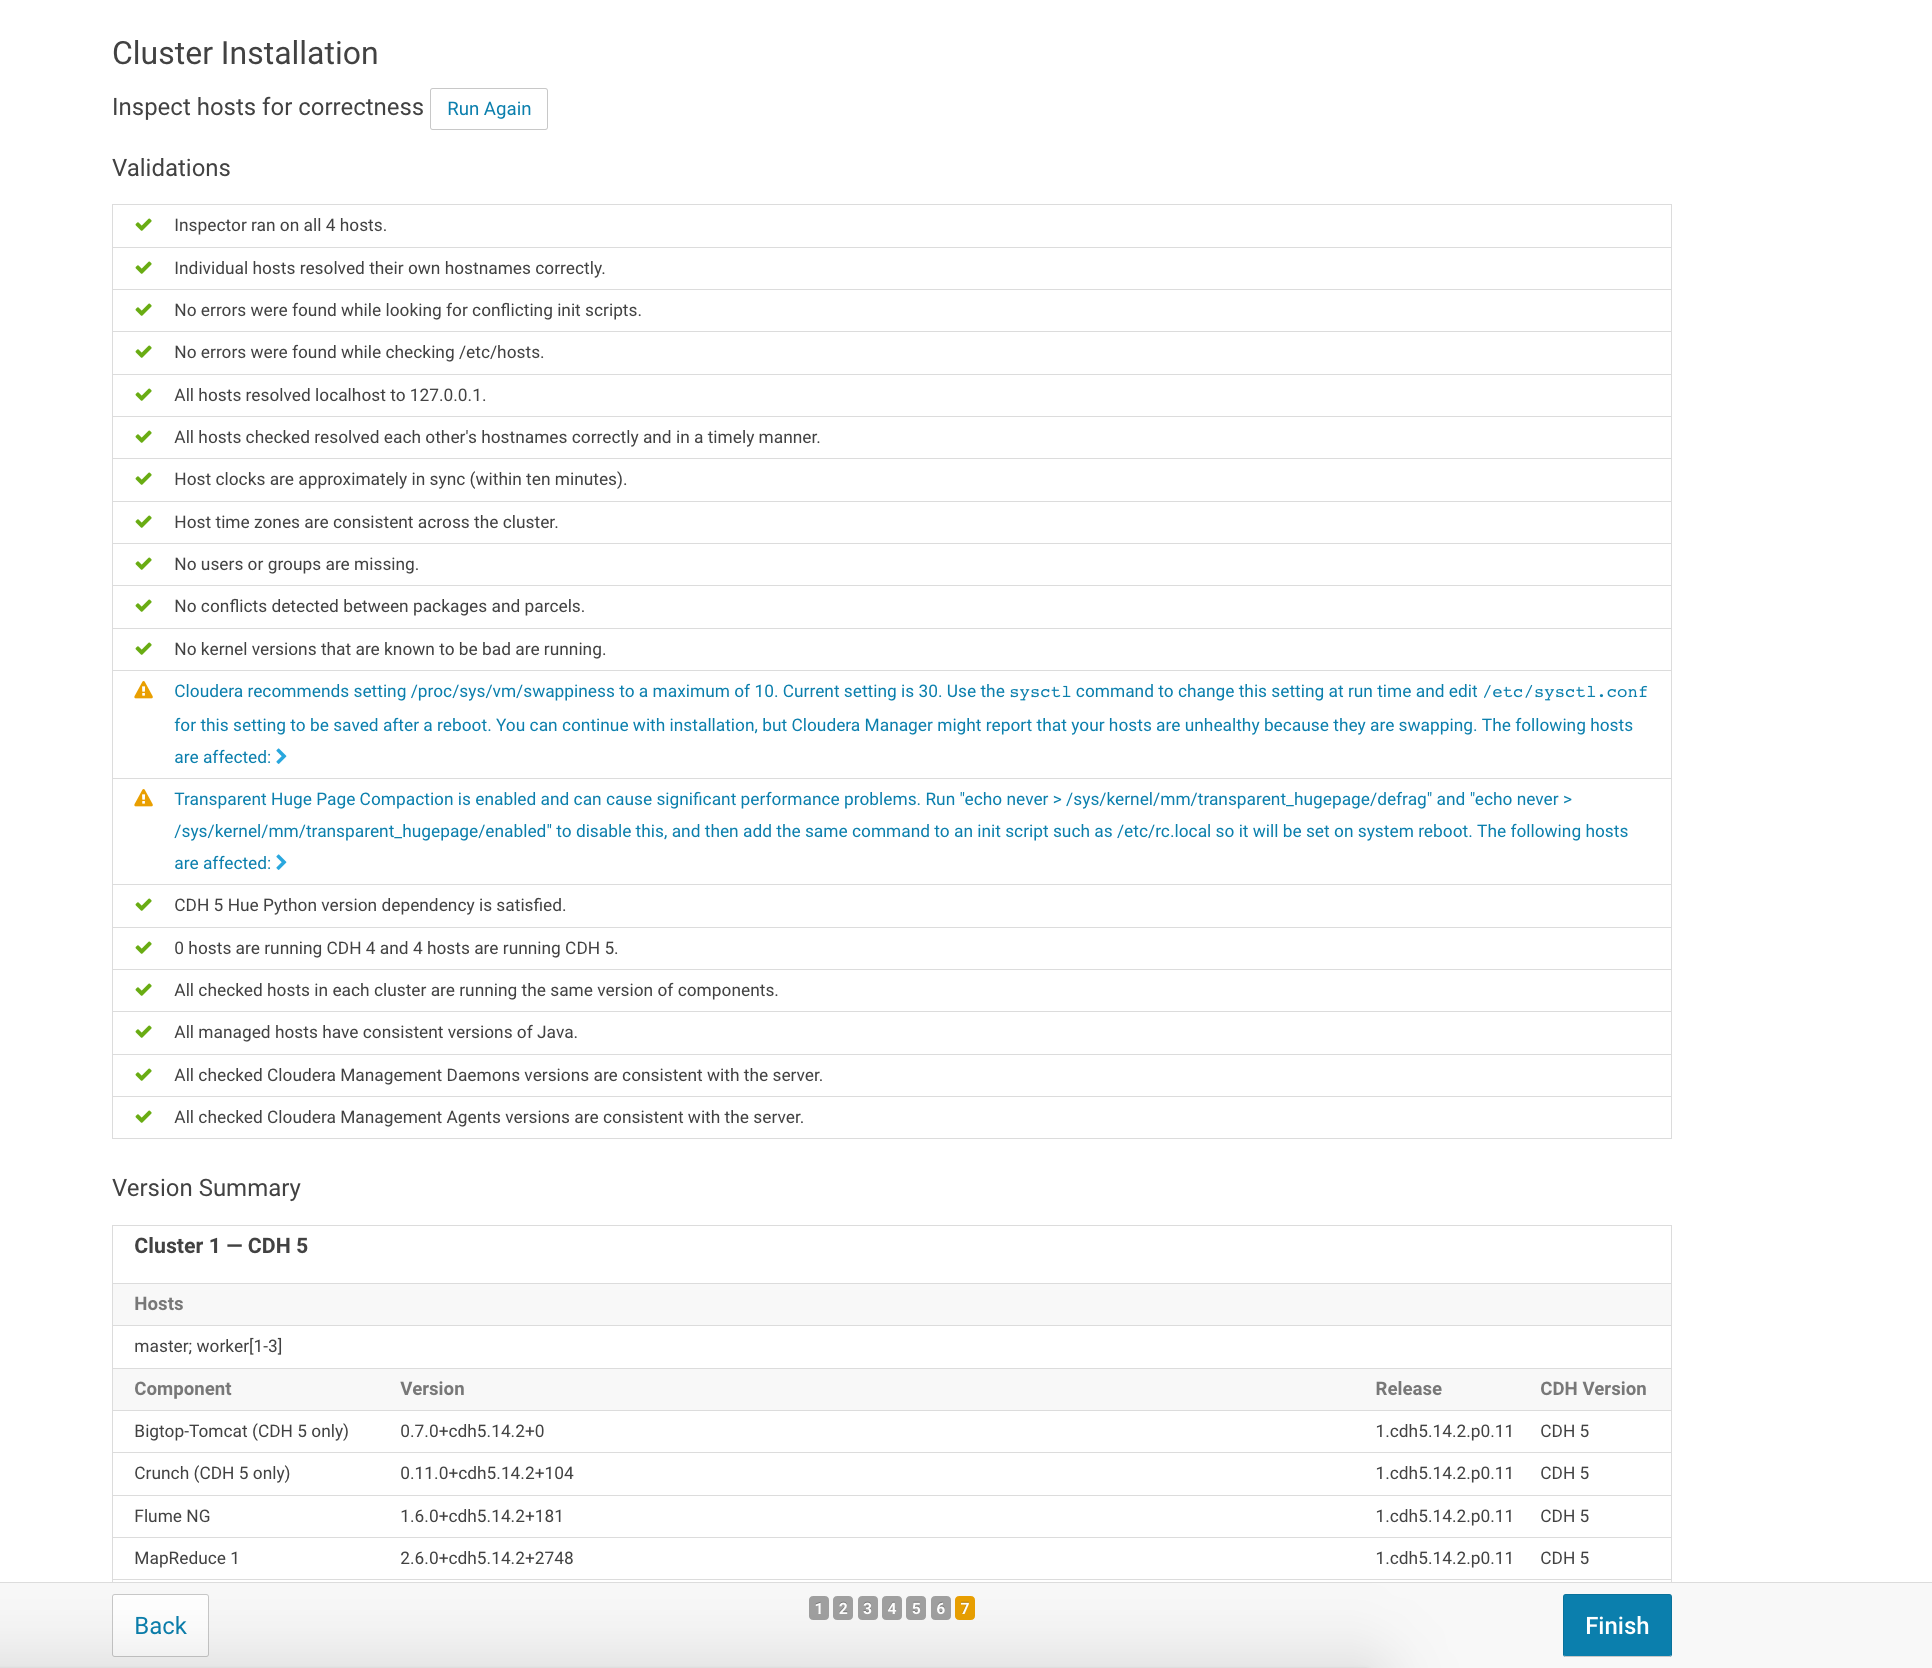
You can ignore the warning for now and resolve them after the installation. Click on Finish button and go to the next step.
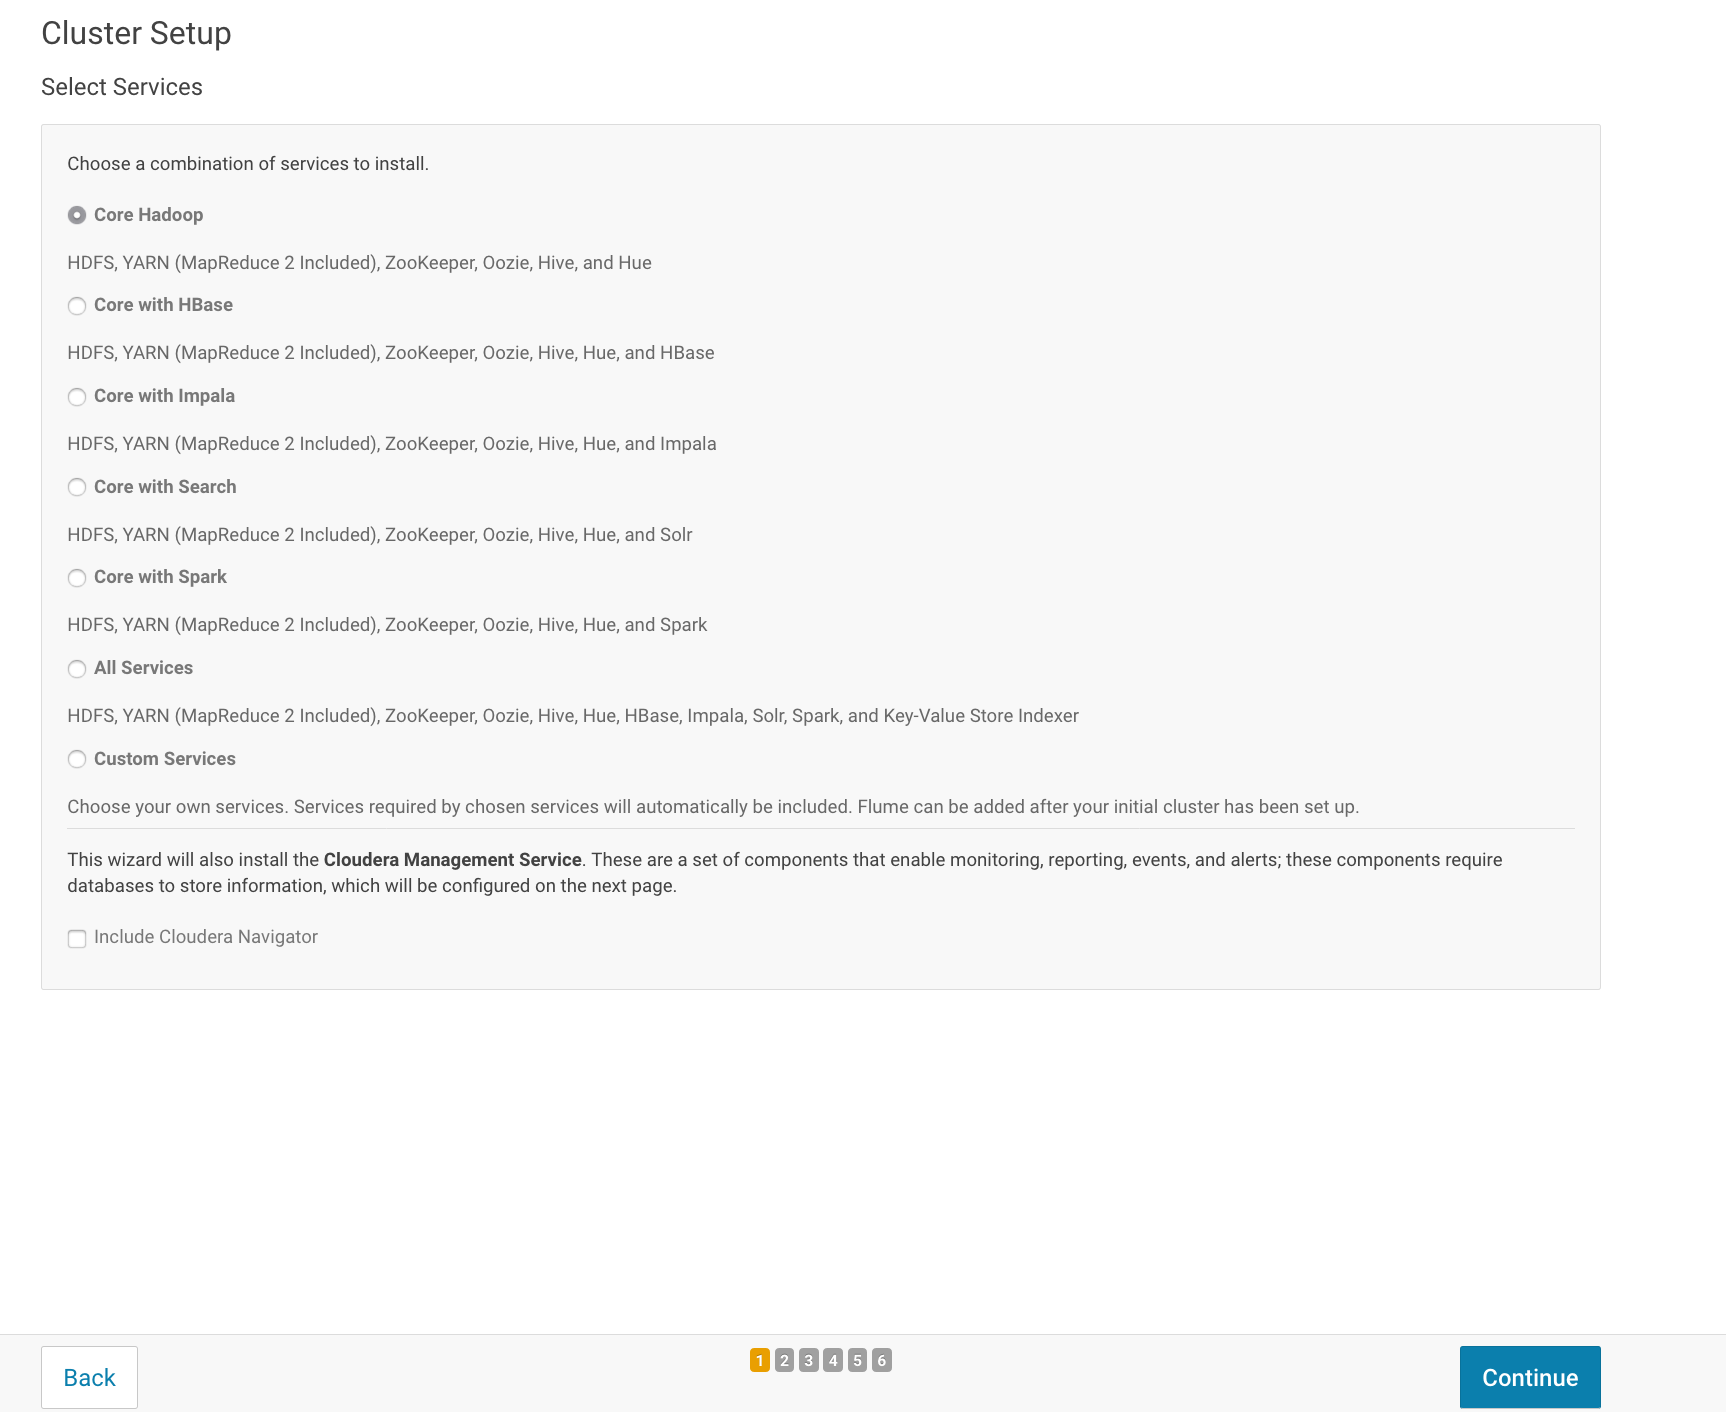
Cluster Setup – Select Services
In this step, choose your services to install. For our sandbox environment we will only install Core Hadoop first.
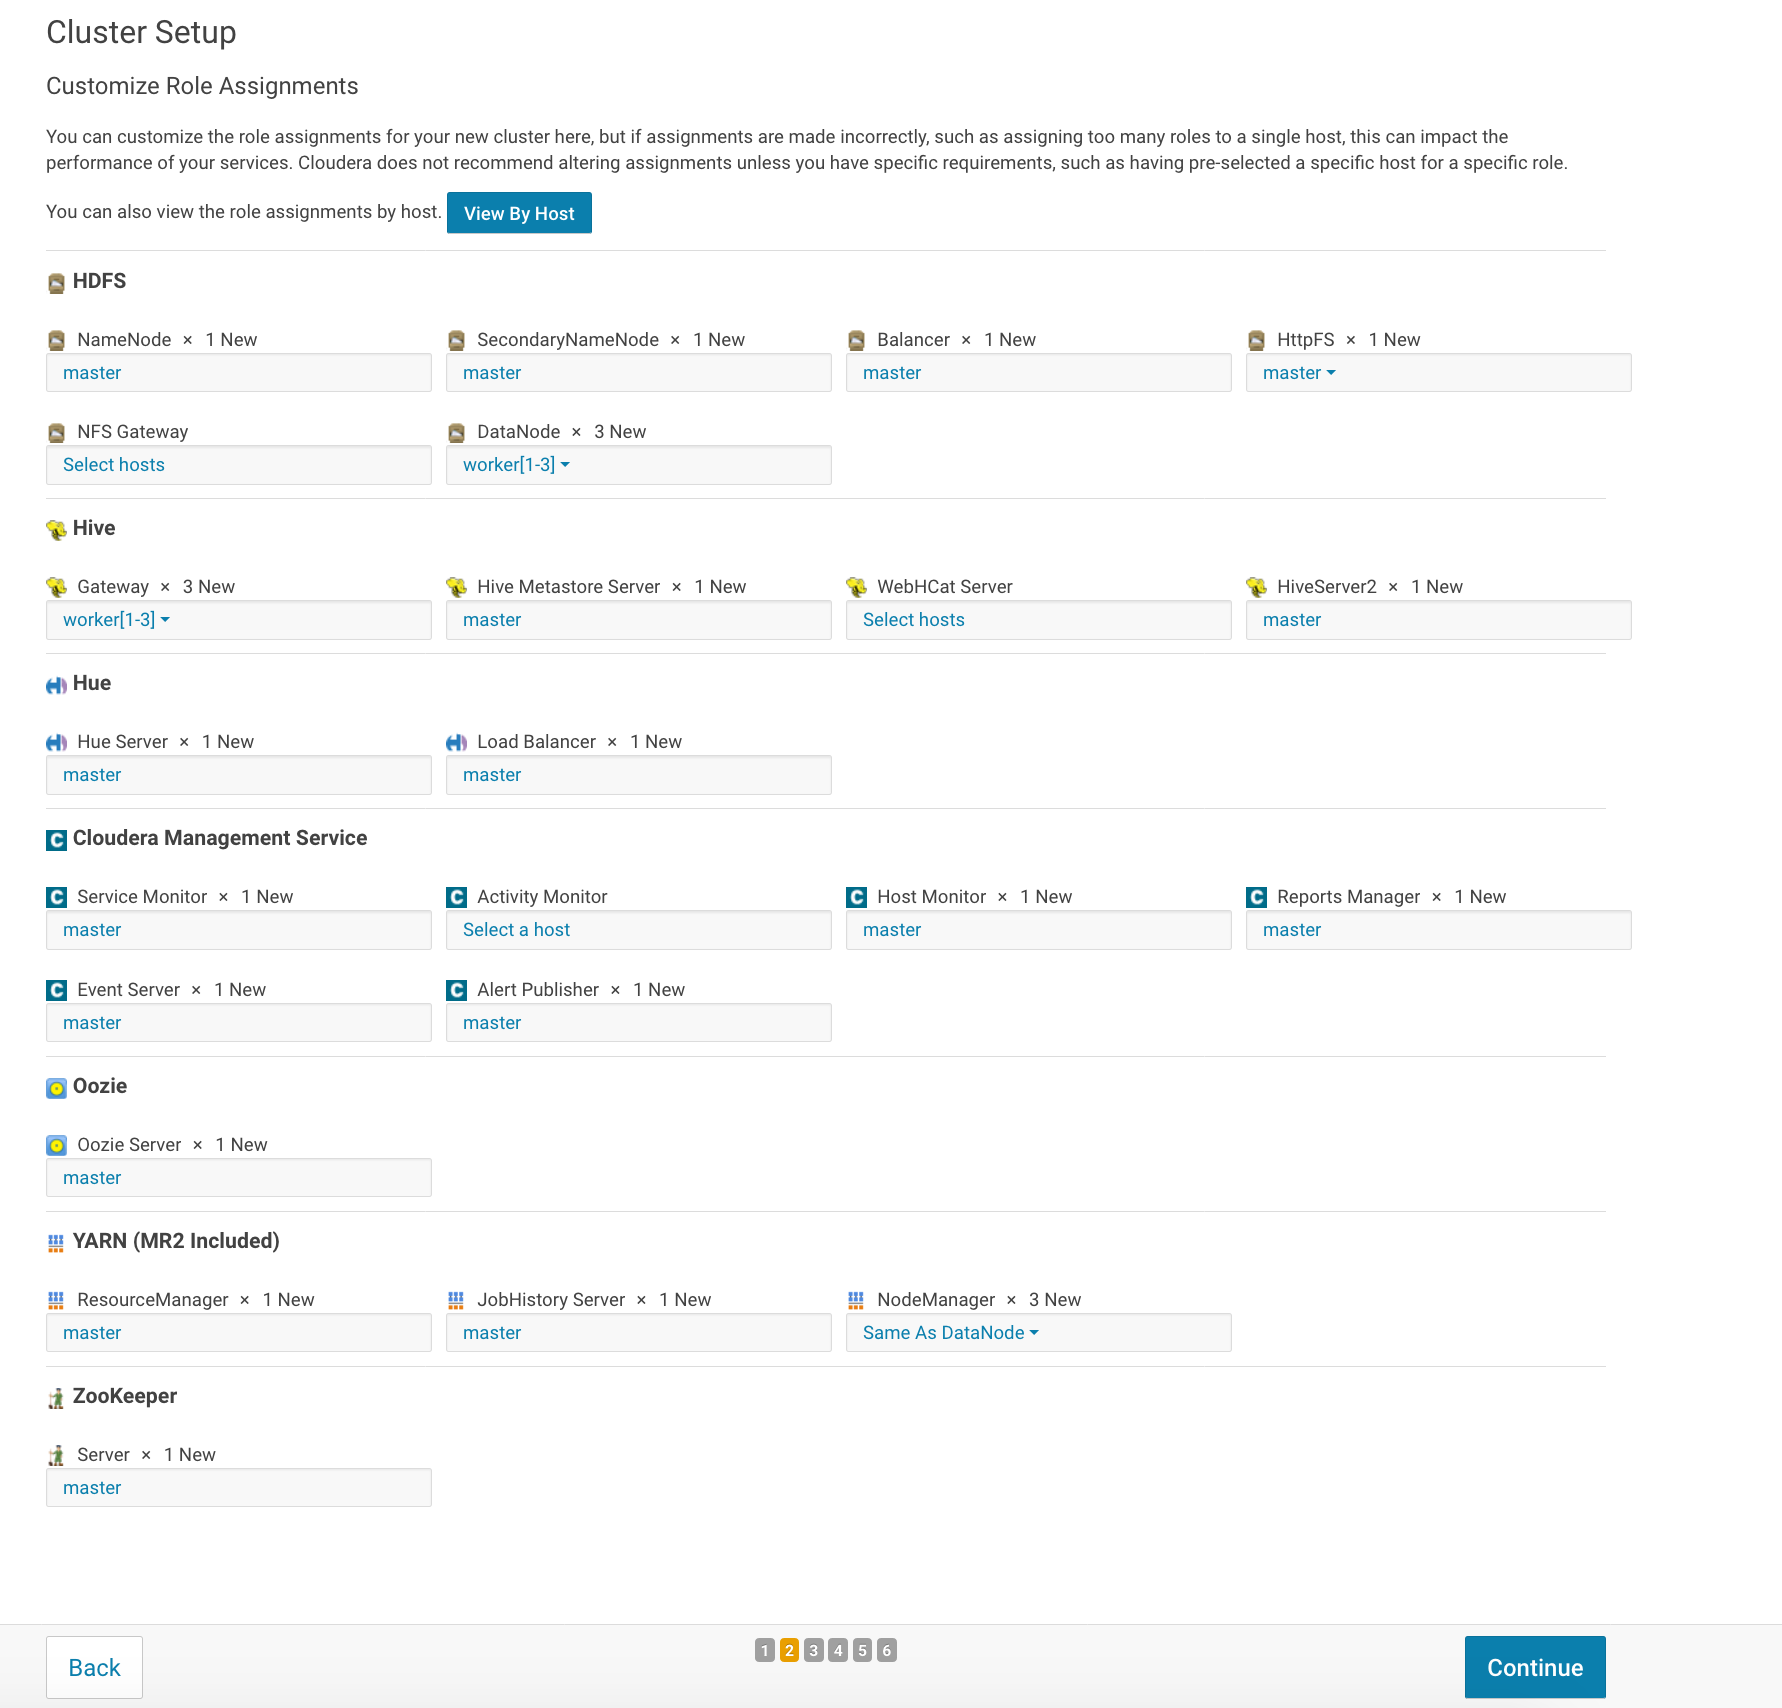
Cluster Setup – Customize Role Assignments
Assign roles by hosts and click on continue.
Cluster Setup – Setup databases
In this step, setup the remote databases for hive metastore, hue, Cloudera reports manager and oozie server.
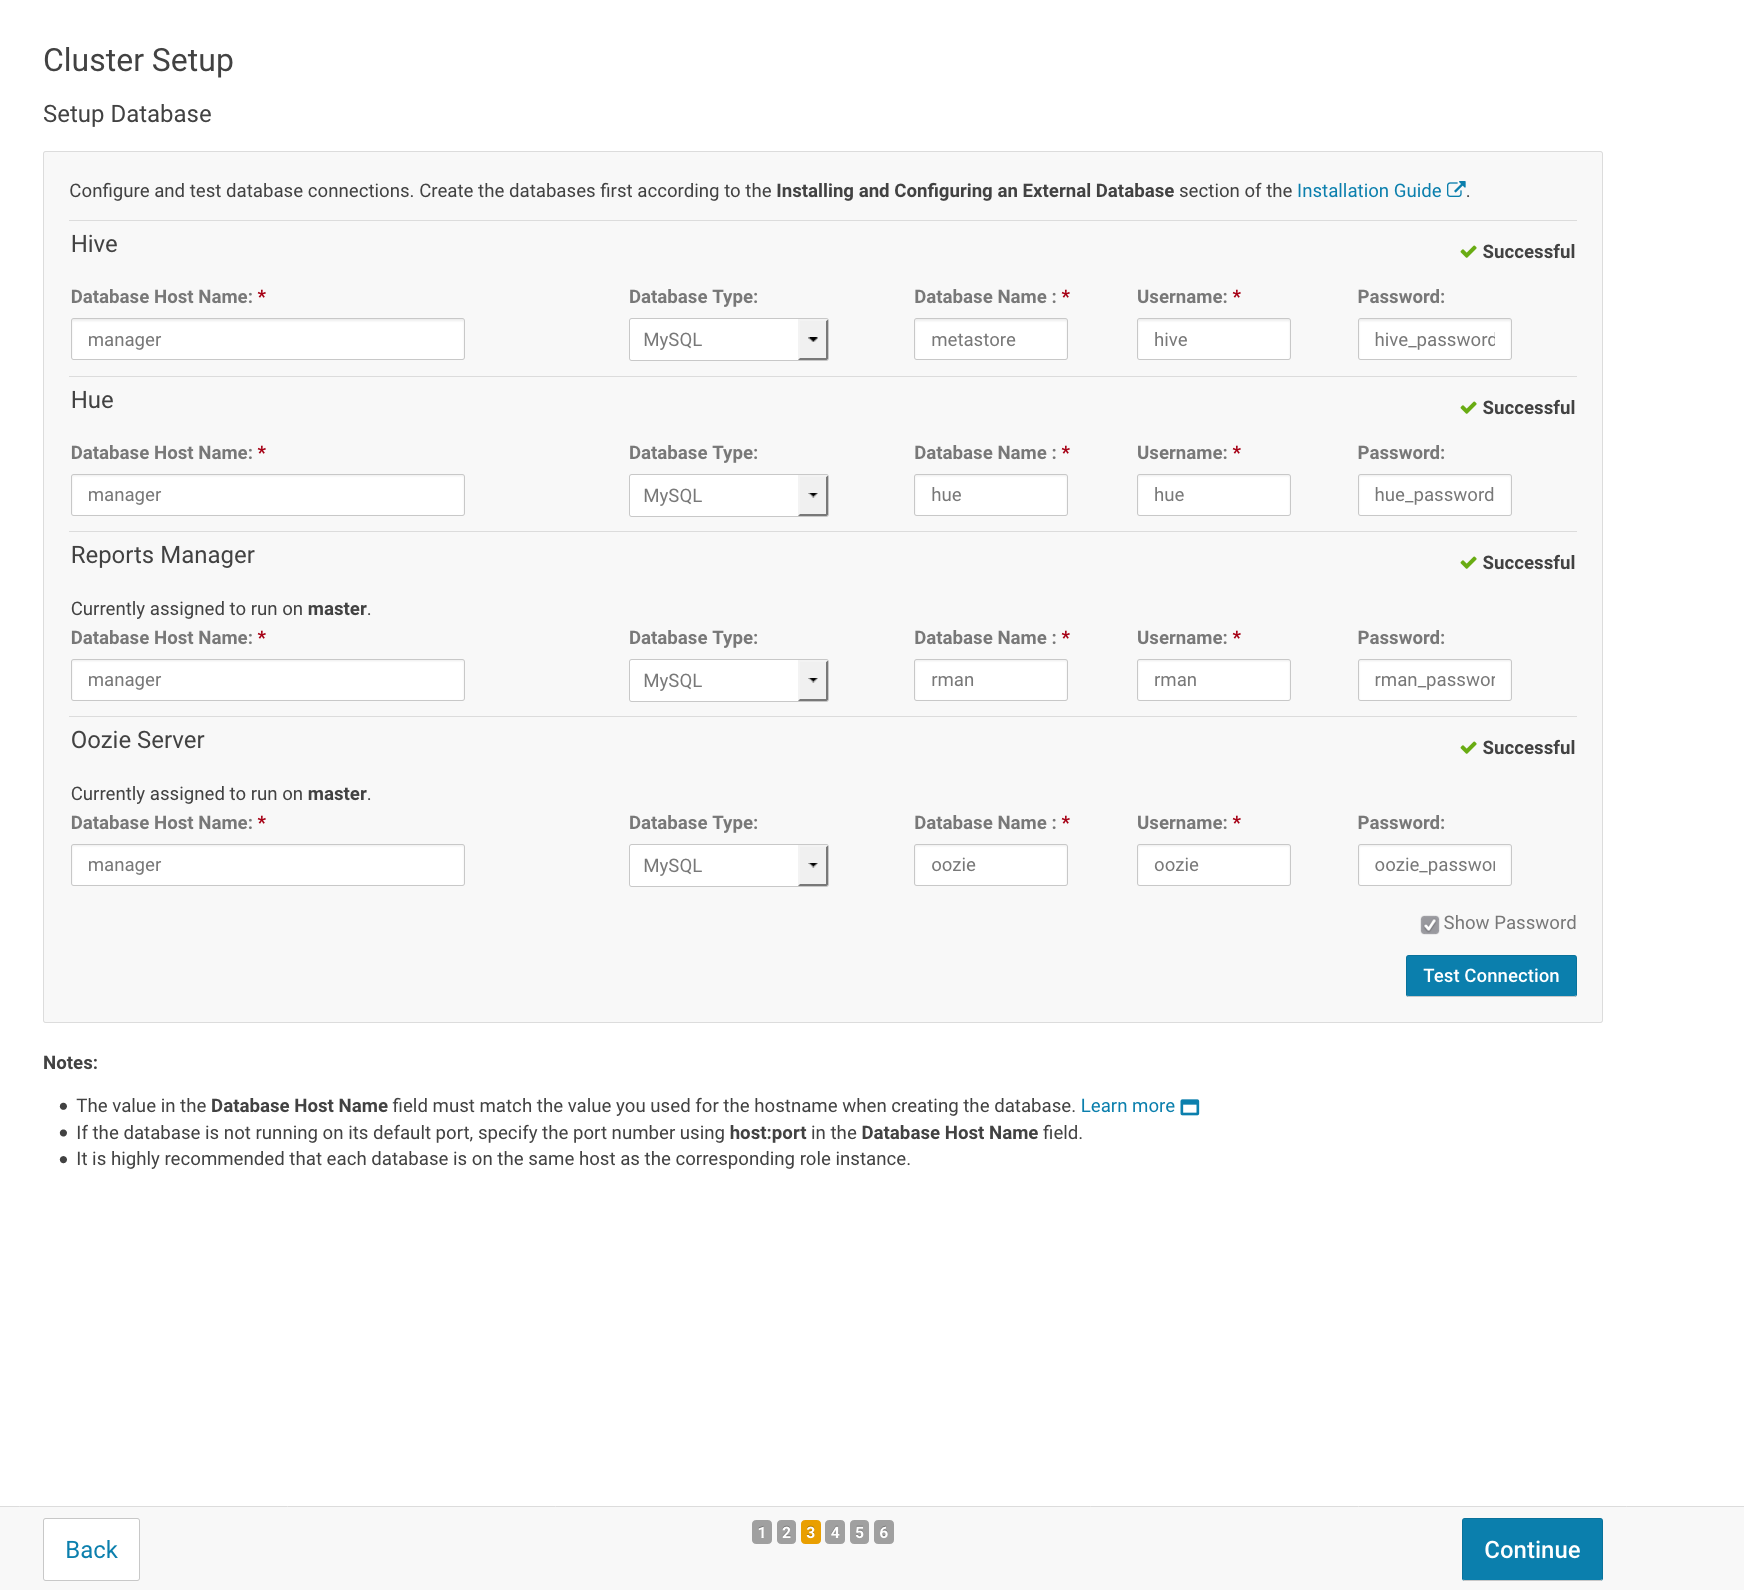
Test the connection and click on Continue .
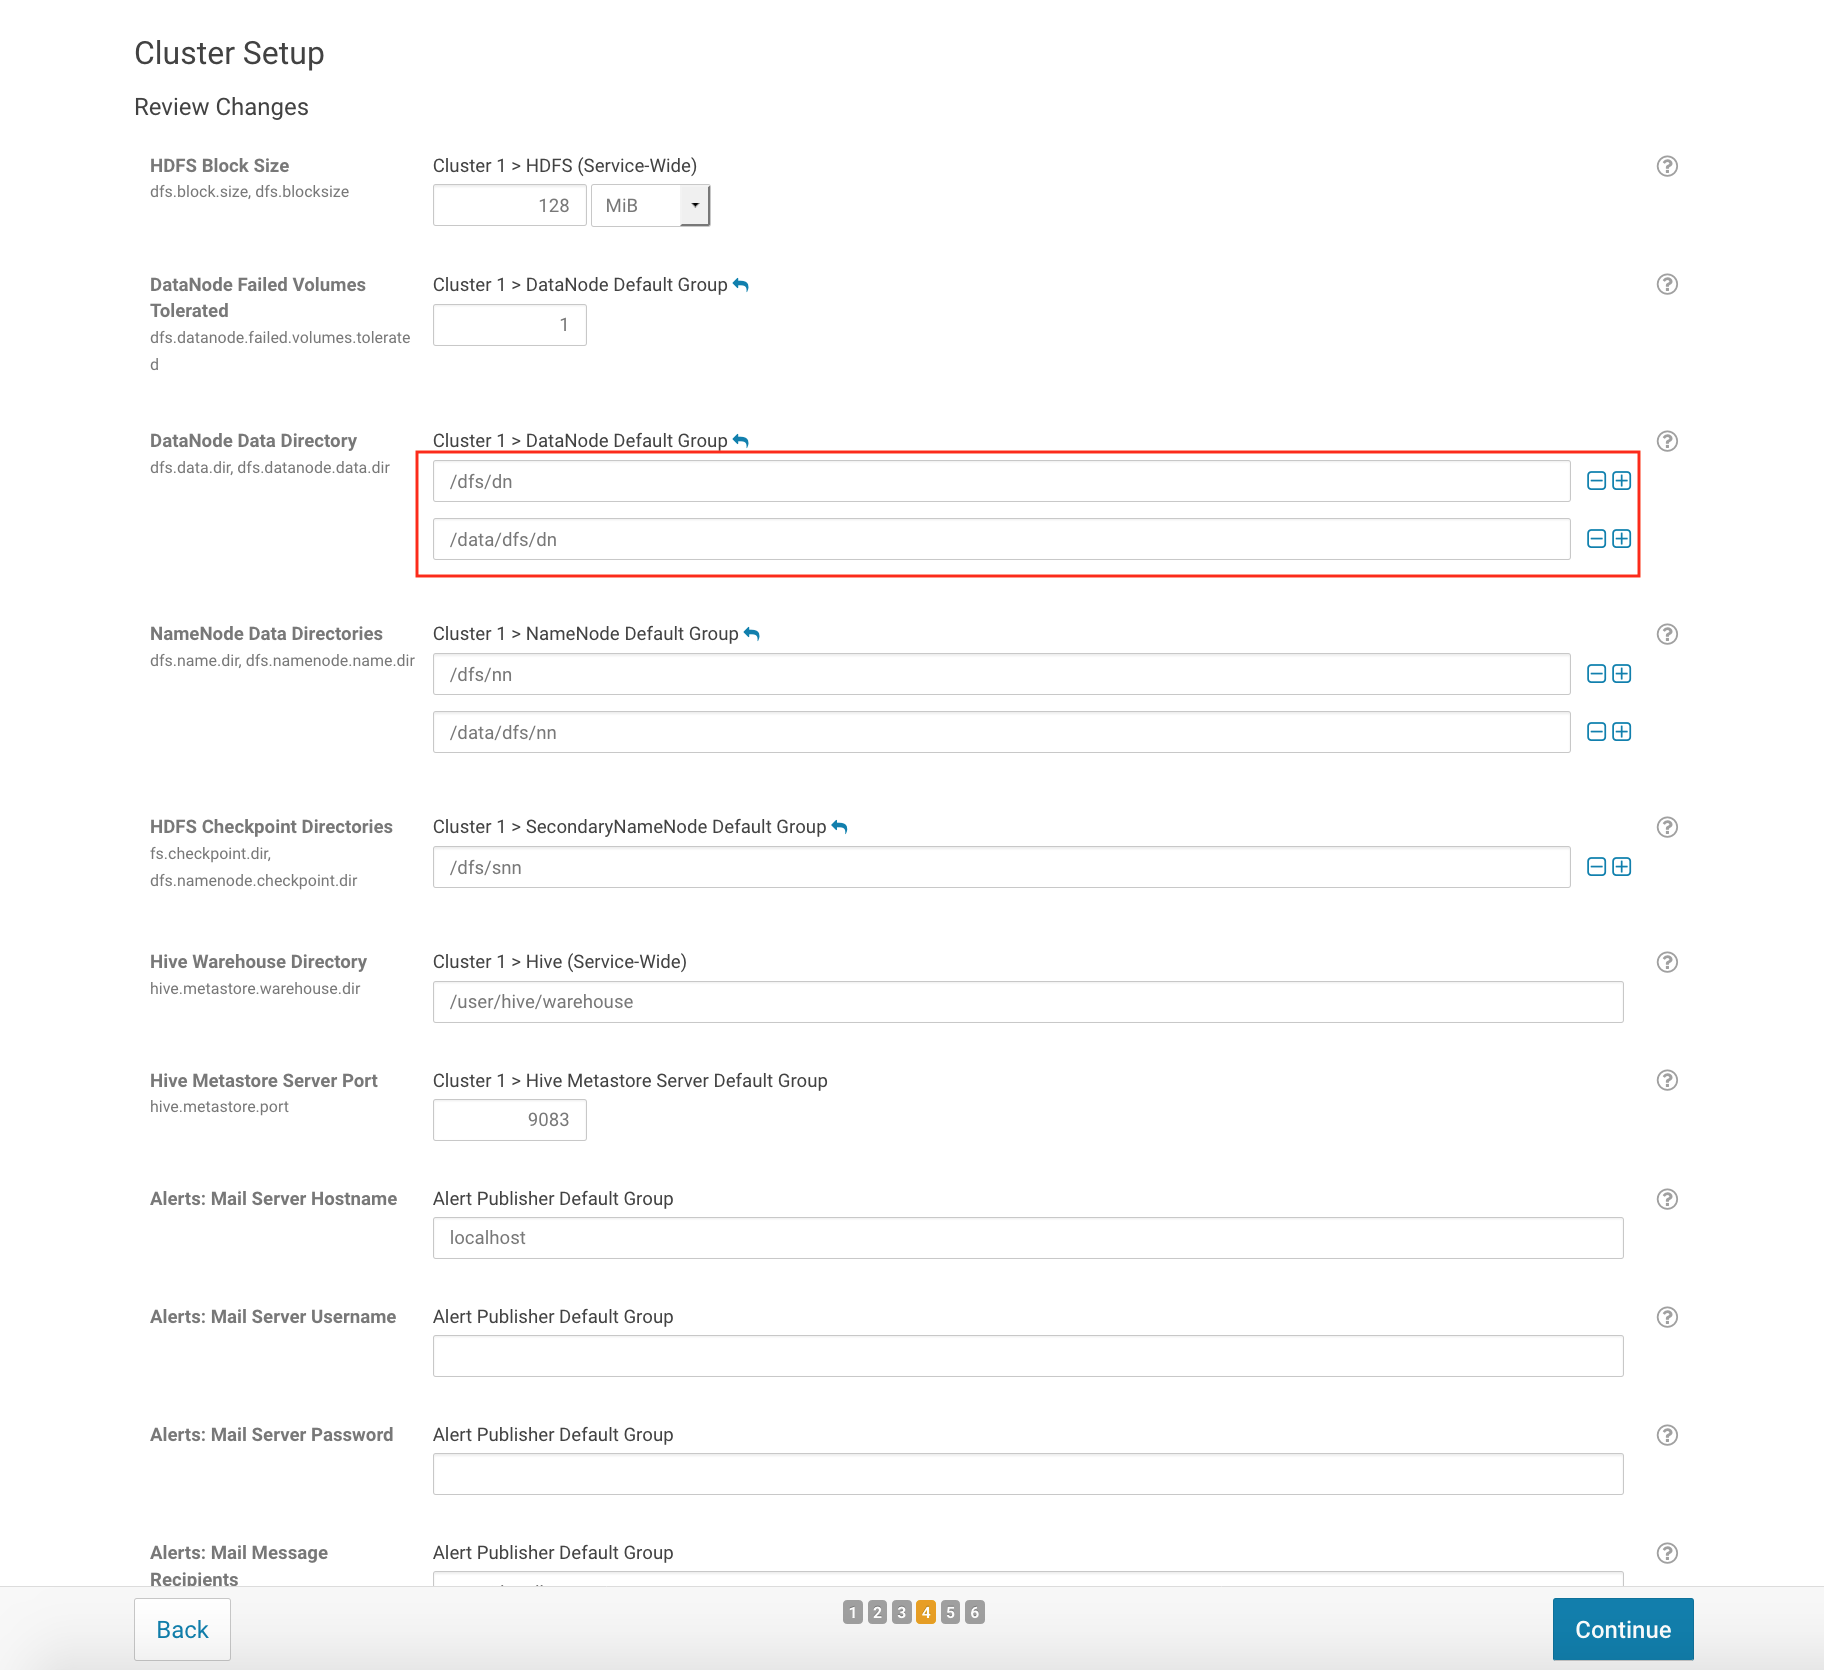
Cluster Setup – Review changes
Ensure that you use the /data directory previously created with Terraform and Ansible.
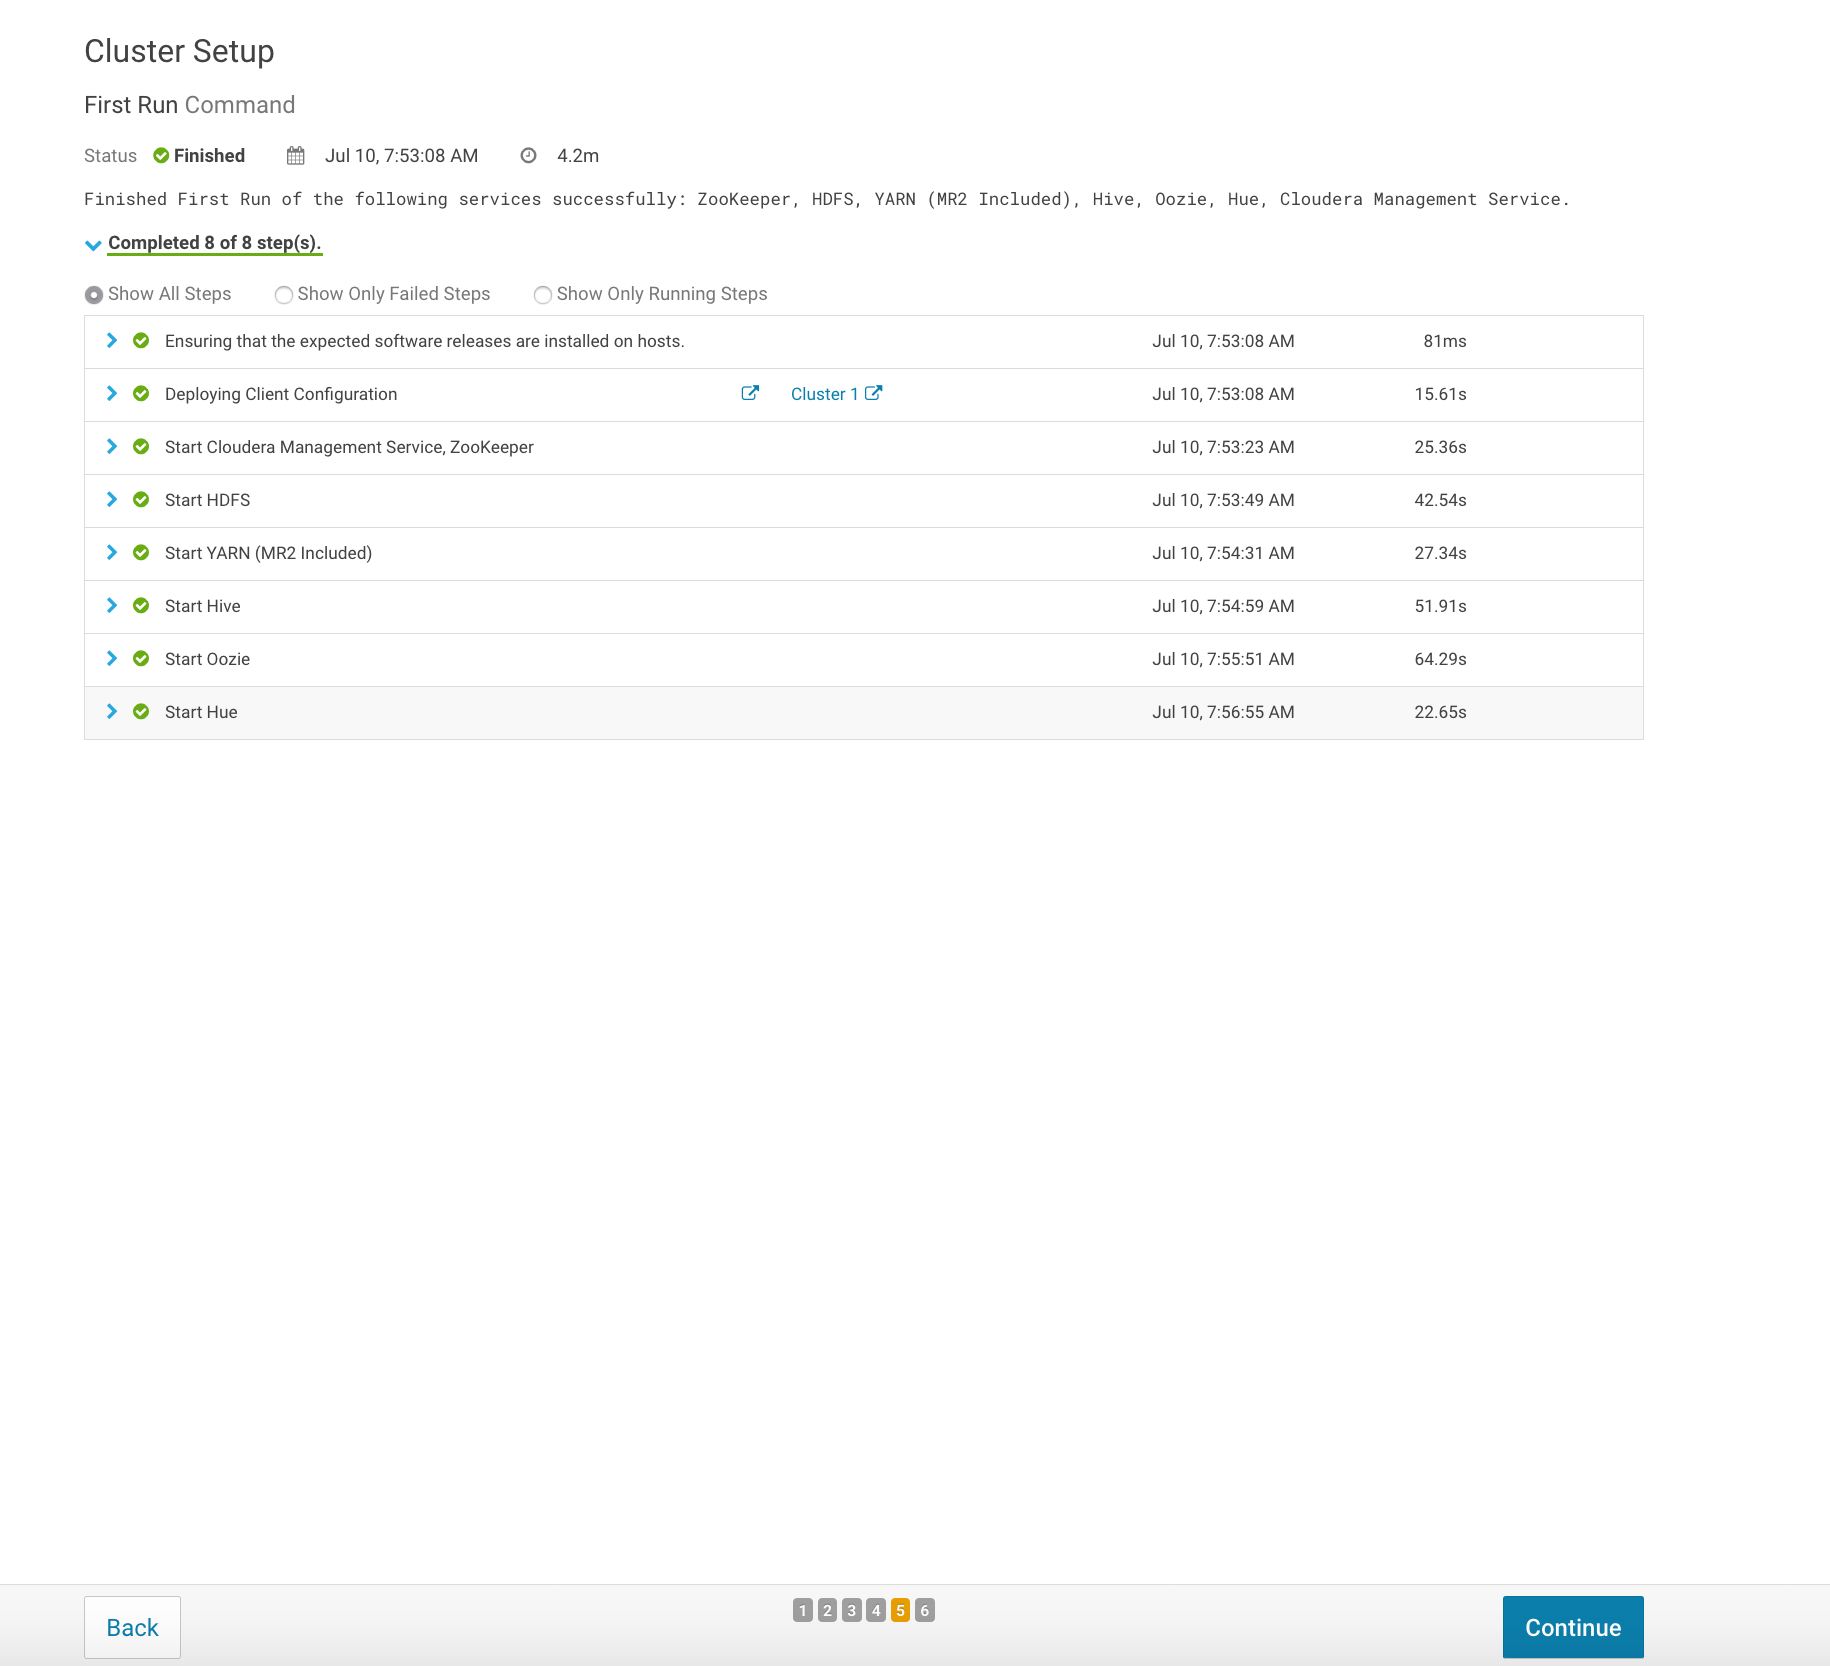
Cluster Setup – Start services
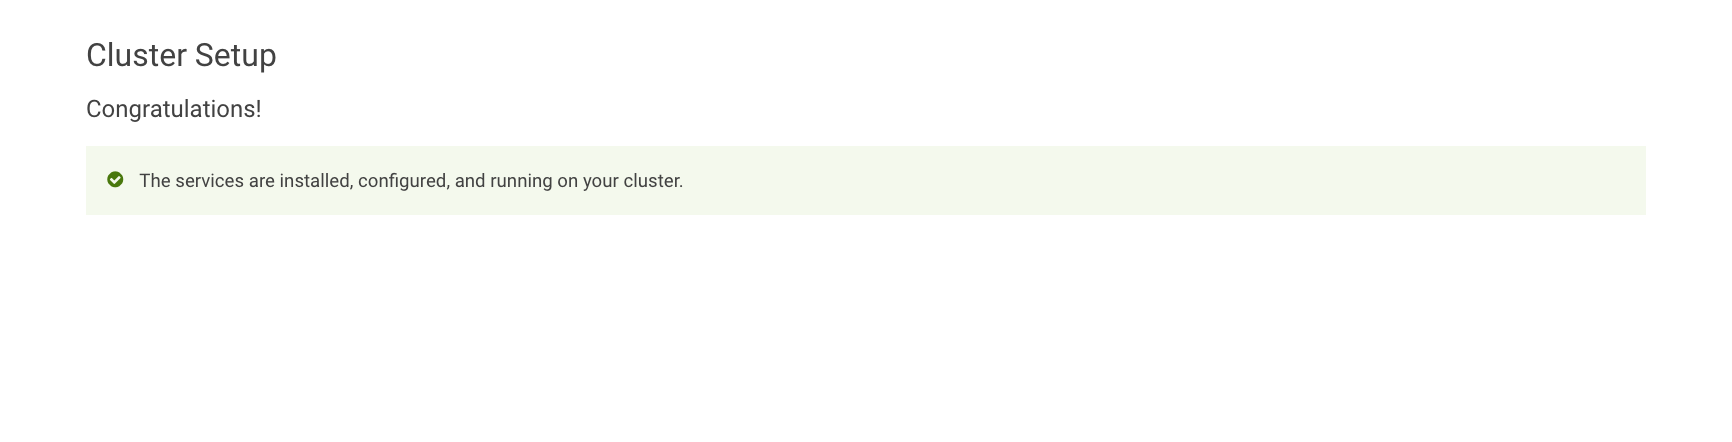
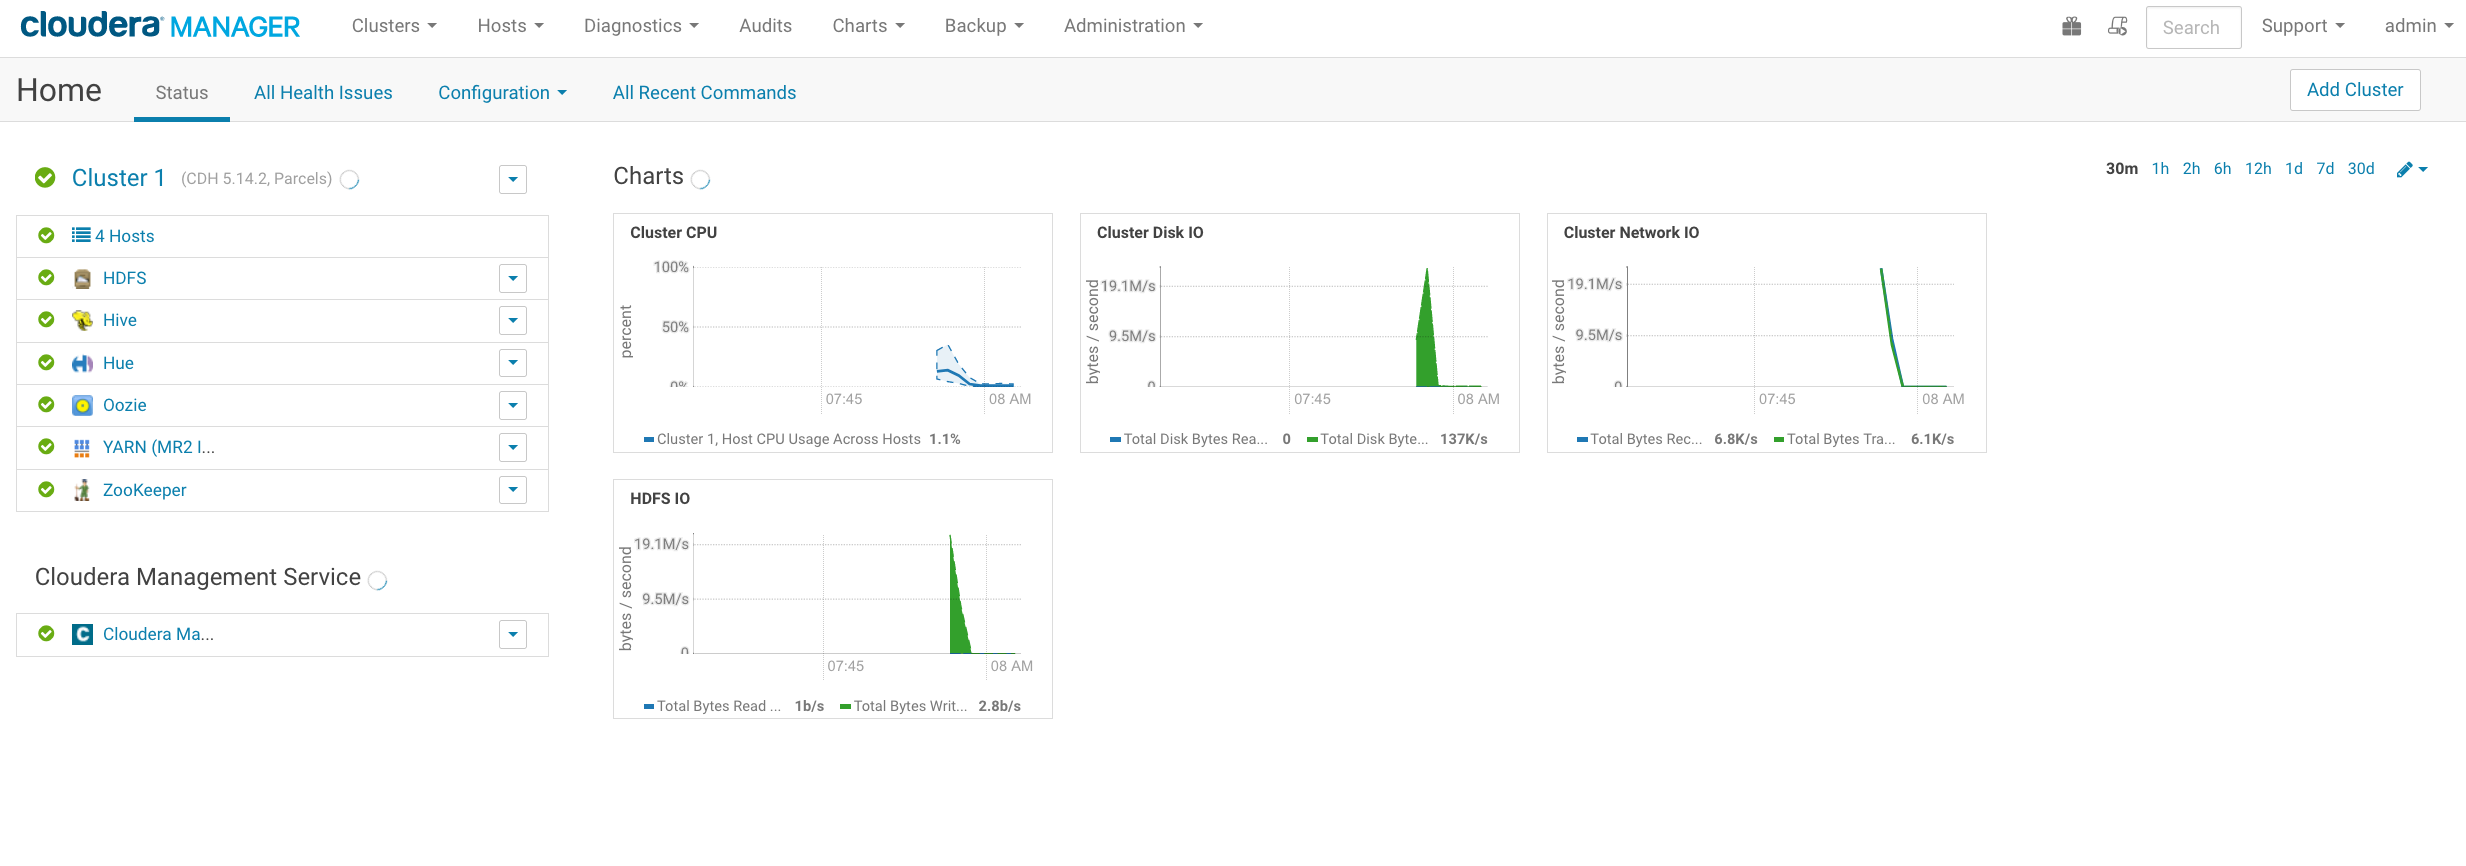
Congratulations your Cloudera cluster is now installed and configured!
![Thumbnail [90x90]](https://www.dbi-services.com/blog/wp-content/uploads/2024/03/AHI_web.jpg)
![Thumbnail [90x90]](https://www.dbi-services.com/blog/wp-content/uploads/2025/07/ALK_MIN.jpeg)
![Thumbnail [90x90]](https://www.dbi-services.com/blog/wp-content/uploads/2025/05/JDE_Web-1-scaled.jpg)
![Thumbnail [90x90]](https://www.dbi-services.com/blog/wp-content/uploads/2022/08/ADE_WEB-min-scaled.jpg)