If you are licensed for the GoldenGate Management Pack, using the Enterprise Manager plug-in for GoldenGate improves monitoring and management of your deployments. And after migrating to the Microservices Architecture, you should definitely update your plug-in and rediscover all targets. Let’s see how to do all that here.
In this blog, I will use the latest version of the Enterprise Manager (24ai) and monitor GoldenGate 26ai deployments. The overall workflow is the same for other versions of the Enterprise Manager and GoldenGate, provided OGG is in the Microservices Architecture.
Here are the main steps to monitor GoldenGate targets from the Enterprise Manager:
- Update the catalog in the Enterprise Manager
- Deploy the plug-in on the management server
- Deploy the plug-in on the agent
- Configure the discovery module
- Promote the new targets
Table of contents
Checking if the plugin is already installed
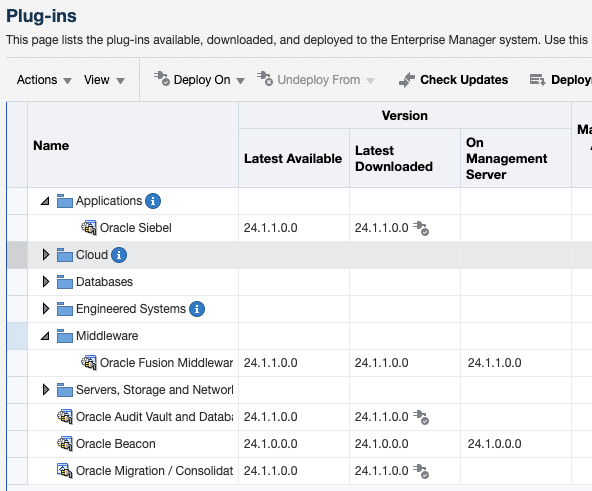
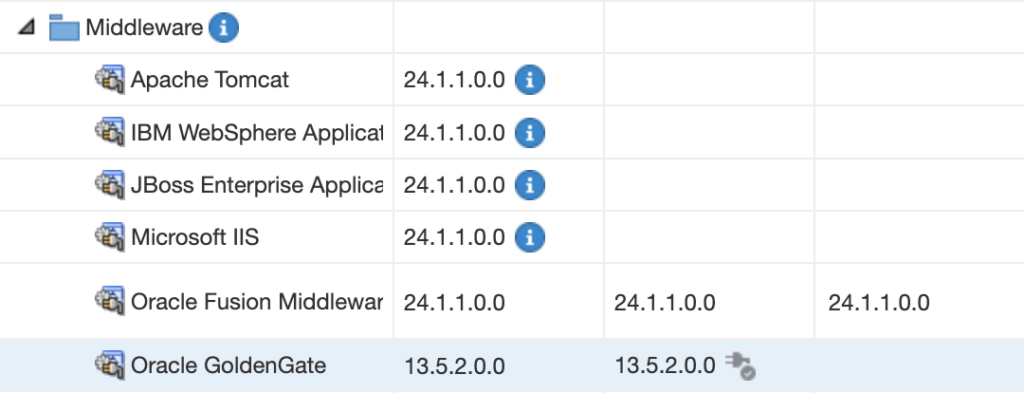
Before attempting to install the plug-in, make sure it is not already installed in your environment. To check this, go to Setup > Extensibility > Plug-ins, and expand the Middleware section. If you do not see any line named Oracle GoldenGate, it means the plug-in is not installed yet.
Update the Enterprise Manager catalog
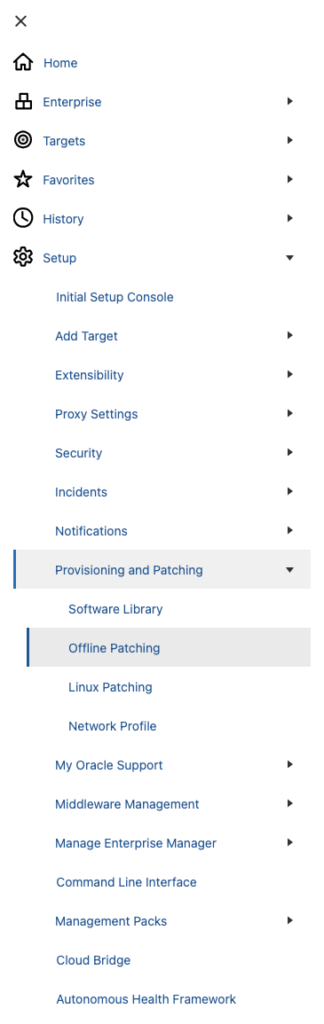
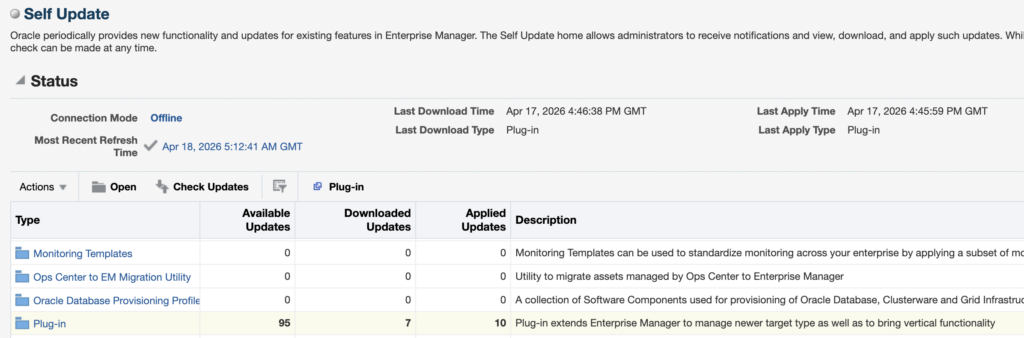
Since most OEM environments do not have access to the Oracle Support directly, we’ll download the plug-in in offline mode. To do so, go to the Setup > Provisioning and Patching > Offline Patching section.
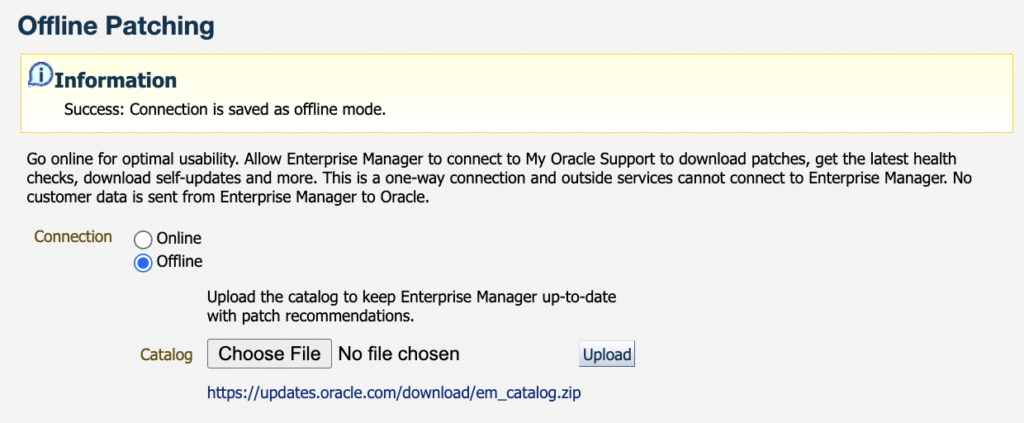
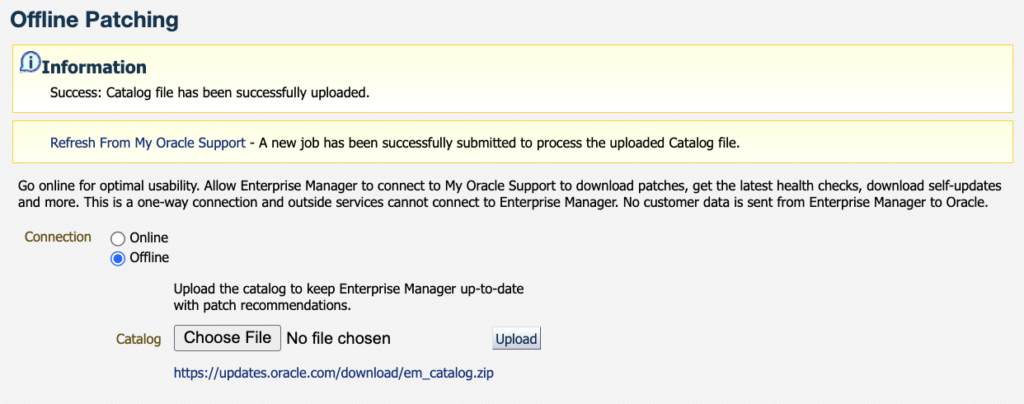
Once in the Offline Patching section, make sure Offline is selected for the connection and download the catalog file as instructed from an environment with access to the Oracle support website. Transfer it to where you have access to the OEM UI, and upload it.
Once the catalog is uploaded, you should see the following information message.
Then, go to Setup > Extensibility > Self Update and click on Check Updates.
You should see the following pop-up appear, with a link from where you will be able to download the OEM Self Update catalog file. For reference, the one I had when writing this blog was the following : https://updates.oracle.com/Orion/Download/download_patch/p9348486_112000_Generic.zip
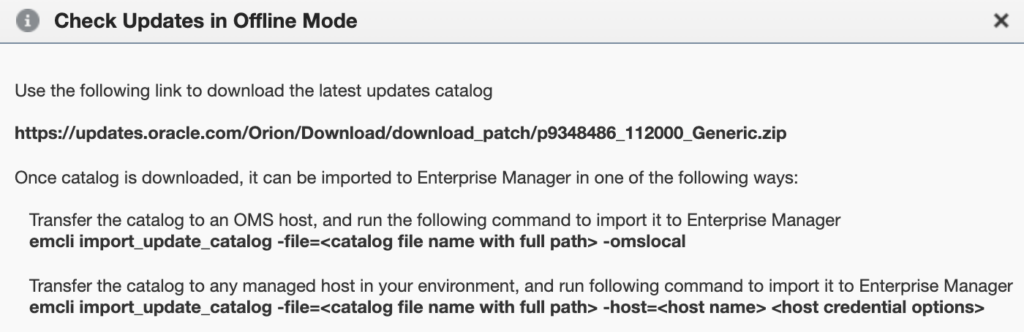
As instructed, transfer this patch to the OMS host and import it with emcli and the import_update_catalog action. You can also import it from another managed host. It should take around twenty seconds to import everything.
oracle@oem24:~/ [oem24] emcli import_update_catalog -file=/tmp/p9348486_112000_Generic.zip -omslocal
Processing catalog for Diagnostic Tools
Processing update: Diagnostic Tools - AHFFI 25.1.0.1.0 for Linux
Processing update: Diagnostic Tools - AHF 25.5.0.0.0 for HP

[...]

Processing update: Plug-in - GoldenGate Plug-in now supports monitoring of Oracle GoldenGate Microservices, in addition to the Oracle GoldenGate Classic
Processing update: Plug-in - GoldenGate Plug-in now supports monitoring of Oracle GoldenGate Microservices, in addition to the Oracle GoldenGate Classic
Processing update: Plug-in - GoldenGate Plug-in now supports monitoring of Oracle GoldenGate Microservices, in addition to the Oracle GoldenGate Classic
Processing update: Plug-in - GoldenGate Plug-in now supports monitoring of GoldenGate Microservices Architecture, in addition to the GoldenGate Classic Architecture

[...]

Successfully uploaded the Self Update catalog to Enterprise Manager. Use the Self Update Console to view and manage updates.
Time taken for import catalog is 17.289 seconds.
Download GoldenGate plug-in
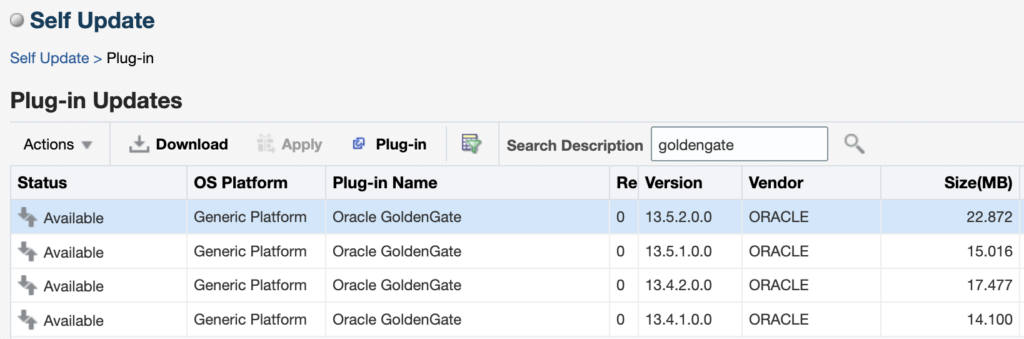
When this is done, go back to the Self Update page, click on the Plug-In section. You will see the different versions of GoldenGate that are available. When I’m writing this blog, the latest version of the plug-in is 13.5.2.0.0 (the latest patch released in January 2026, 13.5.2.0.6, will be a topic for another blog). Click on the latest version and then on Download.
The following pop-up gives you the link from which you should download the plug-in update file. In my case, it was https://updates.oracle.com/Orion/Services/download/p34651099_112000_Generic.zip?aru=24962501&patch_file=p34651099_112000_Generic.zip.
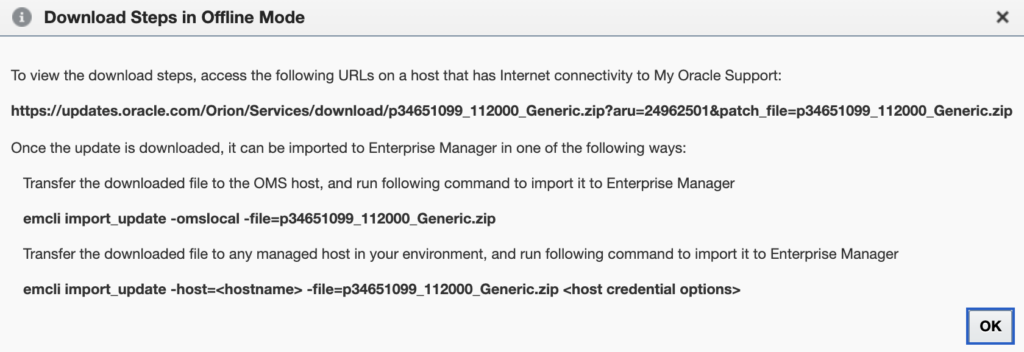
Once the file is downloaded, import it in the same way as before with the catalog, but this time with the emcli import_update action.
oracle@oem24:~/ [oem24] emcli import_update -omslocal -file=/tmp/p34651099_112000_Generic.zip
Processing update: Plug-in - GoldenGate Plug-in now supports monitoring of Oracle GoldenGate Microservices, in addition to the Oracle GoldenGate Classic
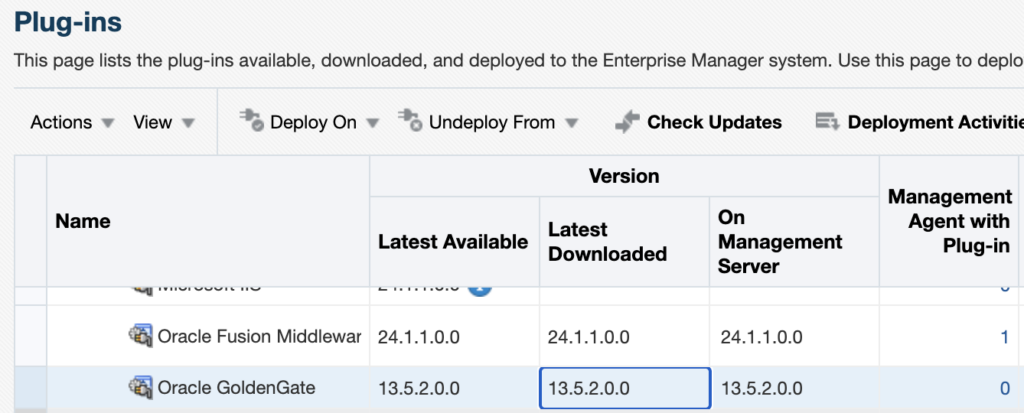
Successfully uploaded the update to Enterprise Manager. Use the Self Update Console to manage this update.Once this is done, go back to the Setup > Extensibility > Plug-in tab and expand the Middleware section. You should now see Oracle GoldenGate, and 13.5.2.0.0 as the downloaded version.
Deploy the GoldenGate plug-in on the Management Server
Warning : Deploying the plug-in on the management server will temporarily restart OMS components and briefly interrupt monitoring operations. To deploy the plug-in, you have two options:
- Deploying the plug-in from the web UI.
- Deploying the plug-in from the CLI.
Deploying the plug-in from the web UI
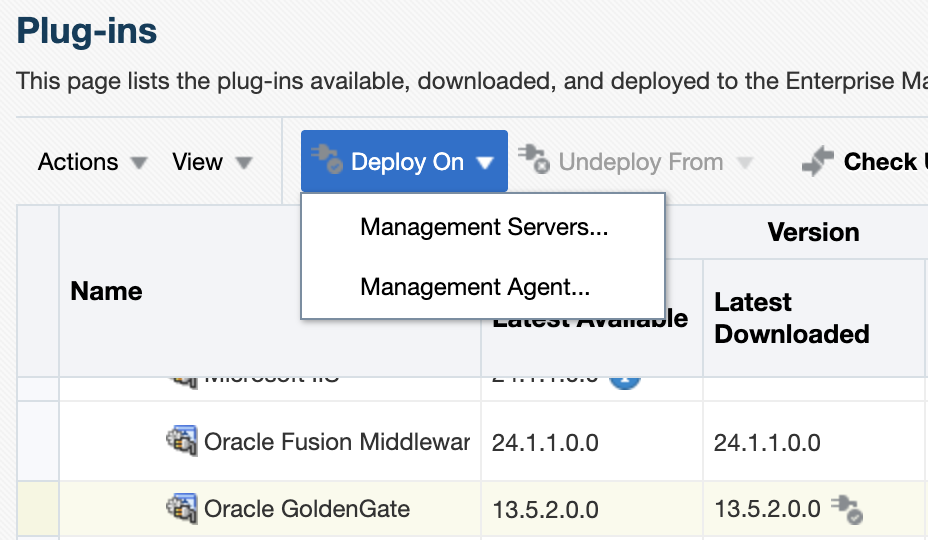
From the web UI, click on the Oracle GoldenGate plug-in, then on Deploy On, and deploy the plug-in on the Management Servers.
Make sure the correct version of the plug-in is chosen (13.5.2.0.0), and click on Next to run the prerequisite checks.

Once the checks are successfully completed, click on Next.

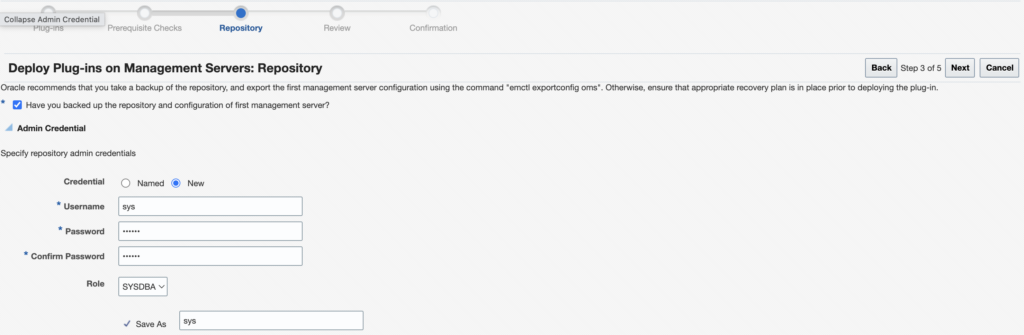
You should now select the repository credentials for the OEM. You should either use new credentials (if it’s a new environment) or use existing named credentials. Click on Next.
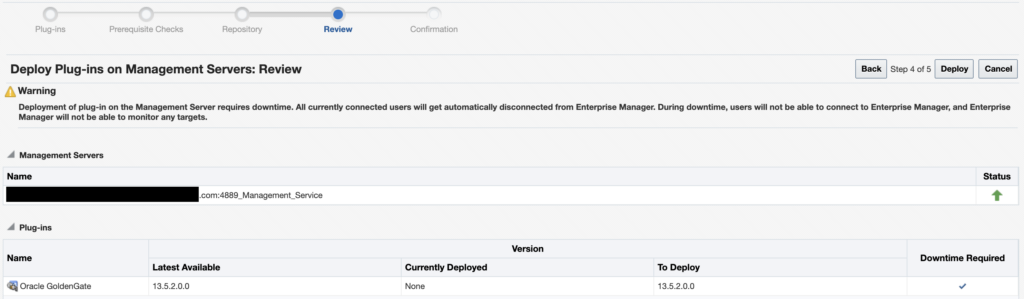
Once everything is done, click on Deploy.
As instructed, you can check the status of the deployment with the emctl status oms -details command.

oracle@oem24:~/ [oem24] emctl status oms
Oracle Enterprise Manager 24ai Release 1
Copyright (c) 1996, 2024 Oracle Corporation.  All rights reserved.
WebTier is Up
Oracle Management Server is Down

This is due to the following plug-ins being deployed on the management server or undeployed from it:
----------------------------------------
Plugin name:    : Oracle GoldenGate
Version:        : 13.5.2.0.0
ID:             : oracle.fmw.gg
----------------------------------------
Deploying the plug-in from the CLI
Alternatively, you can deploy the plug-in with the following command, using the oracle.fmw.gg ID for the plug-in and the latest 13.5.2.0.0 version.
emcli deploy_plugin_on_server -plugin="oracle.fmw.gg:13.5.2.0.0"Once the plug-in is deployed on the Management Server, you can check again in the web UI : the latest version should be in the On Management Server section.
Deploy the plug-in on the agent
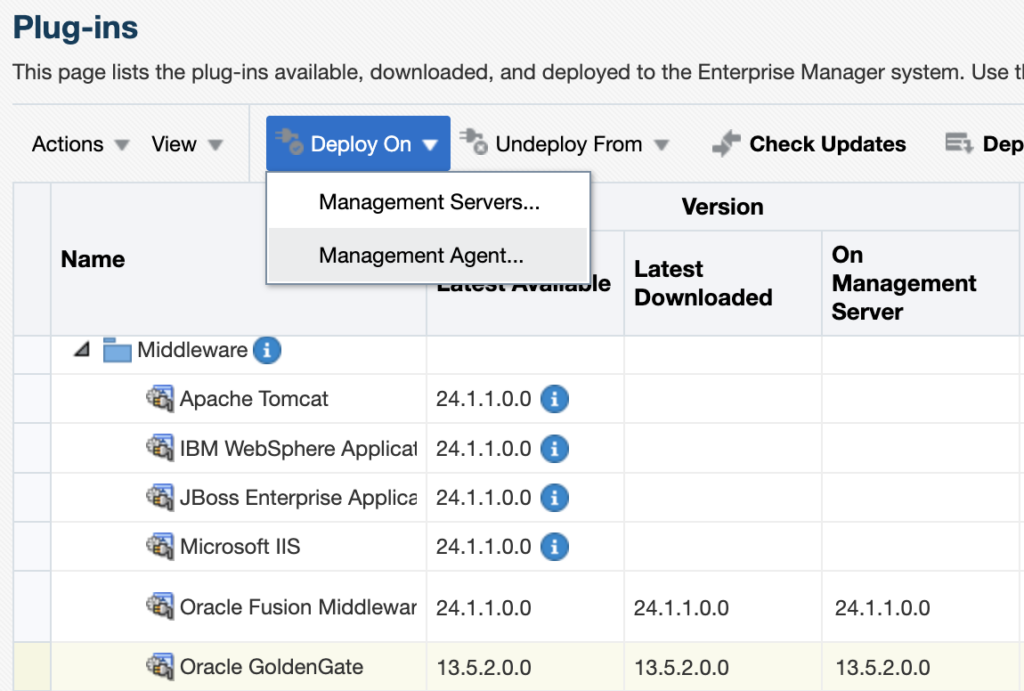
For each GoldenGate host where an OEM agent is running, deploy the plug-in. To do so, from the web UI, click on the Oracle GoldenGate plug-in, then on Deploy On, and select Management Agent.
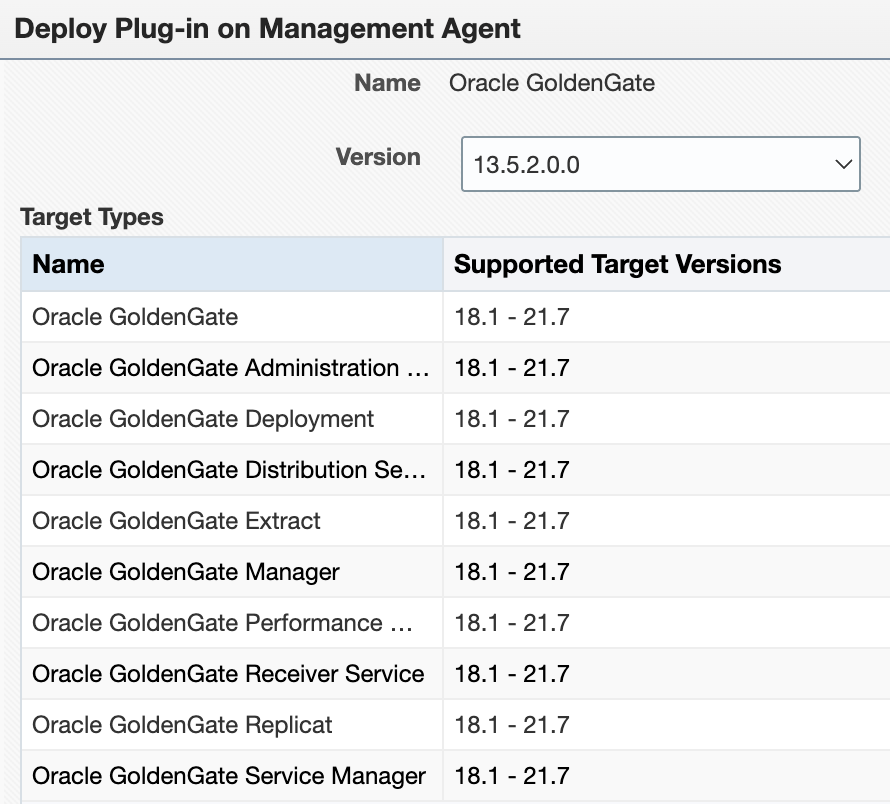
There is currently a bug with the Supported Target Versions. No matter your patch level, you will not see the latest versions of GoldenGate. Do not worry about this yet. Just make sure 13.5.2.0.0 is selected.
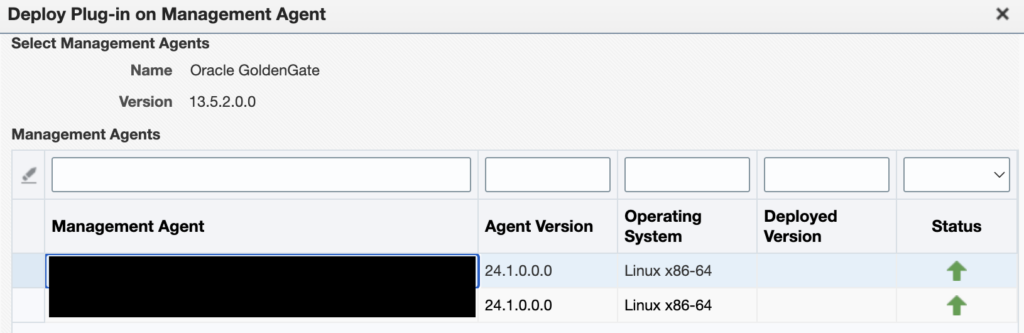
Then, select the agent on which you want to deploy the plug-in.
Let the prerequisite checks run…

And once everything is ready, click on Deploy.
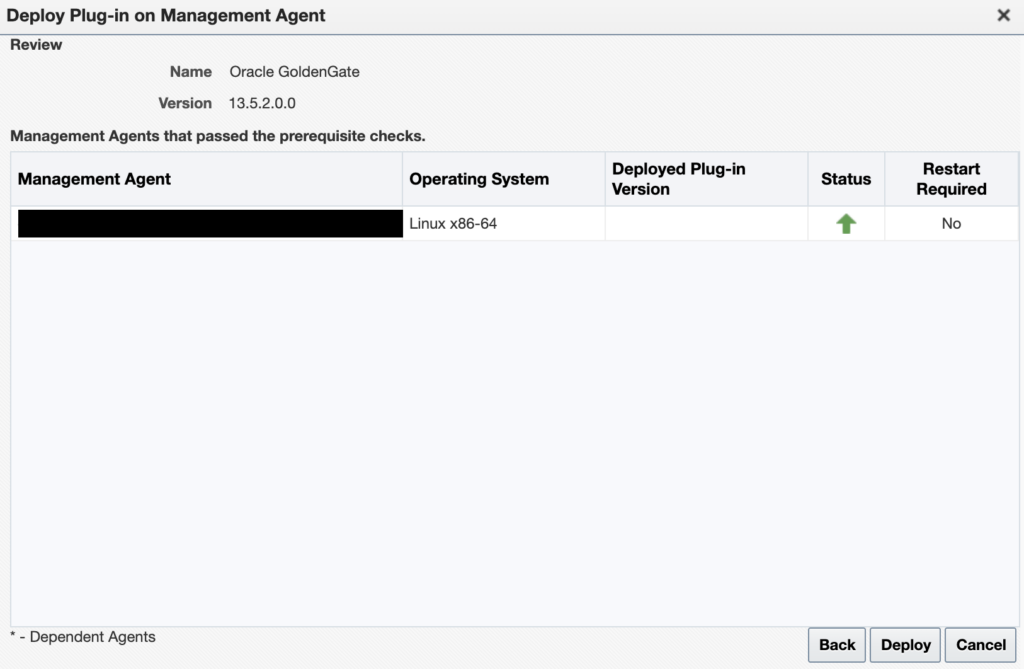
You can check that everything is running properly with the emcli get_plugin_deployment_status command.

Configure GoldenGate monitoring in the Enterprise Manager
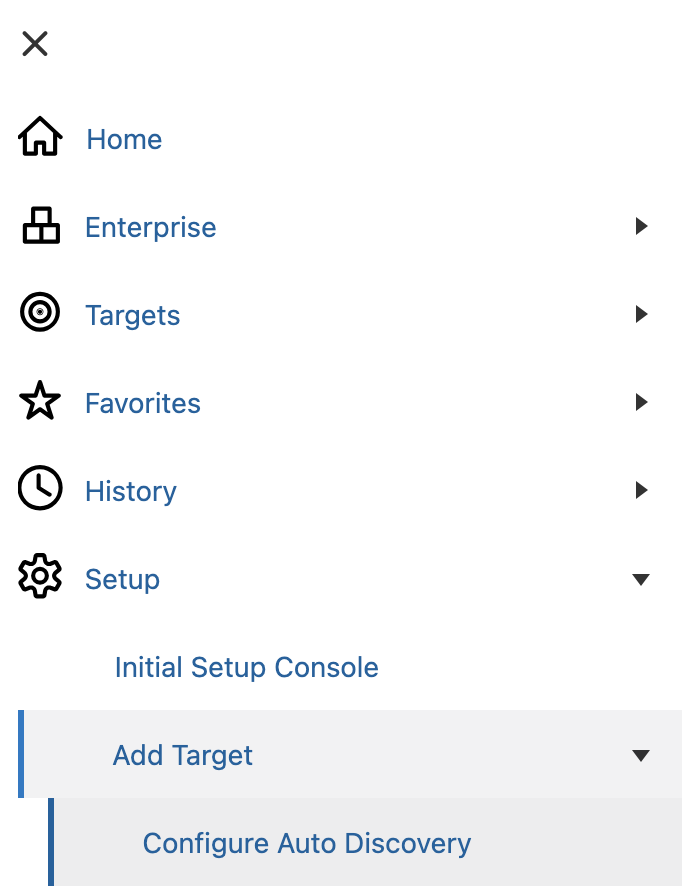
Once the plug-in is correctly deployed on the OMS host and on the GoldenGate host agent, you can configure the module. I will only cover the configuration for the Microservices Architecture. Go to the Setup > Add Target > Configure Auto Discovery tab.
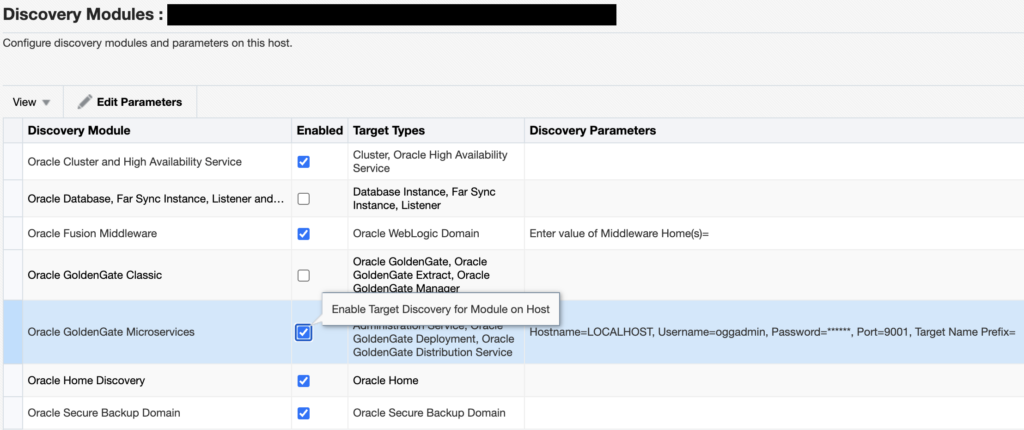
Choose the correct agent host, and click on Discovery Modules.

Enable the Oracle GoldenGate Microservices module, click on it, and then on Edit Parameters.
If you deployed GoldenGate with a reverse proxy, set up the plug-in as such.
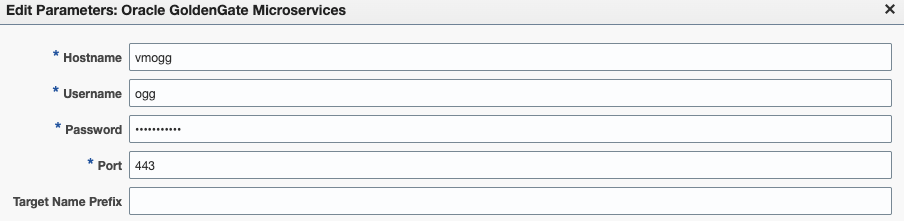
If you deployed GoldenGate with a port for each service, enter the service manager port (7809, by default).
Warning : if your installation is secured with certificates, make sure to follow the instructions I gave in a blog to avoid EM-90000 errors when discovering new targets.
Once this is done, just go back to the Configure Auto Discovery section, click on the correct host, and then click on Discover Now. Then, go back to the Configure Auto Discovery section. You should now see a greater number of targets in the Discovered targets section.
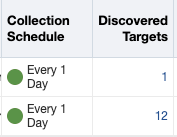
If the number of targets did not increase, despite a successful discovery, check the blog linked above.
Click on the number of targets to jump to the Auto Discovery Results section. Select the newly discovered Service Manager target, and click on Promote. Once the target is promoted, you should see the new GoldenGate targets being monitored by the Enterprise Manager !

![Thumbnail [60x60]](https://www.dbi-services.com/blog/wp-content/uploads/2025/05/JDE_Web-1-scaled.jpg)
![Thumbnail [90x90]](https://www.dbi-services.com/blog/wp-content/uploads/2022/11/CBL_web-min-min-scaled.jpg)