Since version 7.0.11, MongoDB natively supports OpenID Connect (OIDC) authentication. This move was part of MongoDB’s cloud strategy, since cloud environments use OIDC a lot for authentication and authorization. In version 8.0, MongoDB deprecated LDAP authentication and authorization, making it clear that OIDC is the future for MongoDB authentication. In this blog, I will present how to set up OIDC authentication for MongoDB in a self-managed environment with Okta.
What is OpenID Connect (OIDC) ?
OpenID Connect (OIDC) is an authentication protocol built on top of the OAuth 2.0 framework. It allows clients (like mongosh) to check the identity of the user based on the authentication performed by an authorization server (like Okta). It also provides a standardized way of obtaining user profile information, resolving the authorization part of the connection.
OIDC use cases in MongoDB
MongoDB supports OIDC authentication for both:
- Users : Workforce Identity Federation
- Applications : Workload Identity Federation
In this blog, I will focus on the first use case.
Prerequisites
Before setting up OIDC authentication for MongoDB, you will need the following:
- MongoDB Enterprise Edition. OIDC authentication is only available in the Enterprise Edition of MongoDB. Alternatively, you can use Percona Server for MongoDB, which also supports OIDC authentication.
- Version 7.0.11 or later of MongoDB.
- A working Okta tenant. A 30-day trial can be obtained here.
Throughout this blog, I will use very generic names (dbiapp, dbiauth, etc.) to make sure you are not missing on configuration aspects. Some of these names will be used when configuring OIDC in MongoDB.
Configure OIDC in Okta
Create an application in Okta
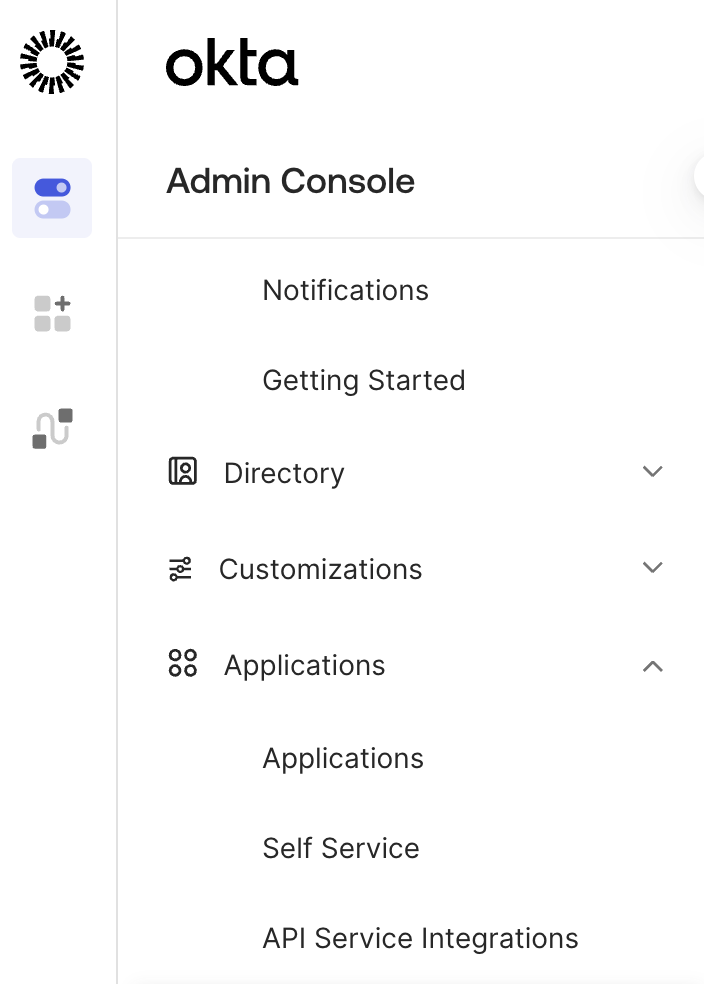
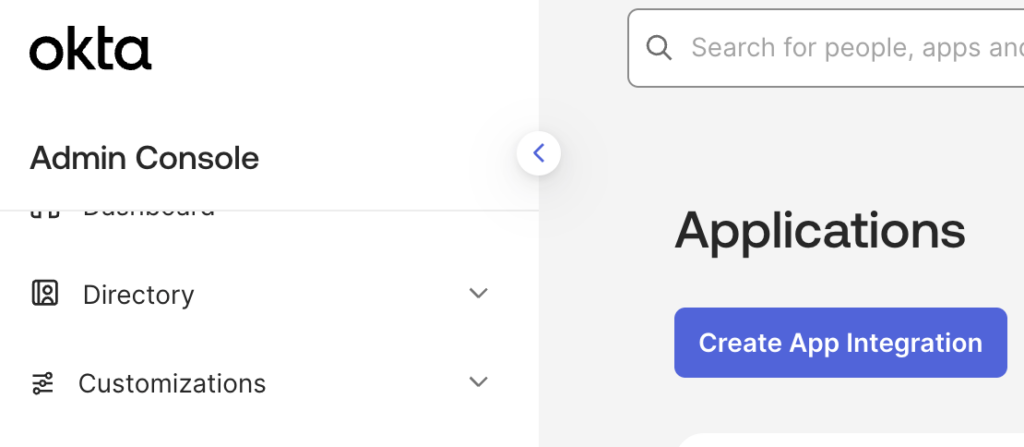
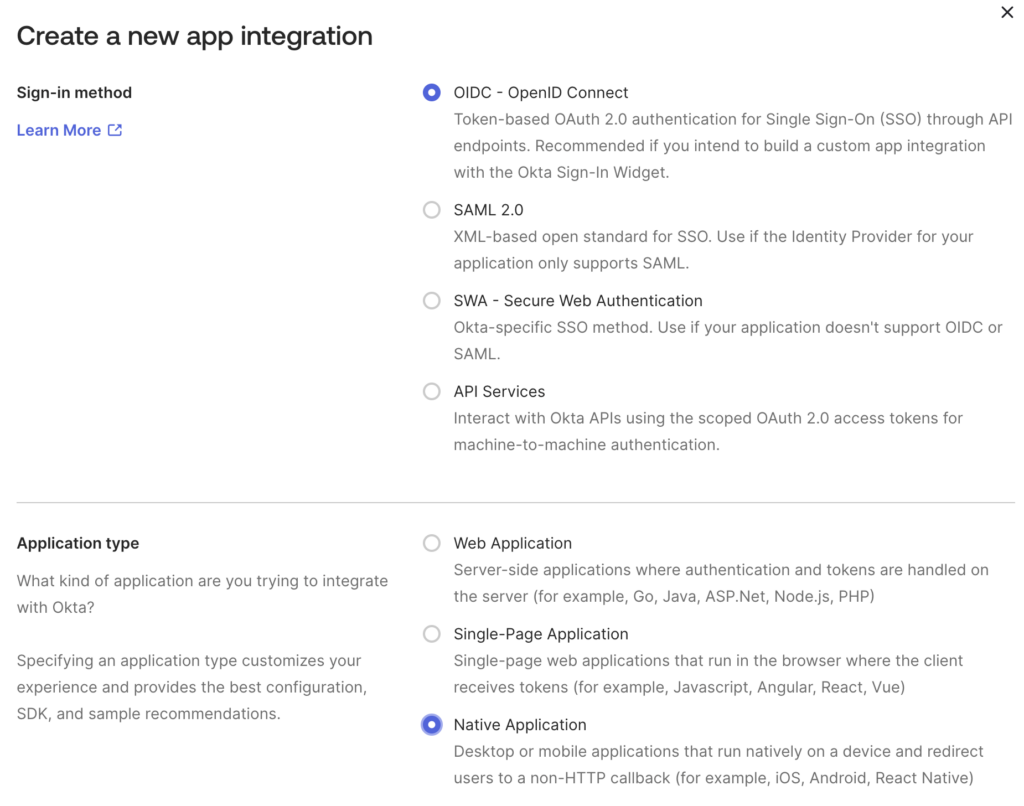
Start by creating an application in Okta. From the Admin Console (available at https://trial-1234567-admin.okta.com/admin/dashboard), navigate to Applications > Applications and click on Create App Integration. Then, select OIDC – OpenID Connect as the sign-in method and Native as the application type. Click on Next.
Configuring the application
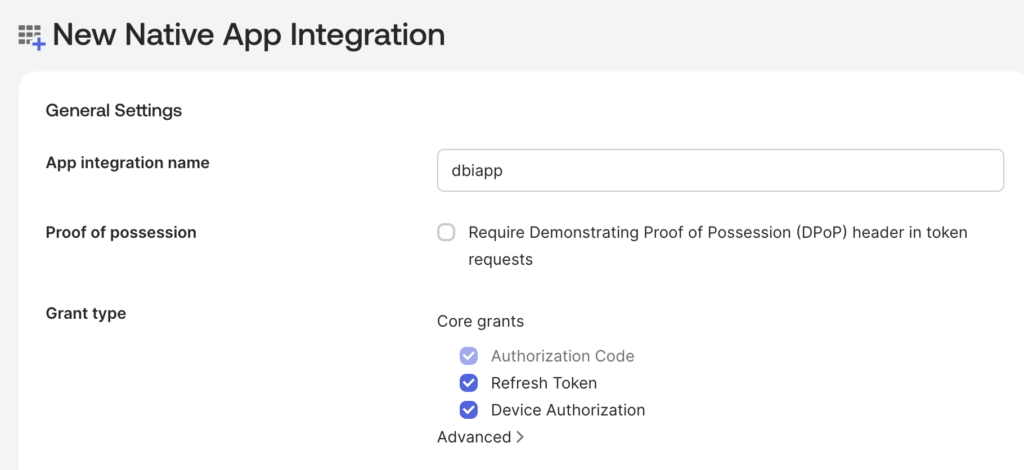
In the application configuration screen, fill in an application name (mine will be called dbiapp), and select Grant types among these three choices:
- Authorization Code: Activated by default, cannot be deactivated.
- Device Authorization: Required if you have no browser access when using
mongosh. The shell will display a URL with which you will authenticate. - Refresh Token: If enabled, the MongoDB driver caches the refresh token and renews the access token when it expires.
Then fill in the Sign-in redirect URIs with the following URL : http://localhost:27097/redirect

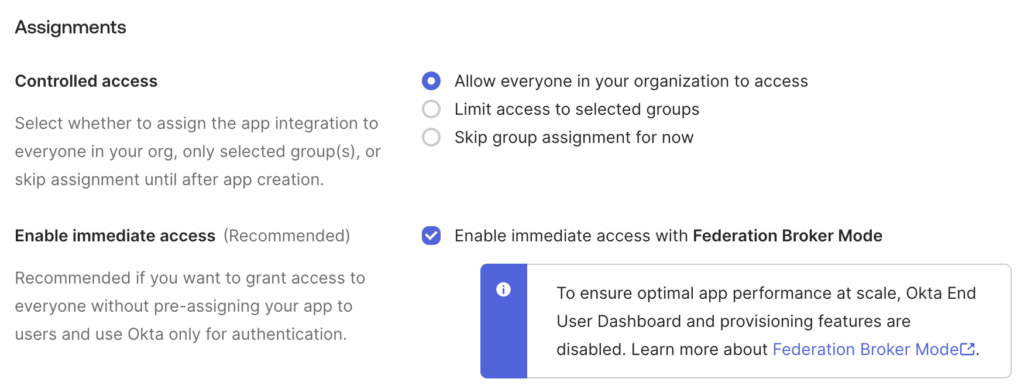
Finally, in the Assignments section, you can choose between multiple Controlled access options:
- Allow everyone in your organization to access
- Limit access to selected groups
- Skip group assignment for now
In this blog, I will choose Allow everyone in your organization to access. In production environments, you might choose something else. Make sure Enable immediate access with Federation Broker Mode is enabled, and click on Save.
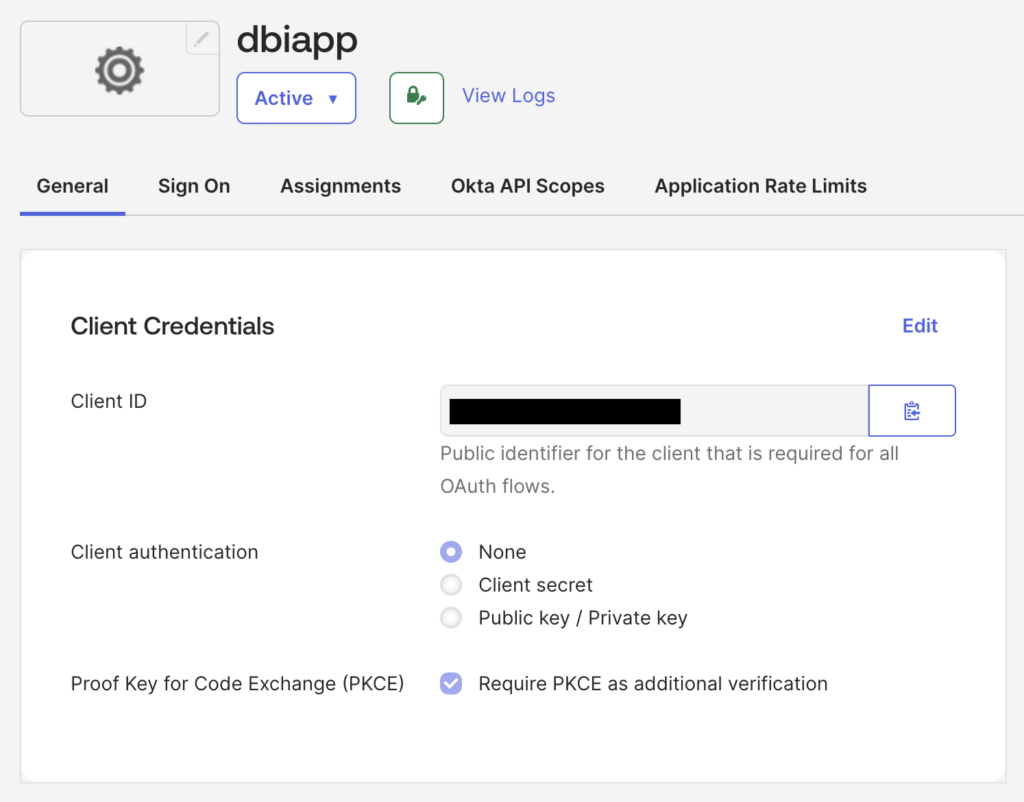
You should now land on the newly created application page. Copy the Client ID displayed on the screen, you will need it later.
Authorization server configuration
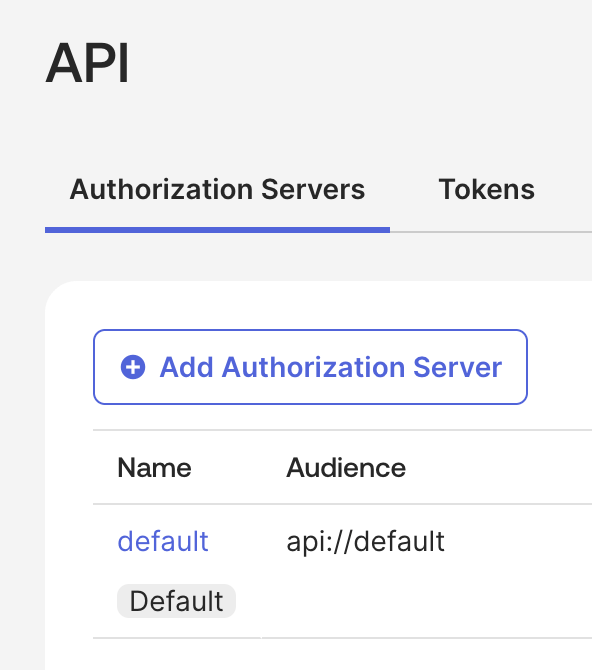
In the navigation panel, click on Security > API, and Add Authorization Server.
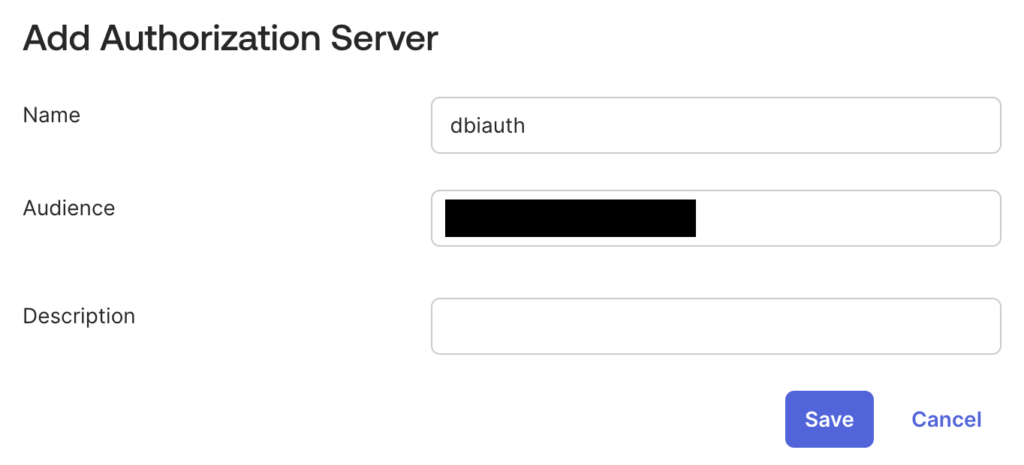
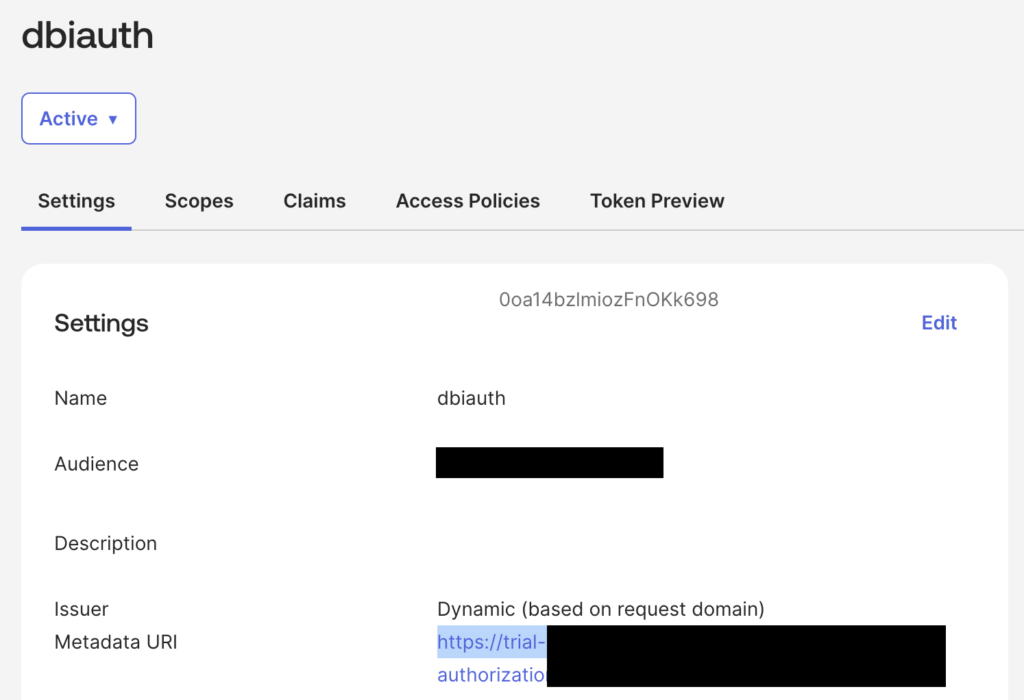
Choose a name for the Authorization Server (mine will be named dbiauth), and paste the Client ID retrieved earlier in the Audience field.
From the newly created authorization server, copy the Issuer Metadata URI, from https until .well-known (excluded). You should have something like https://trial-1234567.okta.com/oauth2/aus27qkm93wcRptbz412.
Add a group claim
Staying on the authorization server summary, click on the Claims tab, and then on Add Claim.
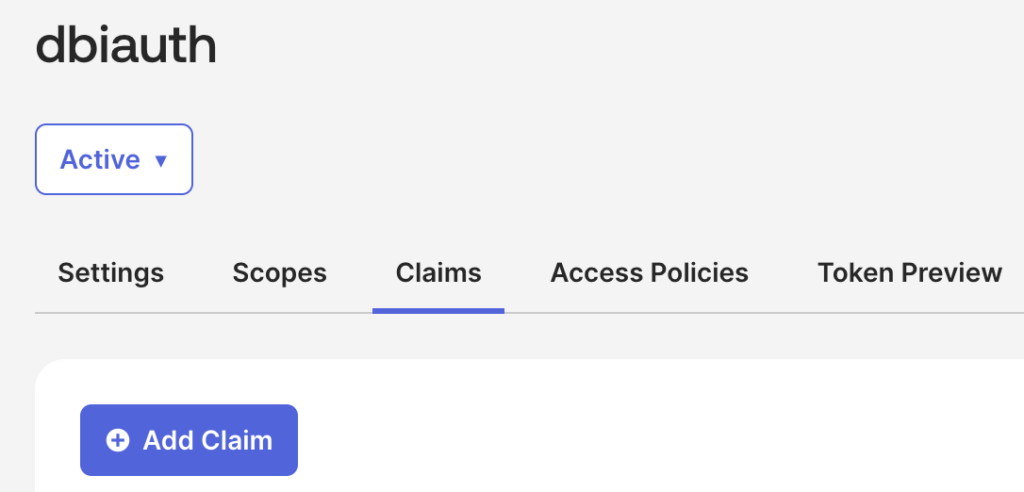
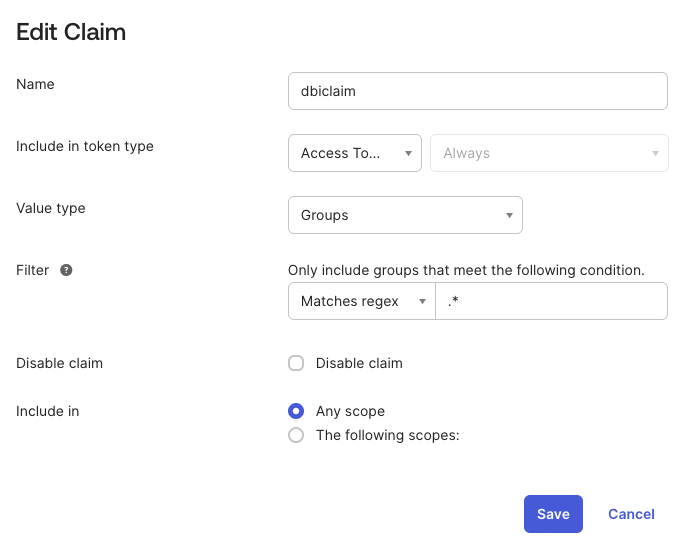
You can choose any name for the claim. I will call it dbiclaim. The rest of the claim should be configured as follows, with the Filter set to Matches regex, using .* as filter.
WARNING: Make sure the filter is .*, not *.* or *. ! Otherwise, it could lead to MongoServerError: Authentication failed. errors.
Configure an access policy
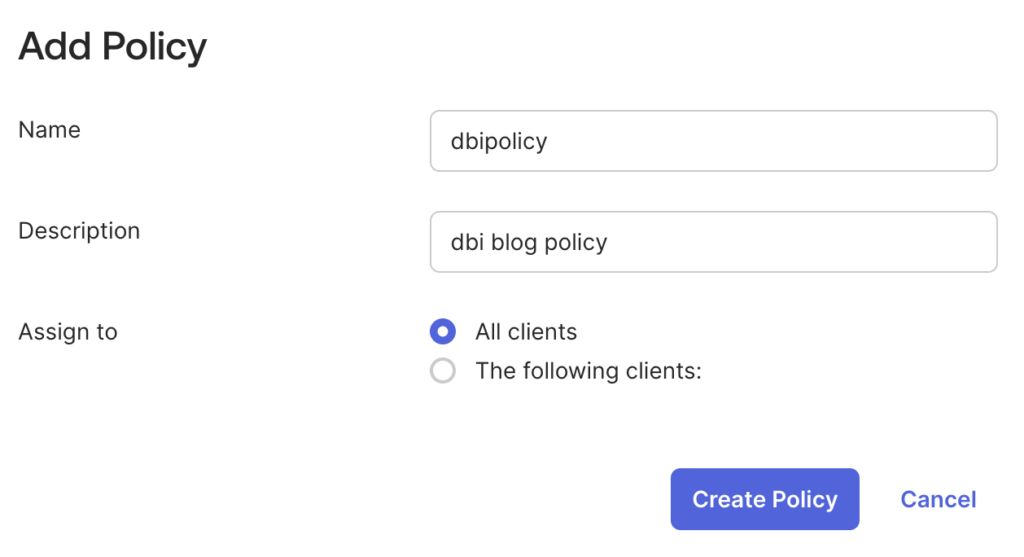
Now, in the Access Policies tab of the authorization server, click on Add Policy.
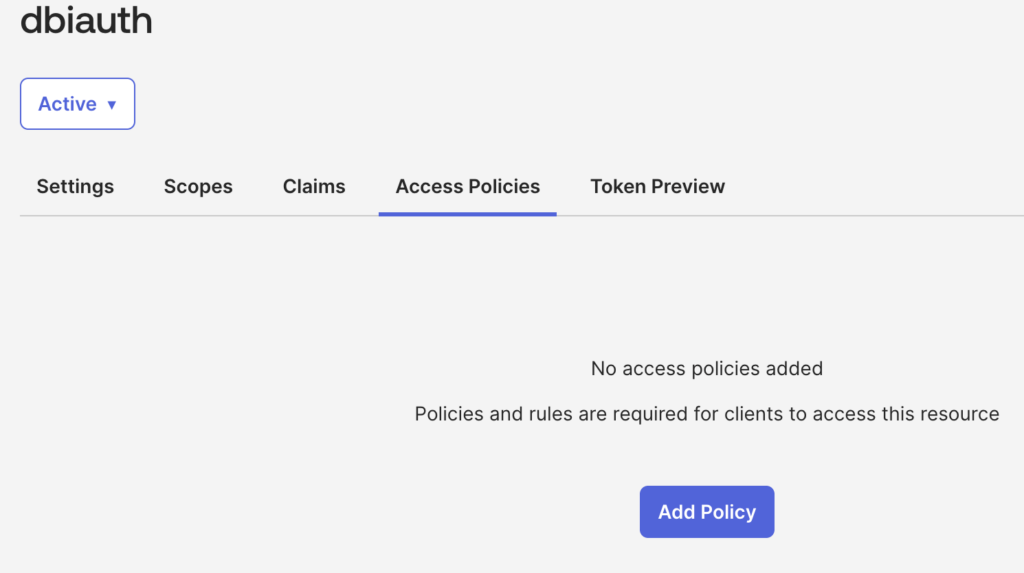
You can choose the name of the policy that you want (mine is called dbipolicy), and you must add a Description. Set Assign to to All clients.
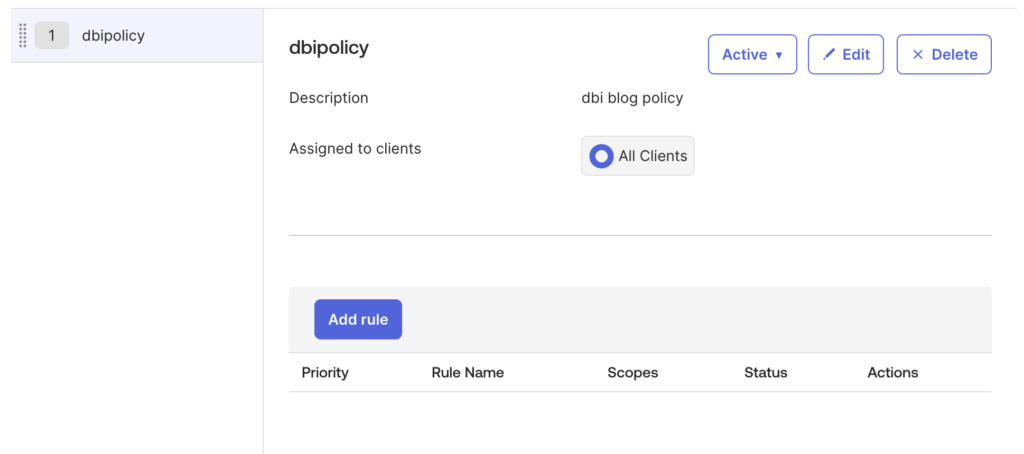
After creating the policy, click on Add rule.
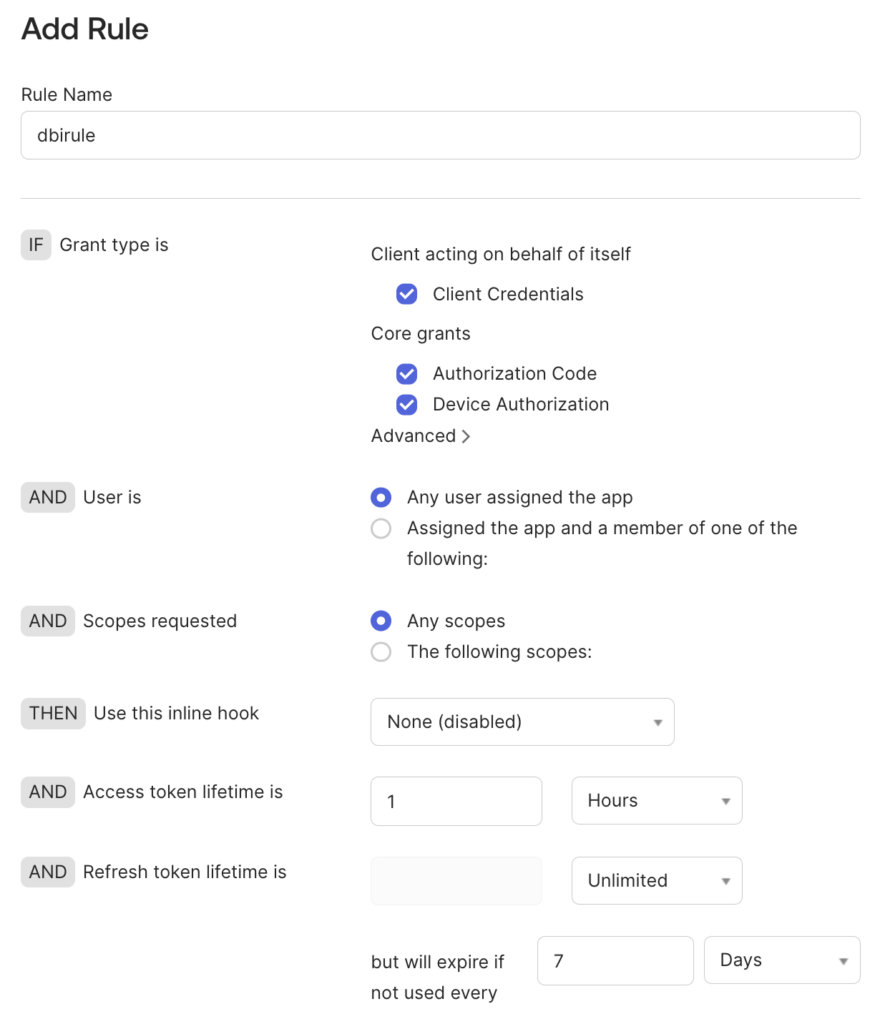
This is the part where you should be customizing the rule based on your internal security policies. I will name my rule dbirule, and keep everything default except for the Refresh token lifetime, which is set to Unlimited.
Create a group and a user
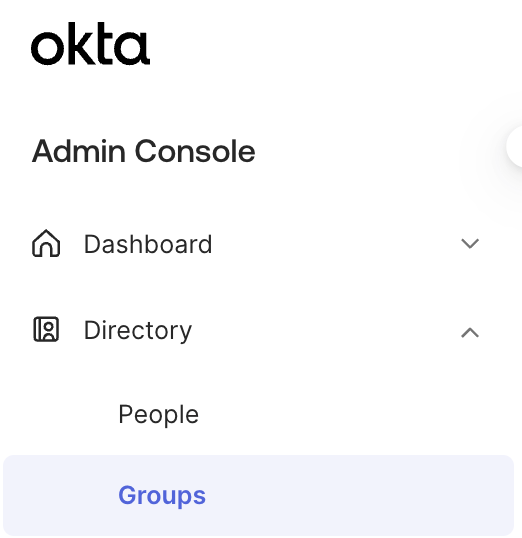
If you already use Okta, you should have existing groups and users. But for the purpose of the blog, let’s create a group and a user. Navigate on the left to Directory > Groups, and click on Add Group.
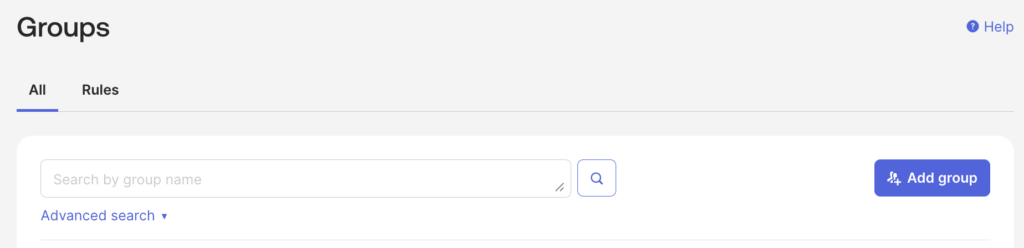
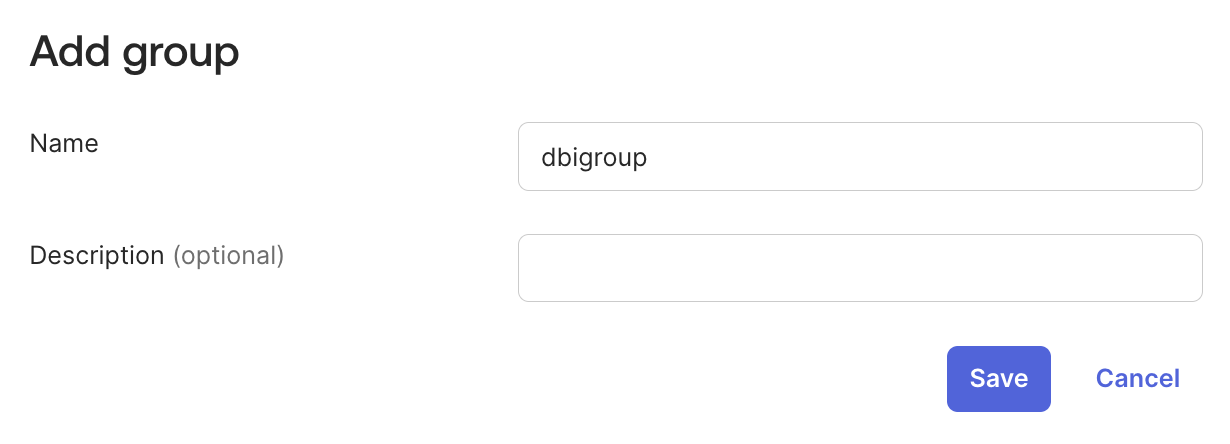
MongoDB names the group OIDC, without stating whether it is the only name supported or not. But you can choose your own name. I will call the group dbigroup.
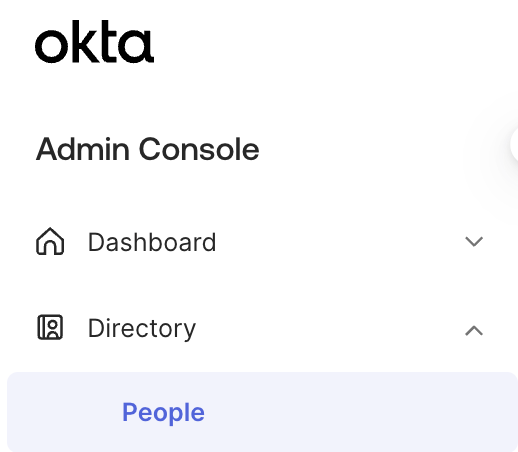
After creating the group, add a user in the Directory > People section, clicking on Add Person.
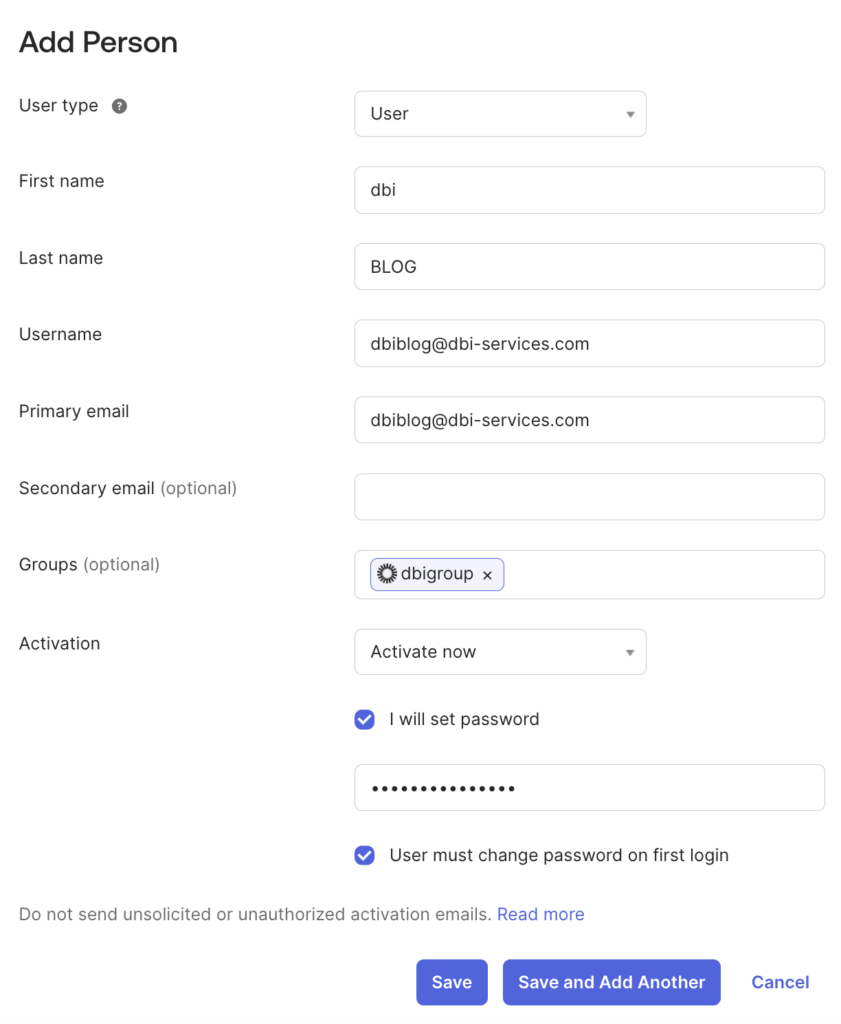
There are two important aspects here:
- Use an email for the Username field.
- Add the
dbigroupgroup to the Groups.
Before continuing, make sure the user is activated following the procedure received by email
Configure MongoDB for OIDC authentication
Stop your MongoDB 7.0.11+ Enterprise Edition instance, and edit the configuration file by adding the following setParameter section:
authenticationMechanisms: set it toMONGODB-OIDCif you want to enable only OIDC authentication, orMONGODB-OIDC,SCRAM-SHA-256if you want to keep authentication with password for previous users.issuer: use the Issuer Metadata URI copied after creating the authorization server (https://trial-1234567.okta.com/oauth2/aus27qkm93wcRptbz412)audienceandclientId: for both fields, use the Client ID associated with the application created at the very beginning (0oa89cvj16d4WFKrX307, for instance)authNamePrefix:okta-issuerauthorizationClaim: use the name of the claim created on the authorization server. In my case, it isdbiclaim.
# Paste this at the end of your MongoDB configuration file
setParameter:
   authenticationMechanisms: "MONGODB-OIDC"
   oidcIdentityProviders: '[ {
      "issuer": "https://trial-1234567.okta.com/oauth2/aus27qkm93wcRptbz412",
      "audience": "0oa89cvj16d4WFKrX307",
      "authNamePrefix": "okta-issuer",
      "authorizationClaim": "dbiclaim",
      "clientId": "0oa89cvj16d4WFKrX307"
   } ]'
After changing the configuration file, you can restart your MongoDB instance. If security.authorization is not enabled yet, you should set it now and make sure you have a user able to create roles.
Log in with a privileged user to your MongoDB instance, and create a new role for OIDC authentication. The role name should be based on authNamePrefix (okta-issuer) and the group name (dbigroup). In this blog, I will create the okta-issuer/dbigroup role.
use admin
db.createRole( {
   role: "okta-issuer/dbigroup",
   privileges: [ ],
   roles: [ "readWriteAnyDatabase" ]
} )
Now, any member of the dbigroup group should be able to log in with mongosh or any other connection tool, with the following parameters:
--authenticationMechanismflag set toMONGODB-OIDC. This parameter value is the official MongoDB parameter.--oidcFlowsflag set todevice-auth. This can be used in environments wheremongoshwill not be able to launch a browser.
# Change the MONGO_URI accordingly
MONGO_URI="mongodb://127.0.0.1:27017"
mongosh "$MONGO_URI" --authenticationMechanism MONGODB-OIDC --oidcFlows=device-auth
After a few seconds, you will receive the URL to complete authentication:
mongodb@mongodb-lab-01:/home/mongodb/ [mdb02] mongosh "$MONGO_URI" --authenticationMechanism MONGODB-OIDC --oidcFlows=device-auth
Current Mongosh Log ID:	6a64a98717240b2e9d9df8a2
Connecting to:		mongodb://127.0.0.1:27017/?directConnection=true&serverSelectionTimeoutMS=2000&authMechanism=MONGODB-OIDC&appName=mongosh+2.9.2

Visit the following URL to complete authentication: https://trial-1234567.okta.com/activate
Enter the following code on that page: RQXFMWTF
Waiting...
You can now open the link given (https://trial-1234567.okta.com/activate), and it will ask for the activation code (RQXFMWTF).
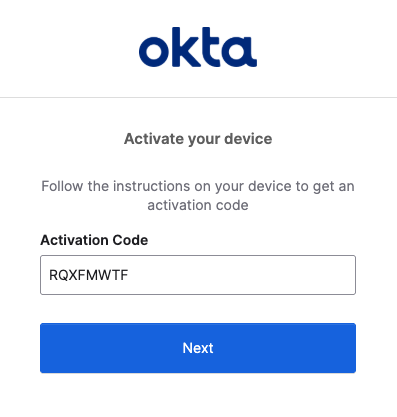
Once the device is activated, the mongosh prompt will succeed:
mongodb@mongodb-lab-01:/home/mongodb/ [mdb02] mongosh "$MONGO_URI" --authenticationMechanism MONGODB-OIDC --oidcFlows=device-auth
Current Mongosh Log ID:	6a64a98717240b2e9d9df8a2
Connecting to:		mongodb://127.0.0.1:27017/?directConnection=true&serverSelectionTimeoutMS=2000&authMechanism=MONGODB-OIDC&appName=mongosh+2.9.2

Visit the following URL to complete authentication: https://trial-1234567.okta.com/activate
Enter the following code on that page: RQXFMWTF
Waiting...
Using MongoDB:		8.0.26
Using Mongosh:		2.9.2

Enterprise test>
And if you run the db.runCommand({connectionStatus:1}) command, you will see the OIDC connection information:
Enterprise test> db.runCommand({connectionStatus:1})
{
  authInfo: {
    authenticatedUsers: [ { user: 'okta-issuer/[email protected]', db: '$external' } ],
    authenticatedUserRoles: [
      { role: 'okta-issuer/Everyone', db: 'admin' },
      { role: 'okta-issuer/dbigroup', db: 'admin' },
      { role: 'readWriteAnyDatabase', db: 'admin' }
    ]
  },
  ok: 1
}
Adapt DMK to work with OIDC
If you use the MongoDB DMK, you should either adapt the msp alias or create a new msoidc alias to connect to your instances. To do so, edit the local configuration file of DMK with the dmkl alias:
# Option 1: change the msp alias
alias::msp::novar_noforce::'ms --authenticationMechanism MONGODB-OIDC --oidcFlows=device-auth'::

# Option 2: add a new msoidc alias
alias::msoidc::novar_noforce::'ms --authenticationMechanism MONGODB-OIDC --oidcFlows=device-auth'::![Thumbnail [60x60]](https://www.dbi-services.com/blog/wp-content/uploads/2025/05/JDE_Web-1-scaled.jpg)