While TDE (Transparent Data Encryption) is considered a checklist feature in some parts of the PostgreSQL community this topic comes up all over again. The same is true with our customers, it doesn’t matter at all if it technically makes sense to have TDE or not, some just must have it for reasons outside of their control, mostly due to legal requirements. As vanilla community PostgreSQL does not provide TDE the only option is to use one of the commercial distributions of PostgtreSQL. There are several out there and we’ll take a look at some of them but today we’ll start with Fujitsu Enterprise Postgres. This will be a two blog series, the first one (this) describing how to setup this version of PostgreSQL and in the follow up post we’ll look at how TDE looks like in this distribution and how it can be setup in Fujitsu Enterprise Postgres.
Fujitsu provides a 90 trial version for which you need to register here. Once you’ve done that you should receive an Email with a link to download the software (around 1.3gb). The supported operating systems are either RHEL 8 & 9 or SLES 15. If you are on Debian or anything based on Debian such as Ubuntu then you can already stop here as it is not supported.
As usual, the operating system needs to be prepared, and on RHEL 9 which I am using here this means enabling the code ready builder repository and installing the required packages:
[root@rhel9-latest ~]$ subscription-manager repos --enable codeready-builder-for-rhel-9-x86_64-rpms
[root@rhel9-latest ~]$ dnf install alsa-lib audit-libs bzip2-libs cyrus-sasl-lib gdb pcp-system-tools glibc glibc.i686 iputils libnsl2 libicu libgcc libmemcached-awesome libselinux libstdc++ libtool-ltdl libzstd llvm lz4-libs ncurses-libs net-tools nss-softokn-freebl pam perl-libs protobuf-c python3 rsync sudo sysstat tcl unzip xz-libs zlib perl
For this the system needs to be subscribed to Red Hat but you might also try either Rocky or Alma Linux, this should work as well (both are clones of RHEL) and those do not need a subscription.
In the Quick Start Guide an operating system user called “fepuser” is used, but we prefer to go with standard “postgres” user, so:
[root@rhel9-latest ~]$ groupadd postgres
[root@rhel9-latest ~]$ useradd -g postgres -m postgres
[root@rhel9-latest ~]$ grep postgres /etc/sudoers
postgres        ALL=(ALL)       NOPASSWD: ALL
We’ll also not use “/database/inst1” as PGDATA but rather our standard:
[root@rhel9-latest ~]$ su - postgres
[postgres@rhel9-latest ~]$ sudo mkdir -p /u02/pgdata
[postgres@rhel9-latest ~]$ sudo chown postgres:postgres /u02/pgdata/
[postgres@rhel9-latest ~]$ exit
As the installation files are provided in ISO format, loop-back mount that:
[root@rhel9-latest ~]$ mkdir /mnt/media
[root@rhel9-latest ~]$ mount -t iso9660 -r -o loop /root/ep-postgresae-linux-x64-1800-1.iso /mnt/media/
[root@rhel9-latest ~]$ ls -l /mnt/media/
total 161
dr-xr-xr-x. 4 root root  2048 Dec  4 03:24 CIR
dr-xr-xr-x. 3 root root  2048 May 18  2023 CLIENT64
dr-xr-xr-x. 4 root root  2048 Dec  4 03:24 COMMON
-r-xr-xr-x. 1 root root  4847 Aug 14 10:49 install.sh
dr-xr-xr-x. 5 root root  2048 Nov  5 08:47 manual
dr-xr-xr-x. 2 root root 24576 Oct 29 17:04 OSS_Licence
dr-xr-xr-x. 3 root root  2048 Jun 13  2016 parser
dr-xr-xr-x. 3 root root  2048 Mar 27  2024 PGBACKREST
dr-xr-xr-x. 3 root root  2048 May 18  2023 PGPOOL2
-r--r--r--. 1 root root 46882 Nov 28 02:39 readme.txt
-r--r--r--. 1 root root 53702 Nov 28 01:21 readme_utf8.txt
dr-xr-xr-x. 2 root root  2048 May 18  2023 sample
dr-xr-xr-x. 3 root root  2048 May 18  2023 SERVER
-r-xr-xr-x. 1 root root 12848 Aug 14 10:50 silent.sh
dr-xr-xr-x. 3 root root  2048 May 18  2023 WEBADMIN
That should be all to start the installation (there is a silent mode as well, but we’re not going to look into this for the scope of this post):
[root@rhel9-latest ~]$ cd /mnt/media/
[root@rhel9-latest media]$ ./install.sh
ERROR: The installation of Uninstall (middleware) ended abnormally.

Installation was ended abnormally.
… and that directly fails. Looking at the log file it becomes clear that “tar” is missing (this is a minimal installation of RHEL 9 and this does apparently does not come with tar by default):
[root@rhel9-latest media]$ grep tar /var/log/fsep_SERVER64_media_1800_install.log
sub_envcheck.sh start
sub_cir_install.sh start
./CIR/Linux/cirinst.sh: line 562: tar: command not found
sub_envcheck.sh start
sub_cir_install.sh start
./CIR/Linux/cirinst.sh: line 562: tar: command not found
So, once more:
[root@rhel9-latest media]$ dnf install -y tar
[root@rhel9-latest media]$ ./install.sh

The following products can be installed:
1: Fujitsu Enterprise Postgres Advanced Edition (64bit) 18
2: Fujitsu Enterprise Postgres Client (64bit) 18
3: Fujitsu Enterprise Postgres WebAdmin 18
4: Fujitsu Enterprise Postgres Pgpool-II 18
5: Fujitsu Enterprise Postgres pgBackRest 18

Select the product to be installed.
Note: If installing the Server, it is strongly recommended to install WebAdmin.
To select multiple products, separate using commas (,). (Example: 1,2)
[number,all,q](The default value is 1,2,3): all
From the output above we can see that Fujitsu bundles Pgpool-II and pgBackRest with their distribution of PostgreSQL. We’re just going to install “all” and the installation runs smoothly until the end:
Selected product
  Fujitsu Enterprise Postgres Advanced Edition (64bit) 18
  Fujitsu Enterprise Postgres Client (64bit) 18
  Fujitsu Enterprise Postgres WebAdmin 18
  Fujitsu Enterprise Postgres Pgpool-II 18
  Fujitsu Enterprise Postgres pgBackRest 18

Do you want to install the above product?
y: Proceed to the next step
n: Select the product again
q: Quit without installing
[y,n,q](The default value is y): y

==============================================================================

Product to be installed
  Fujitsu Enterprise Postgres Advanced Edition (64bit) 18
    New installation
  Fujitsu Enterprise Postgres Client (64bit) 18
    New installation
  Fujitsu Enterprise Postgres WebAdmin 18
    New installation
  Fujitsu Enterprise Postgres Pgpool-II 18
    New installation
  Fujitsu Enterprise Postgres pgBackRest 18
    New installation

Installation directory information
  Fujitsu Enterprise Postgres Advanced Edition (64bit) 18
    /opt/fsepv18server64
  Fujitsu Enterprise Postgres Client (64bit) 18
    /opt/fsepv18client64
  Fujitsu Enterprise Postgres WebAdmin 18
    /opt/fsepv18webadmin
  Fujitsu Enterprise Postgres Pgpool-II 18
    /opt/fsepv18pgpool-II
  Fujitsu Enterprise Postgres pgBackRest 18
    /opt/fsepv18pgbackrest

Setup information
  WebAdmin setup: Execute
  Web server port number: 27515
  WebAdmin internal port number: 27516

Start installation using the above information?
y: Start the installation
c: Change the information
q: Quit without installing
[y,c,q](The default value is y): y


==============================================================================
Starting installation.

Fujitsu Enterprise Postgres Advanced Edition (64bit) 18 Installation

Installation is complete.

Fujitsu Enterprise Postgres Client (64bit) 18 Installation

Installation is complete.

Fujitsu Enterprise Postgres WebAdmin 18 Installation

Installation is complete.

Fujitsu Enterprise Postgres Pgpool-II 18 Installation

Installation is complete.

Fujitsu Enterprise Postgres pgBackRest 18 Installation

Installation is complete.

Starting setup.

Sets up WebAdmin.

Setup is complete.

Installed successfully.
All the files have been installed under “/opt”, grouped by component:
[root@rhel9-latest ~]$ ls -l /opt/
total 4
dr-xr-x---.  5 root root   59 Jan 26 09:41 FJSVcir
drwxr-xr-x.  3 root root 4096 Jan 26 09:42 FJSVqstl
drwxr-xr-x. 14 root root  155 Nov 21 08:57 fsepv18client64
drwxr-xr-x.  7 root root   63 Jan 26 09:42 fsepv18pgbackrest
drwxr-xr-x.  9 root root   91 Jan 26 09:42 fsepv18pgpool-II
drwxr-xr-x. 15 root root  162 Oct 27 05:57 fsepv18server64
drwxr-xr-x. 13 root root  137 Jan 26 09:42 fsepv18webadmin
What follows below is the installation of our DMK, just ignore it (or ask in the comments if you’re interested), this makes it a bit easier with the environment:
[postgres@rhel9-latest ~]$ sudo mkdir -p /opt/local
[postgres@rhel9-latest ~]$ sudo chown postgres:postgres /opt/local/
[postgres@rhel9-latest ~]$ cd /opt/local/
[postgres@rhel9-latest local]$ unzip /home/postgres/dmk_postgres-2.4.1.zip
[postgres@rhel9-latest local]$ cat /etc/pgtab
fe18:/opt/fsepv18server64/bin/:dummy:9999:D
[postgres@rhel9-latest local]$ sudo chown postgres:postgres /etc/pgtab
[postgres@rhel9-latest local]$ cp dmk/etc/dmk.conf.unix dmk/etc/dmk.conf
[postgres@rhel9-latest local]$ dmk/bin/dmk.bash
[postgres@rhel9-latest local]$ cat dmk/templates/profile/dmk.postgres.profile >> ~/.bash_profile
[postgres@rhel9-latest local]$ exit
logout
[root@rhel9-latest ~]$ su - postgres
Last login: Mon Jan 26 09:51:49 CET 2026 from 192.168.122.1 on pts/1


 PostgreSQL Clusters up and running on this host:
 ----------------------------------------------------------------------------------------------

 PostgreSQL Clusters NOT running on this host:
 ----------------------------------------------------------------------------------------------
Having that setup we do not need to worry about PATH and other environment settings, they just got setup correctly, so we can directly ask for which version of PostgreSQL we’re faced here:
postgres@rhel9-latest:/home/postgres/ [fe18] which initdb
/opt/fsepv18server64/bin/initdb
postgres@rhel9-latest:/home/postgres/ [fe18] initdb --version
initdb (PostgreSQL) 18.0
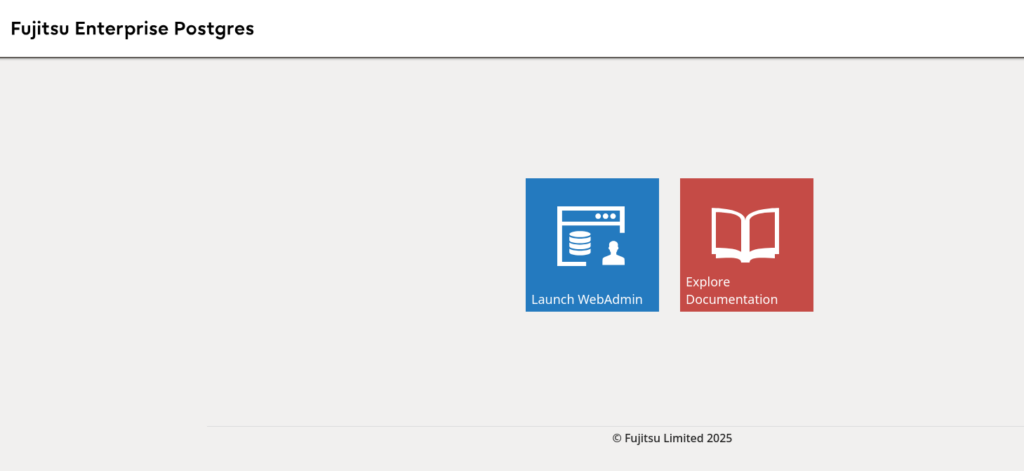
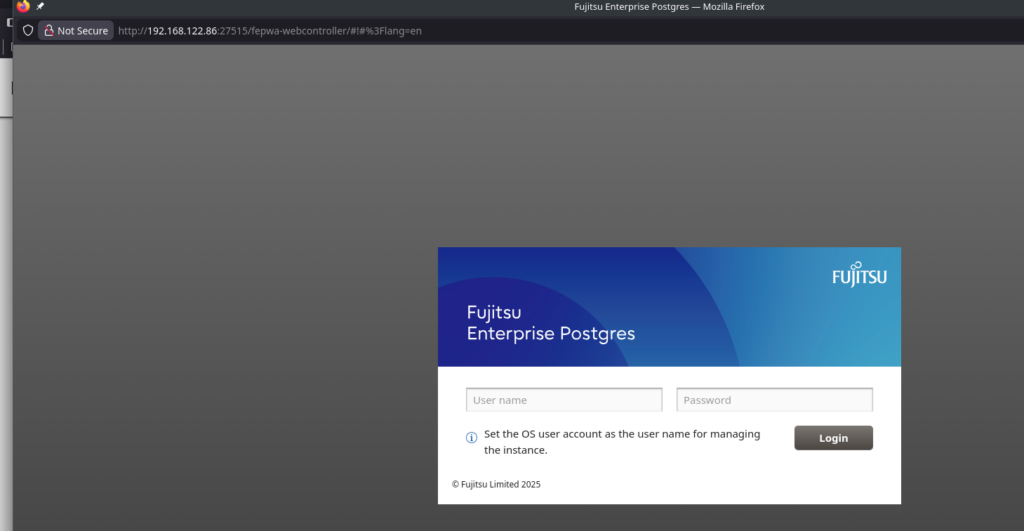
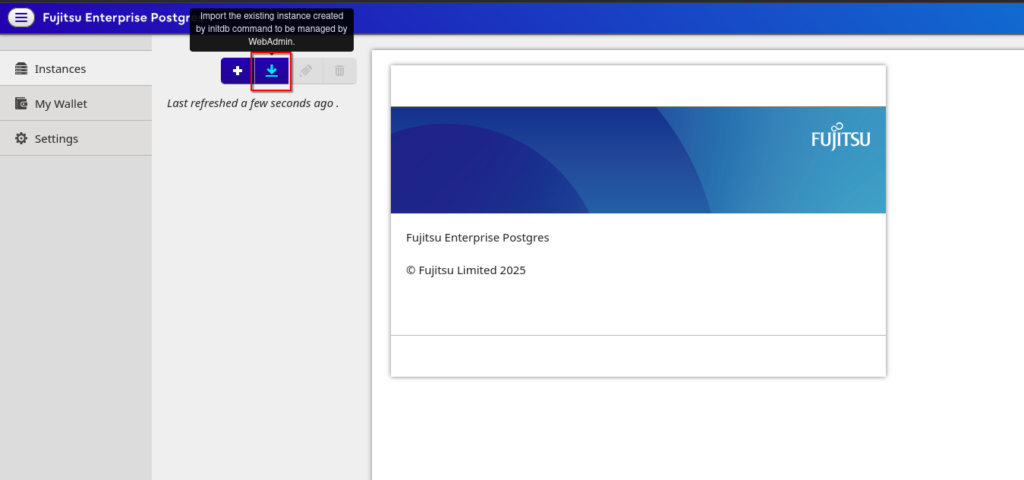
Except for the installation directory there does not seem to be a special Fujitsu branding and we’re on PostgreSQL 18.0. The preferred method of creating a new PostgreSQL instance seems to be to use WebAdmin which was installed and started during the installation:
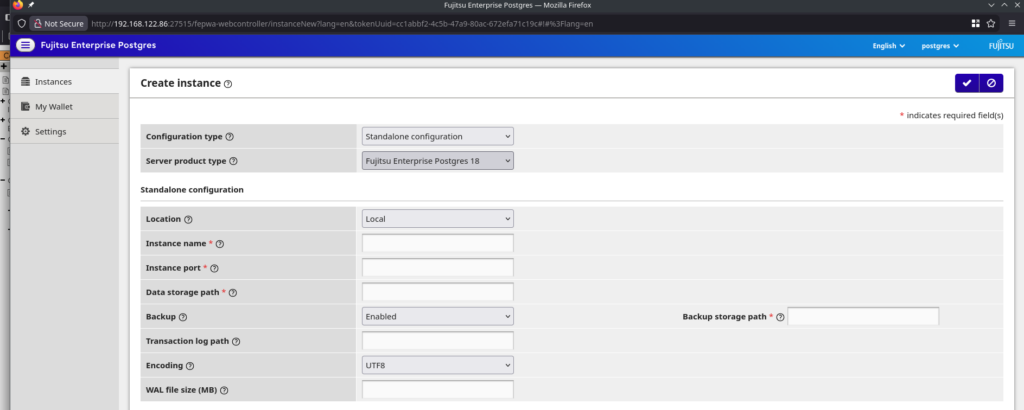
We could go this way, but as we do want to know how it looks in the background we’re going to use plain initdb. Looking at the switches of this version of initdb it is mostly the same as plain PostgreSQL except for the “coordinator”, “coord_conninfo”, and “datanode” switches:
postgres@rhel9-latest:/home/postgres/ [fe18] initdb --help
initdb initializes a PostgreSQL database cluster.

Usage:
  initdb [OPTION]... [DATADIR]

Options:
  -A, --auth=METHOD         default authentication method for local connections
      --auth-host=METHOD    default authentication method for local TCP/IP connections
      --auth-local=METHOD   default authentication method for local-socket connections
      --coordinator         create an instance of the coordinator       <- XXXXXXXXXXXXXXXXXXXXXXXXX
      --coord_conninfo      connection parameters to the coordinator    <- XXXXXXXXXXXXXXXXXXXXXXXXX
      --datanode            create an instance of the datanode          <- XXXXXXXXXXXXXXXXXXXXXXXXX
 [-D, --pgdata=]DATADIR     location for this database cluster
  -E, --encoding=ENCODING   set default encoding for new databases
  -g, --allow-group-access  allow group read/execute on data directory
      --icu-locale=LOCALE   set ICU locale ID for new databases
      --icu-rules=RULES     set additional ICU collation rules for new databases
  -k, --data-checksums      use data page checksums
      --locale=LOCALE       set default locale for new databases
      --lc-collate=, --lc-ctype=, --lc-messages=LOCALE
      --lc-monetary=, --lc-numeric=, --lc-time=LOCALE
                            set default locale in the respective category for
                            new databases (default taken from environment)
      --no-locale           equivalent to --locale=C
      --builtin-locale=LOCALE
                            set builtin locale name for new databases
      --locale-provider={builtin|libc|icu}
                            set default locale provider for new databases
      --no-data-checksums   do not use data page checksums
      --pwfile=FILE         read password for the new superuser from file
  -T, --text-search-config=CFG
                            default text search configuration
  -U, --username=NAME       database superuser name
  -W, --pwprompt            prompt for a password for the new superuser
  -X, --waldir=WALDIR       location for the write-ahead log directory
      --wal-segsize=SIZE    size of WAL segments, in megabytes

Less commonly used options:
  -c, --set NAME=VALUE      override default setting for server parameter
  -d, --debug               generate lots of debugging output
      --discard-caches      set debug_discard_caches=1
  -L DIRECTORY              where to find the input files
  -n, --no-clean            do not clean up after errors
  -N, --no-sync             do not wait for changes to be written safely to disk
      --no-sync-data-files  do not sync files within database directories
      --no-instructions     do not print instructions for next steps
  -s, --show                show internal settings, then exit
      --sync-method=METHOD  set method for syncing files to disk
  -S, --sync-only           only sync database files to disk, then exit

Other options:
  -V, --version             output version information, then exit
  -?, --help                show this help, then exit

If the data directory is not specified, the environment variable PGDATA
is used.

Report bugs to <[email protected]>.
PostgreSQL home page: <https://www.postgresql.org/>
(Not sure if bugs for this version of initdb really should go to the official mailing lists, but this is another topic).
Initializing a new instance is not different from what we know from vanilla PostgreSQL:
postgres@rhel9-latest:/home/postgres/ [fe18] initdb --pgdata=/u02/pgdata/fe18/PG1 --lc-collate="C" --lc-ctype="C" --encoding=UTF8
The files belonging to this database system will be owned by user "postgres".
This user must also own the server process.

The database cluster will be initialized with this locale configuration:
  locale provider:   libc
  LC_COLLATE:  C
  LC_CTYPE:    C
  LC_MESSAGES: en_US.UTF-8
  LC_MONETARY: en_US.UTF-8
  LC_NUMERIC:  en_US.UTF-8
  LC_TIME:     en_US.UTF-8
The default text search configuration will be set to "english".

Data page checksums are enabled.

creating directory /u02/pgdata/fe18/PG1 ... ok
creating subdirectories ... ok
selecting dynamic shared memory implementation ... posix
selecting default "max_connections" ... 100
selecting default "shared_buffers" ... 128MB
selecting default time zone ... Europe/Berlin
creating configuration files ... ok
running bootstrap script ... ok
performing post-bootstrap initialization ... ok
syncing data to disk ... ok

initdb: warning: enabling "trust" authentication for local connections
initdb: hint: You can change this by editing pg_hba.conf or using the option -A, or --auth-local and --auth-host, the next time you run initdb.

Success. You can now start the database server using:

    pg_ctl -D /u02/pgdata/fe18/PG1 -l logfile start
As we do want the instance to start automatically when the operating system is starting up lets use the systemd service template provided by Fujitsu to integrate that with systemd:
## Template
postgres@rhel9-latest:/home/postgres/ [fe18] cat /opt/fsepv18server64/share/fsepsvoi.service.sample
# Copyright FUJITSU LIMITED 2025
[Unit]
Description=FUJITSU Enterprise Postgres <inst1>
Requires=network-online.target
After=network.target network-online.target

[Service]
ExecStart=/bin/bash -c '/opt/fsepv<x>server64/bin/pgx_symstd start /opt/fsepv<x>server64 /database/inst1'
ExecStop=/bin/bash -c '/opt/fsepv<x>server64/bin/pgx_symstd stop /opt/fsepv<x>server64 /database/inst1'
ExecReload=/bin/bash -c '/opt/fsepv<x>server64/bin/pgx_symstd reload /opt/fsepv<x>server64 /database/inst1'
Type=forking
User=fsepuser
Group=fsepuser

[Install]
WantedBy=multi-user.target

## Adapted
postgres@rhel9-latest:/home/postgres/ [fe18] sudo cat /etc/systemd/system/fe-postgres-1.service
# Copyright FUJITSU LIMITED 2025
[Unit]
Description=FUJITSU Enterprise Postgres PG1
Requires=network-online.target
After=network.target network-online.target

[Service]
Environment="PATH=/opt/fsepv18server64/bin/:$PATH"
ExecStart=/bin/bash -c '/opt/fsepv18server64/bin/pgx_symstd start /opt/fsepv18server64 /u02/pgdata/fe18/PG1/'
ExecStop=/bin/bash -c '/opt/fsepv18server64/bin/pgx_symstd stop /opt/fsepv18server64 /u02/pgdata/fe18/PG1/'
ExecReload=/bin/bash -c '/opt/fsepv18server64/bin/pgx_symstd reload /opt/fsepv18server64 /u02/pgdata/fe18/PG1/'
Type=forking
User=postgres
Group=postgres

[Install]
WantedBy=multi-user.target
“pgx_symstd” is a simple wrapper around pg_ctl, not sure about the reason for this. Enable and start:
postgres@rhel9-latest:/home/postgres/ [fe18] sudo systemctl enable fe-postgres-1
Created symlink /etc/systemd/system/multi-user.target.wants/fe-postgres-1.service → /etc/systemd/system/fe-postgres-1.service.
11:22:11 postgres@rhel9-latest:/home/postgres/ [fe18] sudo systemctl daemon-reload
11:22:13 postgres@rhel9-latest:/home/postgres/ [fe18] sudo systemctl start fe-postgres-1
11:22:20 postgres@rhel9-latest:/home/postgres/ [fe18] sudo systemctl status fe-postgres-1
● fe-postgres-1.service - FUJITSU Enterprise Postgres PG1
     Loaded: loaded (/etc/systemd/system/fe-postgres-1.service; enabled; preset: disabled)
     Active: active (running) since Mon 2026-01-26 11:22:16 CET; 8s ago
    Process: 33363 ExecStart=/bin/bash -c /opt/fsepv18server64/bin/pgx_symstd start /opt/fsepv18server64 /u02/pgdata/fe18/PG1/ (code=exited, status=0/SUCCESS)
   Main PID: 33366 (postgres)
      Tasks: 10 (limit: 7834)
     Memory: 31.3M (peak: 33.0M)
        CPU: 48ms
     CGroup: /system.slice/fe-postgres-1.service
             ├─33366 /opt/fsepv18server64/bin/postgres -D /u02/pgdata/fe18/PG1
             ├─33367 "postgres: io worker 0"
             ├─33368 "postgres: io worker 1"
             ├─33369 "postgres: io worker 2"
             ├─33370 "postgres: checkpointer "
             ├─33371 "postgres: background writer "
             ├─33373 "postgres: walwriter "
             ├─33374 "postgres: autovacuum launcher "
             ├─33375 "postgres: user profile status writer "
             └─33376 "postgres: logical replication launcher "

Jan 26 11:22:16 rhel9-latest bash[33366]: 2026-01-26 10:22:16.003 GMT [33366] WARNING:  The license will expire in 90 days.
Jan 26 11:22:16 rhel9-latest bash[33366]: 2026-01-26 11:22:16.014 CET [33366] LOG:  starting PostgreSQL 18.0 on x86_64-pc-linux-gnu, compiled by gcc (GCC) 11.3.1 20221121 (Red Hat 11.3.1-4), 64-bit
Jan 26 11:22:16 rhel9-latest bash[33366]: 2026-01-26 11:22:16.015 CET [33366] LOG:  listening on IPv6 address "::1", port 27500
Jan 26 11:22:16 rhel9-latest bash[33366]: 2026-01-26 11:22:16.015 CET [33366] LOG:  listening on IPv4 address "127.0.0.1", port 27500
Jan 26 11:22:16 rhel9-latest bash[33366]: 2026-01-26 11:22:16.019 CET [33366] LOG:  listening on Unix socket "/tmp/.s.PGSQL.27500"
Notice the license warning in the output. Another thing to note is the “user profile status writer” process as this does not exist in community PostgreSQL. Looking at the version of PostgreSQL confirms that we’re on 18.0:
postgres@rhel9-latest:/home/postgres/ [fe18] psql
psql (18.0)
Type "help" for help.

postgres=$ select version();
                                                 version
----------------------------------------------------------------------------------------------------------
 PostgreSQL 18.0 on x86_64-pc-linux-gnu, compiled by gcc (GCC) 11.3.1 20221121 (Red Hat 11.3.1-4), 64-bit
(1 row)

postgres=$
There is also a file provided by Fujitsu which details the version installed:
postgres@rhel9-latest:/home/postgres/ [fe18] cat /opt/fsepv18server64/etc/product.inf
PRODUCT="Fujitsu Enterprise Postgres Advanced Edition"
MAJOR=18
MINOR=0
MICRO=0
VERSION1="18"
VERSION2=1800
RELEASE=0
EDITION=AE
EXEMODE=64
TYPE=SERVER
AREA=COMMON
OSTYPE=Linux
PRODUCTTYPE=FSEP
SOFTWAREID=7A705C507E0E11EE8008303035303536
FJQSSNAME="FSEP1864"
PKG_MC=ON
FORMALNAME="Fujitsu Enterprise Postgres"
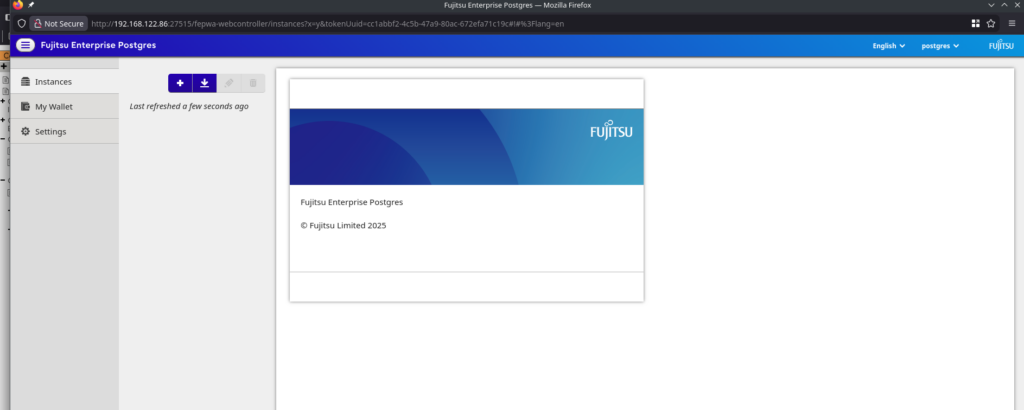
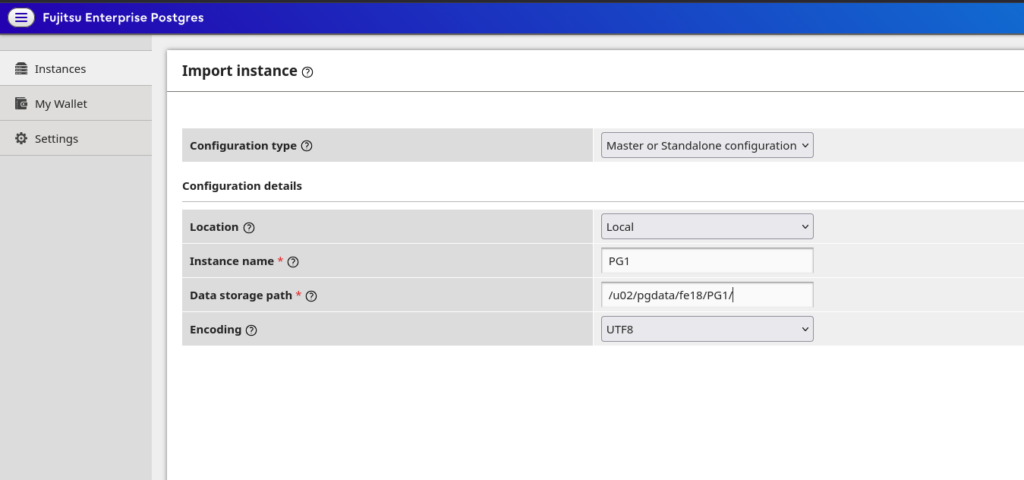
Finally, let’s import the new instance into WebAdmin:
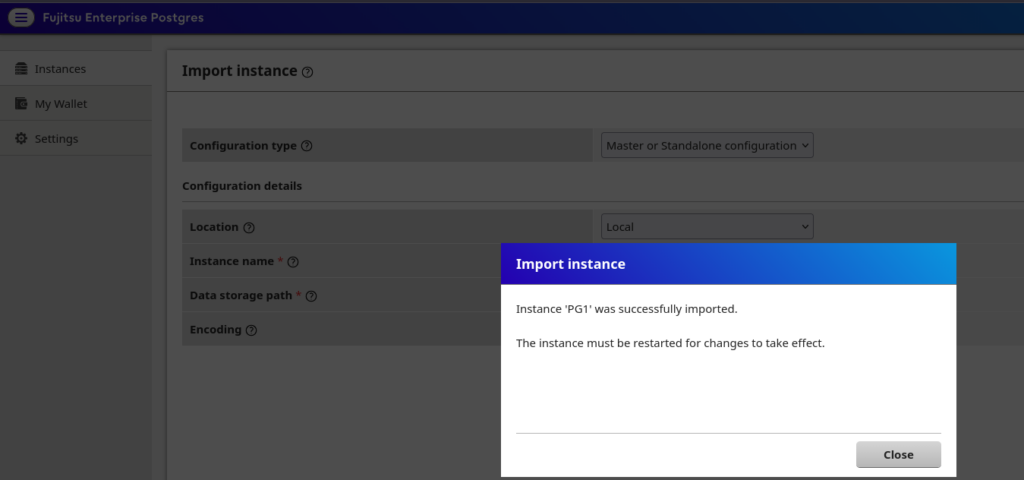
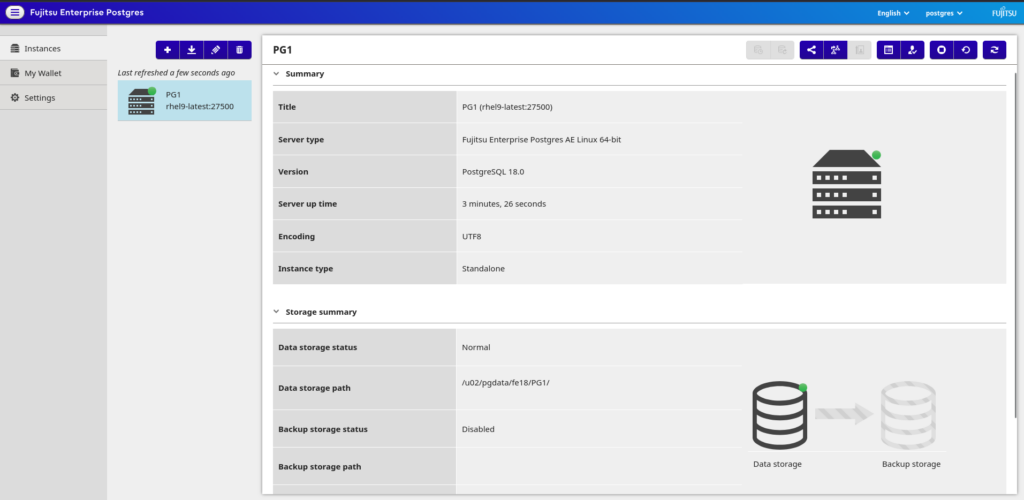
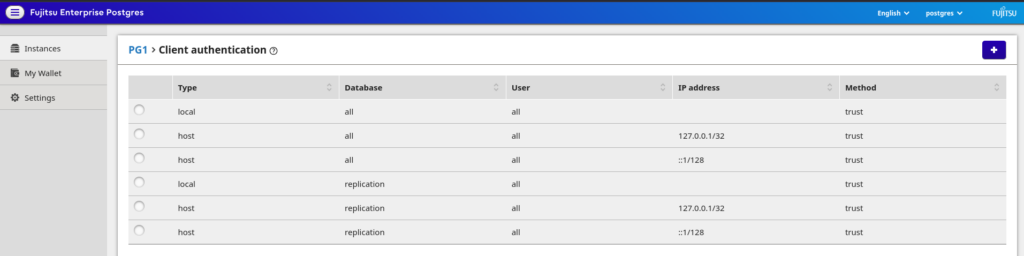
Reducing
Importing works fine, but there are not a lot of parameters which can be changed in WebAdmin, maybe this is on purpose.
Final thoughts about the installation and initial setup of the instance:
- Bundling several products makes sense, as you anyway need a tool for backup/restore and connection pooling. I am not judging the selection of the tools.
- Providing a graphical user interface makes sense for users not very familiar with PostgreSQL but I guess more experienced users will not use it.
- There is no Fujitsu branding (at least not in the binaries).
- The installation process is easy and straight forward.
- Not sure about the pgx_ wrappers, at least for the systemd integration this seems not to be necessary (there are several more of them we’ve not looked at right now).
- Limiting the supported operating systems to Red Hat and SUSE excludes the complete Debian world. I guess this is because Fujitsu is targeting larger customers which are anyway on either Red Hat or SUSE.
In the next post we’ll look at how TDE looks like in Fujitsu Enterprise Postgres.
![Thumbnail [60x60]](https://www.dbi-services.com/blog/wp-content/uploads/2022/08/DWE_web-min-scaled.jpg)
![Thumbnail [90x90]](https://www.dbi-services.com/blog/wp-content/uploads/2022/08/FRJ_web-min-scaled.jpg)
![Thumbnail [90x90]](https://www.dbi-services.com/blog/wp-content/uploads/2025/05/martin_bracher_2048x1536.jpg)