For some customers, the end of support for GoldenGate 19c in May this year and the migration to Microservices Architecture mean that they have to adapt their patching procedures (if they had any !). Let’s see how to patch a GoldenGate Microservices Architecture out of place efficiently. This guide is designed for GoldenGate 26ai because this version introduces some small changes. However, you can follow this blog to patch other versions of GoldenGate.
As for Oracle databases, the idea is to:
- Set up a new GoldenGate home.
- Switch the running processes to the new version of GoldenGate.
The nice thing is that since a few patches, Oracle now always delivers GoldenGate patches in two versions: the standard patch, applied on top of an existing installation, and a complete installation, which includes the patch. In this blog, we will use the second option.
Installing the latest version of GoldenGate
At the time of writing, version 23.26.2.0.1 (patch 39299258) was just released, but you should definitely check on the Oracle Support website to see if a new patch is available.
As instructed in the installation guide for GoldenGate, just unzip the patched installation to a temporary directory and use the runInstaller with the following oggcore.rsp response file.
> cat /home/oracle/oggcore.rsp
oracle.install.responseFileVersion=/oracle/install/rspfmt_ogginstall_response_schema_v26_1_0
INSTALL_OPTION=ORA23ai
SOFTWARE_LOCATION=/u01/app/ogg/product/23.26.2.0.1
INVENTORY_LOCATION=/u01/app/oraInventory
UNIX_GROUP_NAME=oinstall

> /u01/stage/fbo_ggs_Linux_x64_Oracle_services_shiphome/Disk1/runInstaller -silent -responseFile /home/oracle/oggcore.rsp
Starting Oracle Universal Installer...

Checking Temp space: must be greater than 120 MB.   Actual 17094 MB    Passed
Checking swap space: must be greater than 150 MB.   Actual 4095 MB    Passed
[...]
Successfully Setup Software.
The installation of Oracle GoldenGate Services was successful.
50% of the work is already done, but it’s definitely not the hardest part ! If you’re wondering how to take this out-of-place patching procedure and adapt it to GoldenGate 19c, just remember to set INSTALL_OPTION=ORA19c in the oggcore.rsp response file.
Changing OGG_HOME from the web UI
Now that you have your new GoldenGate home, you are ready to switch. There are multiple ways of doing it, starting with updating your installation from the web UI. Here are the steps in the process:
- Updating the
OGG_HOMEof the Service Manager - Restarting the Service Manager
- Optionally, restart the services attached to the Service Manager.
- Updating the
OGG_HOMEof the deployments (one at a time) - Restarting the deployments
- Restarting extracts, replicats and distribution paths
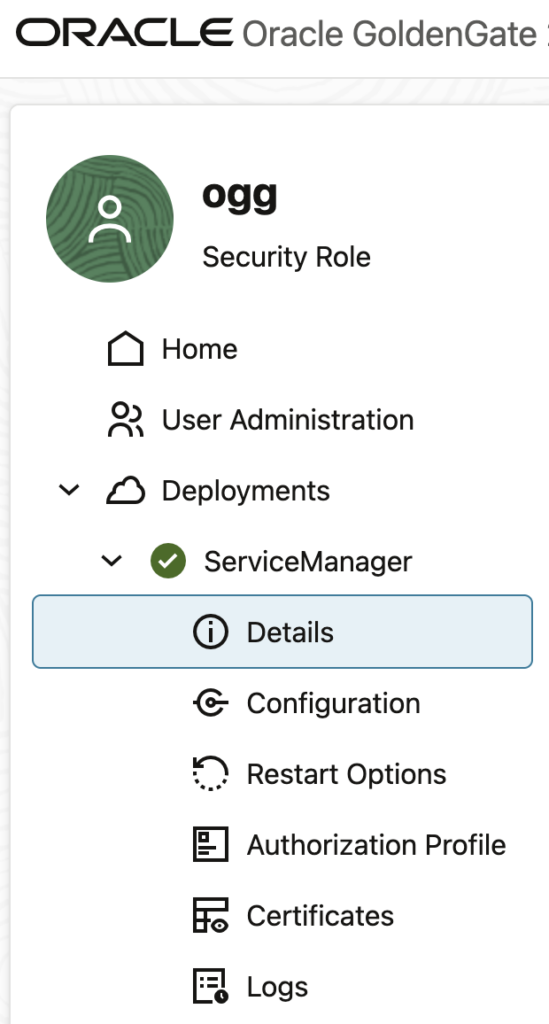
To start, just log in to the service manager and go to the Deployments > Service Manager > Details tab.
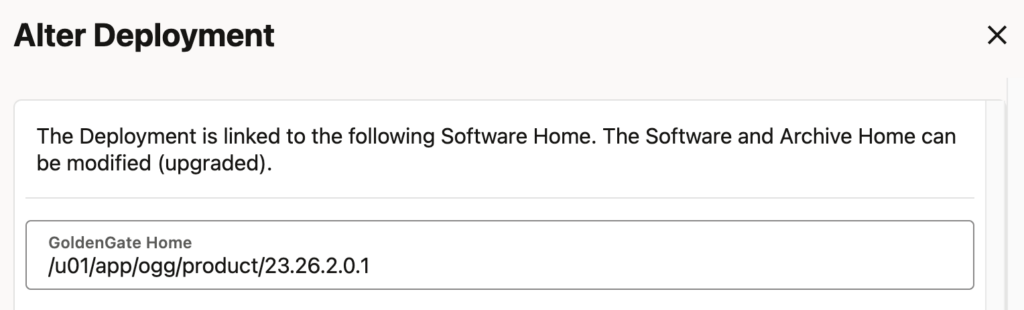
All you need to do is to edit the Deployment detail, by setting the new value for OGG_HOME.
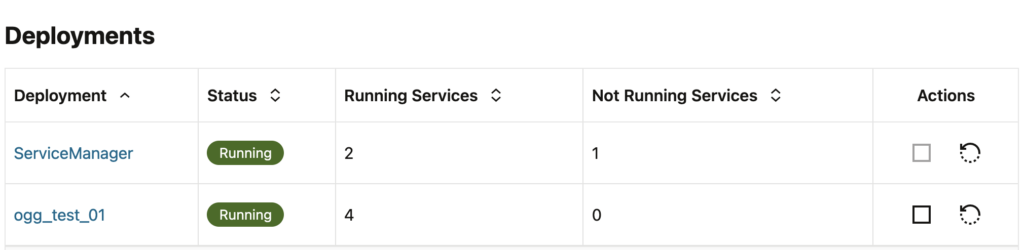
After updating the Service Manager, you can safely restart it from the web UI Home tab.
If you check on your server, you should see the ServiceManager process using the latest OGG_HOME location:
oracle@vmogg:~/ [ogg] ps -ef|grep ServiceManager
oracle      1709       1  0 14:47 ?        00:00:03 /u01/app/ogg/product/23.26.2.0.1/bin/ServiceManager --quiet
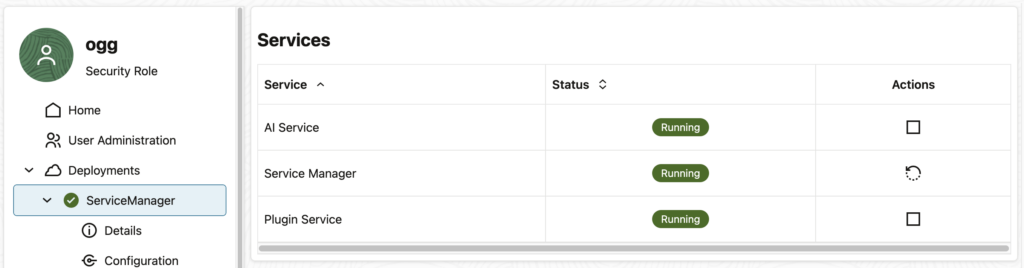
A new process named AIService was introduced in 26ai. If it is still running on the old OGG_HOME even after restarting the ServiceManager deployment, you should restart it from the web UI. Just click on the ServiceManager deployment, stop the AI Service and restart it.
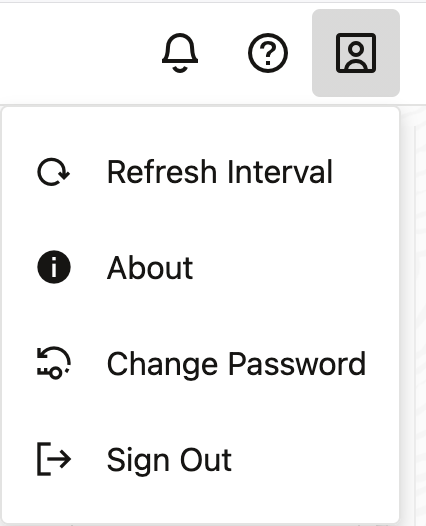
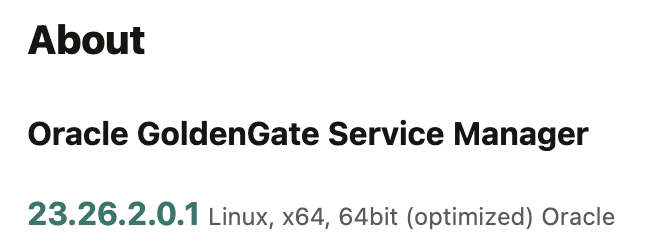
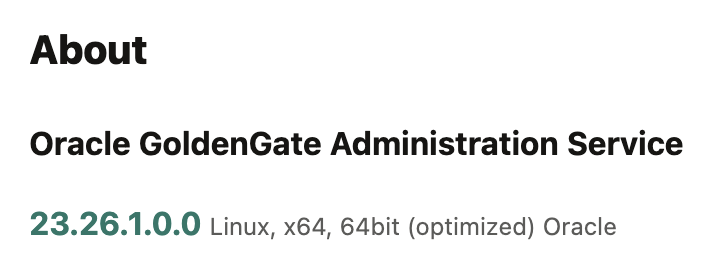
At this point, it is important to know that all your deployment processes, including extracts and replicats, are still running on the old GoldenGate home directory. Besides checking the server processes, you can verify the version from the web UI by clicking on the top-right profile icon and on About.
In the service manager UI, you will have the new version:
And in the administration service UI, the old version is still there:
You can now update your deployments, one at a time, by repeating the exact same procedure. From the Service Manager web UI, go to the Details tab of your deployments. Then, edit the Deployment detail and set OGG_HOME to the new value.
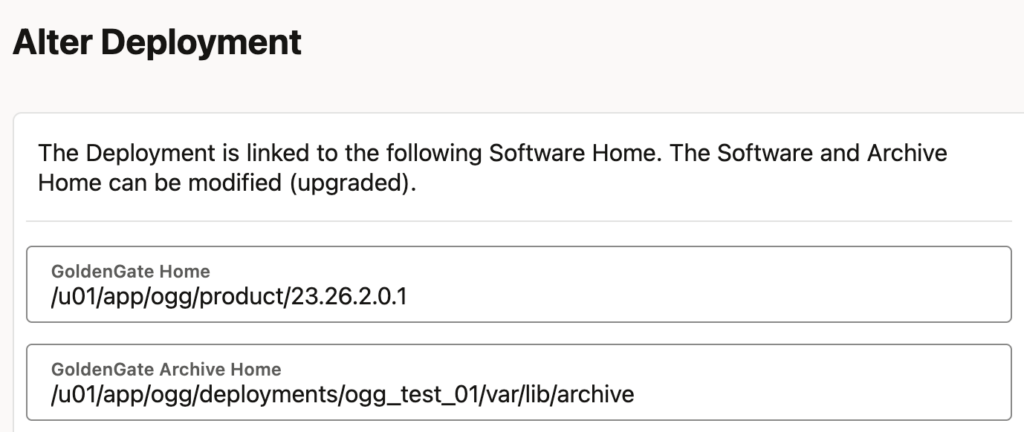
Once updated, restart the deployment from the same Home tab where you restarted the Service Manager earlier.
Once all your deployments are running on the new home, you can restart the extracts, replicats and distribution paths. Connected to the Administration Service in the web UI, restart them one by one or using the Group Action button.

Some services are still running on the old OGG_HOME
If some services are still running on the old OGG_HOME, do not worry. The web UI or the REST API will return a response before restarting all services. More specifically, for the deployments, the restart will succeed as long as the Administration Service (adminsrvr) is restarted. The Receiver Service (recvsrvr) or the Distribution Service (distsrvr) might take more time to restart. Just wait a bit and it should be good. If, after a few minutes, the services are still running on the old home, restart them manually (still from the web UI).
Other things to consider
If you decide to change the name of your home at every release, remember to change the OGG_HOME in all scripts and environments. This might include:
- DMK environment files.
systemdservice file, which might include theOGG_HOMEvariable.
![Thumbnail [60x60]](https://www.dbi-services.com/blog/wp-content/uploads/2025/05/JDE_Web-1-scaled.jpg)
![Thumbnail [90x90]](https://www.dbi-services.com/blog/wp-content/uploads/2025/11/LTO_WEB.jpg)
![Thumbnail [90x90]](https://www.dbi-services.com/blog/wp-content/uploads/2022/08/MAW_web-min-scaled.jpg)